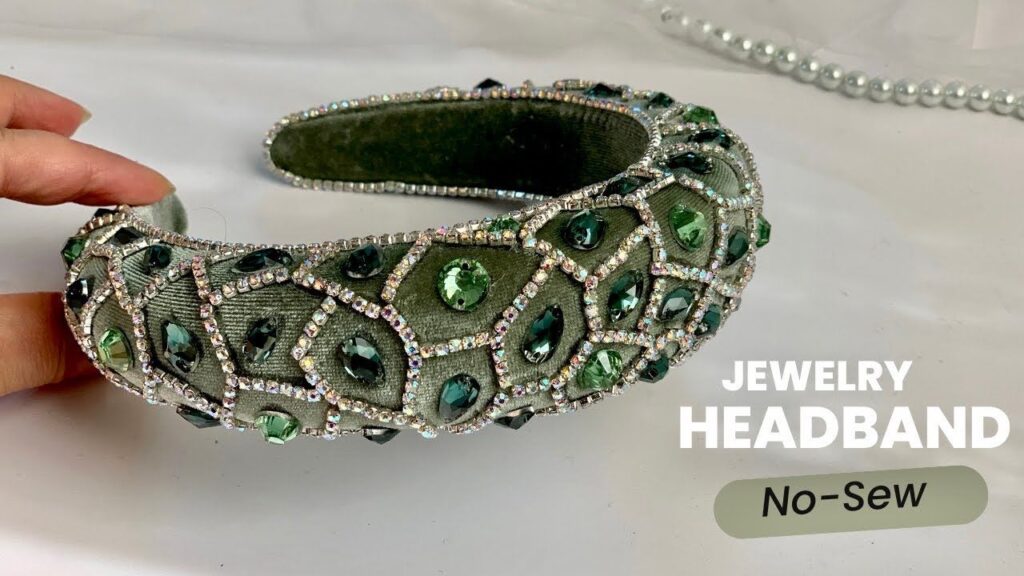
If you’re looking for a stylish and easy way to accessorize your hair, consider making a no sew headband with pearls. This simple DIY project only requires a few materials and can be completed in just a few minutes. The result is a beautiful headband that adds a touch of elegance to any outfit.
To make a no sew headband with pearls, you will need a plain headband, pearl beads, a glue gun, and a pair of scissors. Start by arranging the pearl beads in the desired pattern on the headband. You can create a simple row of pearls along the top of the headband, or get creative and design a more intricate pattern.

Once you are happy with the placement of the pearls, use a glue gun to secure them to the headband. Be sure to press down firmly on each bead to ensure it sticks securely. Allow the glue to dry completely before wearing the headband to prevent any beads from falling off.
Not only is a no sew headband with pearls a fun and easy DIY project, but it is also a versatile accessory that can be worn for a variety of occasions. Whether you’re heading to a formal event or just want to add a little extra flair to your everyday look, this headband is sure to make a statement.
The best part about making a no sew headband with pearls is that you can customize it to suit your personal style. Choose pearl beads in a color that complements your wardrobe, or mix and match different sizes for a more unique look. You can even experiment with different bead shapes for a one-of-a-kind design.
a no sew headband with pearls is a stylish and easy accessory that anyone can make. With just a few simple materials and a little bit of creativity, you can create a beautiful headband that adds a touch of elegance to any outfit. So why not give it a try and add some glamour to your hair accessories collection today?