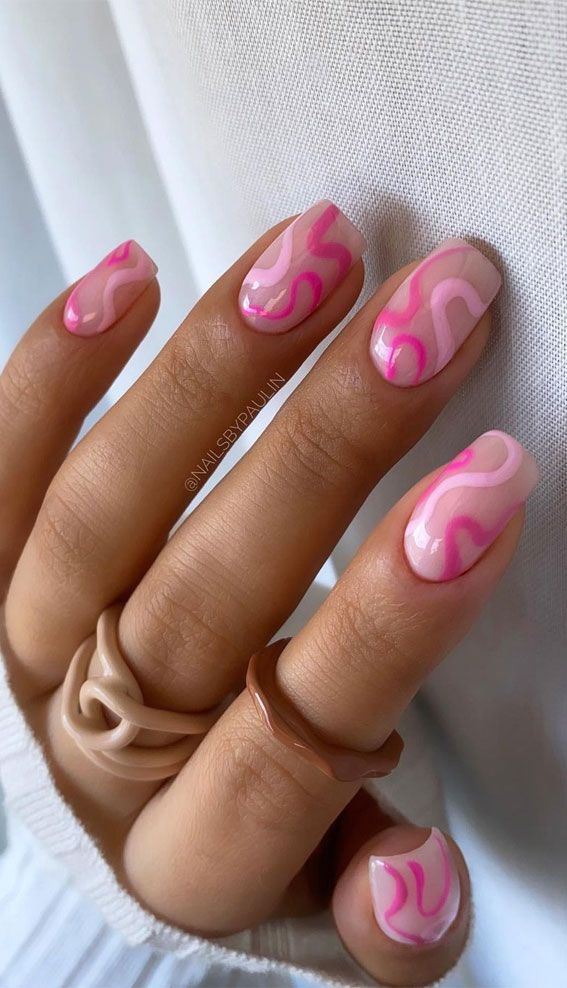
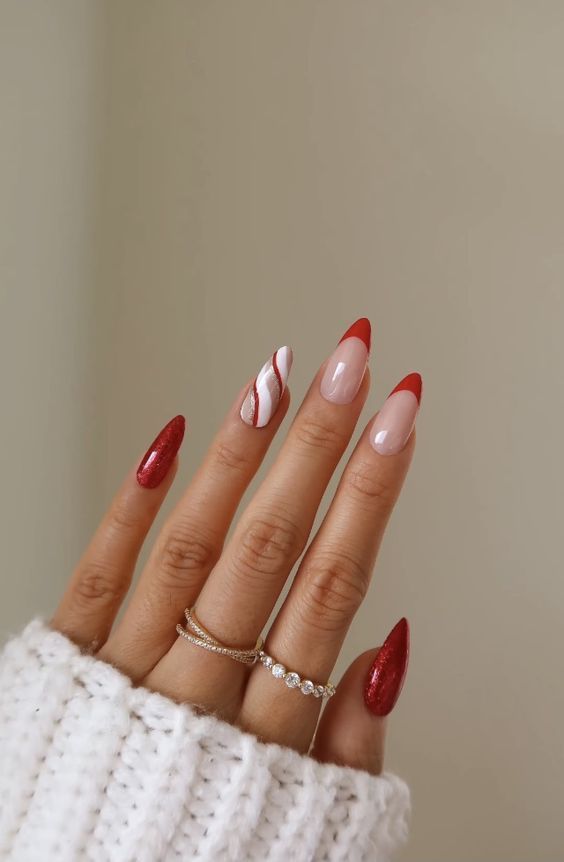
If you’re looking for a fun and easy way to add some pizzazz to your nails, look no further than candy swirls nail art. This playful and colorful design is perfect for adding a touch of whimsy to your manicure. Best of all, it’s easy to achieve at home with just a few simple tools and some nail polish.
To create candy swirls nail art, all you need is a base coat, a few different colors of nail polish, a nail dotting tool or toothpick, and a top coat. Start by applying a base coat to protect your nails and ensure that your manicure lasts longer. Once the base coat is dry, choose a color for your base and apply one or two coats to each nail.
Next, it’s time to start creating the candy swirls. Pick a contrasting color of nail polish and use the nail dotting tool or toothpick to create swirls on each nail. Start by dipping the dotting tool or toothpick into the nail polish and then lightly drag it across the nail in a swirling motion. Don’t worry about making the swirls perfect – the more random and whimsical they look, the better!
Continue adding swirls in different colors to each nail until you achieve the look you want. You can also experiment with different designs, like adding glitter or rhinestones for extra sparkle. Once you’re happy with your candy swirls design, finish off with a top coat to seal in the color and add some shine to your nails.
Candy swirls nail art is a fun and easy way to elevate your manicure and add a pop of color to your look. Whether you’re getting ready for a special occasion or just want to add a bit of fun to your everyday style, this nail art design is sure to impress. So grab your nail polish and tools and give candy swirls nail art a try – you’ll be amazed at how easy and beautiful it is to achieve.


