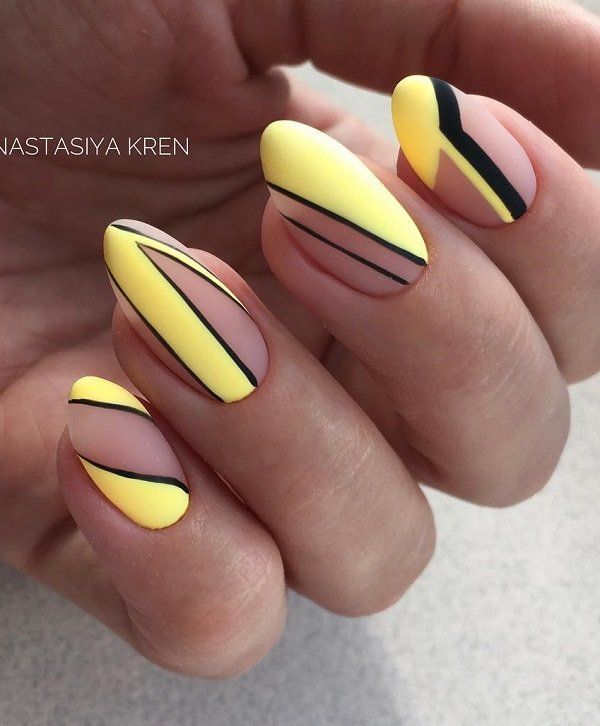
Looking for a chic and trendy nail art design that is both stylish and versatile? Look no further than DIY geometric nail art in nude shades! Nude shades are perfect for any occasion and can be easily dressed up or down depending on your outfit.
To create your own geometric nail art in nude shades, start by gathering all the necessary supplies. You will need nude nail polish in various shades, striping tape, a thin nail brush, and a top coat. Make sure to have a steady hand and take your time with each step to achieve a clean and precise look.

Begin by painting your nails with a base coat in a nude shade of your choice. Once the base coat is dry, use striping tape to create geometric shapes on each nail. You can create triangles, squares, or rectangles, depending on your preference. Press down the striping tape firmly to ensure clean lines and crisp edges.
Next, use a thin nail brush dipped in a contrasting nude shade to fill in the geometric shapes. You can create a variety of patterns and designs, such as color-blocking or ombre effects. Experiment with different colors and shapes to create a unique and personalized look.
Once the nail art is dry, carefully peel off the striping tape to reveal the geometric shapes underneath. Finish off your design with a top coat to seal in the colors and add shine to your nails. Your DIY geometric nail art in nude shades is now complete and ready to show off to all your friends!
Geometric nail art in nude shades is a versatile and sophisticated look that can be worn for any occasion. Whether you’re heading to a formal event or just want to add a touch of elegance to your everyday look, this nail art design is sure to impress. So grab your supplies and get creative with your nails today!