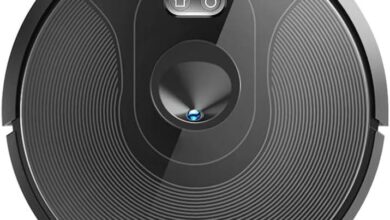
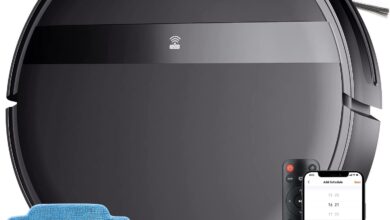
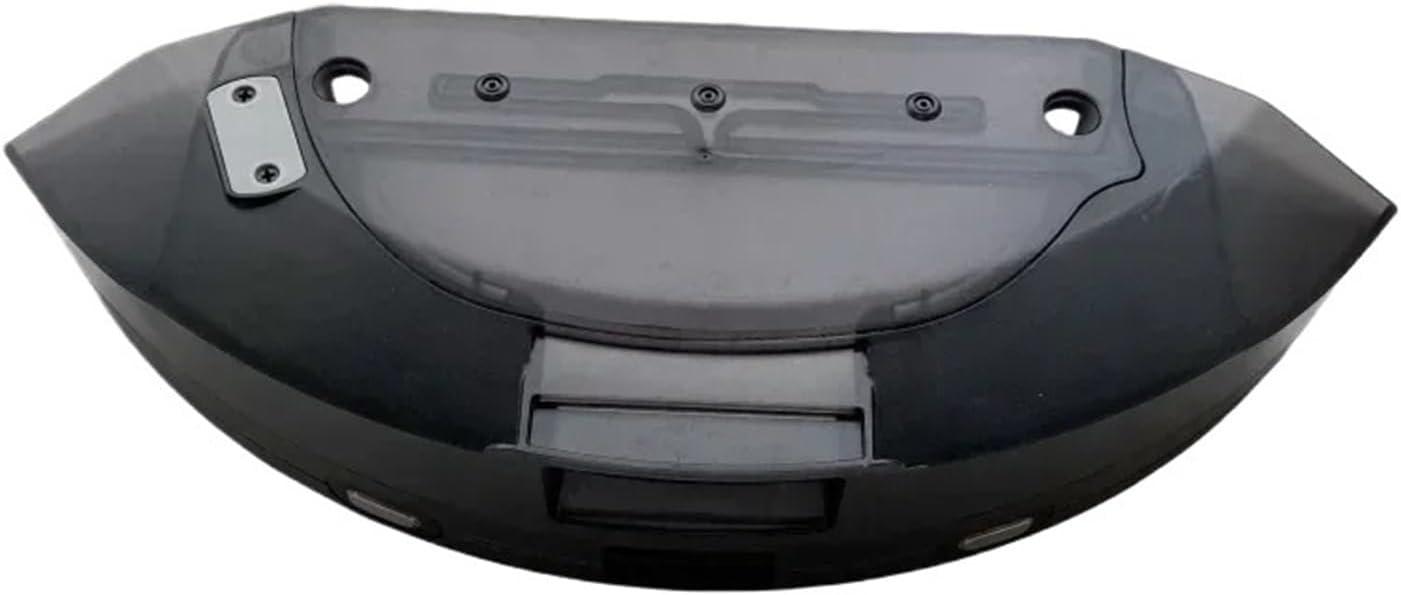
You lift the plastic unit from the robot and its weight is immediate—light enough to carry with one hand but with a reassuring, compact heft. The matte food‑grade PP surface feels cool and slightly textured under your palm, while the double‑layer silicone seal gives a soft, springy resistance as you press around the rim. Sold as a replacement dust box/water tank for TP‑Link’s TAPO RV20 Mop Plus and RV30 Plus, it slides into the chassis with a single, audible click that registers in the room. from across the kitchen it looks balanced rather than bulky, the contours matching the robot so it doesn’t catch your eye awkwardly. A quick rinse shows glossy inner channels and a smooth airway; tilting it you can almost hear lint and hair shed free as water flows through.In first use it simply fits into the rhythm of tidying—unfussy, tactile, and immediately familiar in your hands.
How the replacement water tank appears when you slot it into your daily cleaning routine

At a glance in your cleaning flow
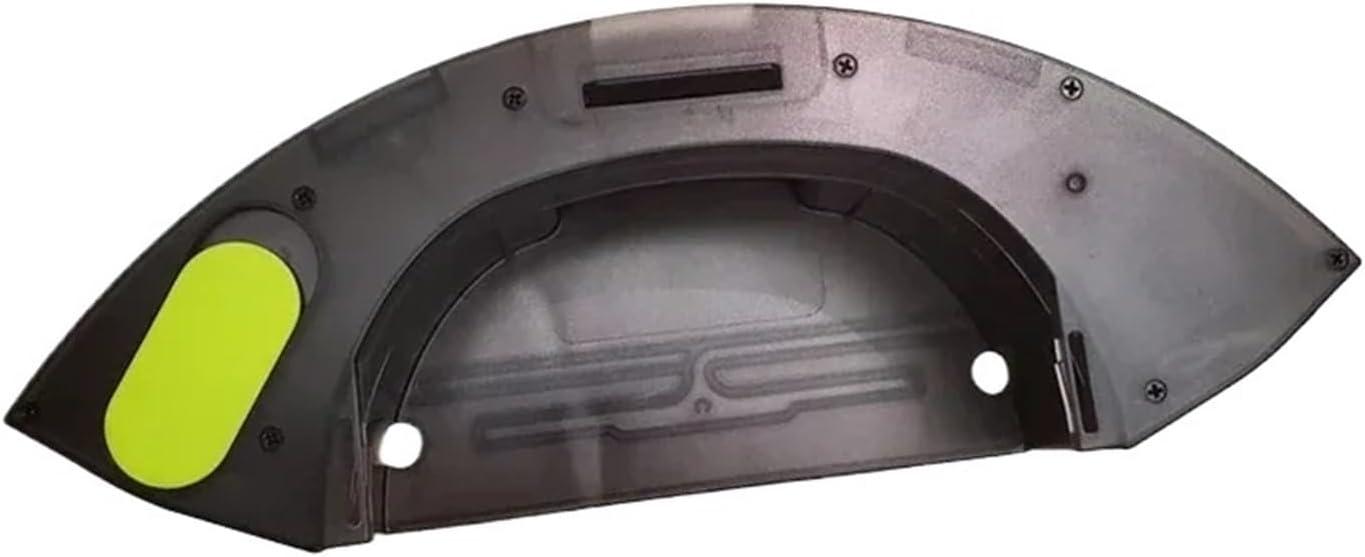
When you pick the tank up to slot it into the robot,it reads as a straightforward,hand-sized module — light enough to manoeuvre with one hand and shaped to sit flush in the machine’s cavity. As you line it up,familiar tactile cues appear: a slight snap or click when it seats,the lip of the fill cap oriented for easy access,and a translucent strip that lets you see the remaining water without removing the unit. Fingerprints, small droplets, or a faint dampness tend to be the only visible traces after a run; nothing about it draws attention away from the robot’s overall profile on the floor. Small incidental sounds, like a gentle slosh when the tank is partly full, can be noticed as the robot accelerates across a hard surface, but they’re not intrusive in most household moments.
How it fits into the rhythm of reuse and storage
During the day-to-day you’ll find the tank lives as part of the routine: you slot it in before a session, glance at the level window mid-cycle if you walk by, and remove it to rinse or dry when the run finishes. It tends to sit upright on a counter or in a cupboard without needing special support, and any residual dampness usually evaporates between uses. Below is a simple reference of common interactions and what they look like in practice:
| Routine moment | Typical appearance or cue |
|---|---|
| Before starting | Seated flush in the robot, visible water level,ready-to-go silhouette |
| during a run | Mostly concealed by the robot’s body,occasional soft slosh if not full |
| After use / storage | Light dampness on the exterior,easy to lift free and place to air dry |
- Visual cues: the translucent panel and cap position are the quickest ways to check status at a glance.
- Tactile cues: a single-handed lift and a small seating click tell you it’s engaged correctly.
What the plastic surfaces, seals and latches feel like when you pick it up
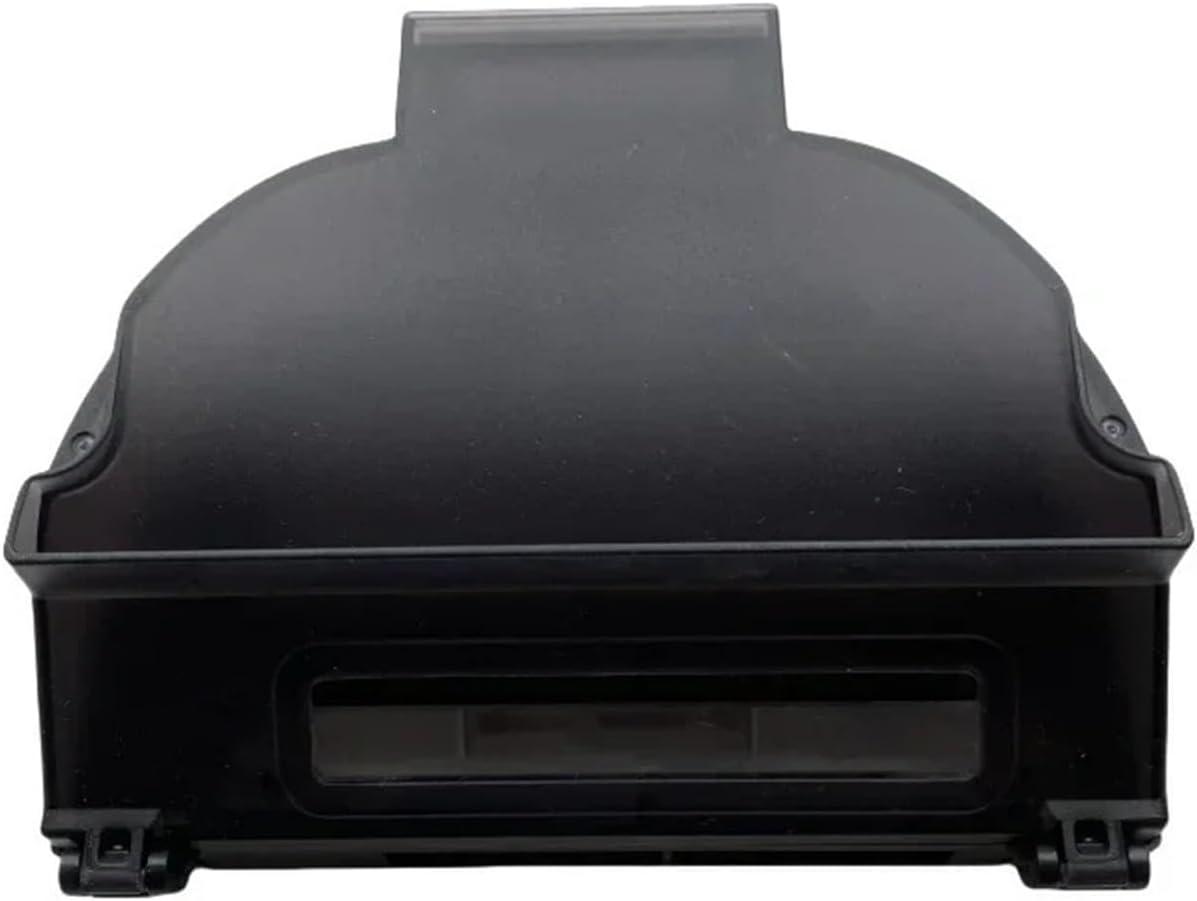
When you lift the unit, the shell feels light but not flimsy — the plastic has a slightly textured, matte finish that gives your fingers a little purchase instead of feeling slick. The walls have a modest flex where you thumb them, so you notice the material yielding a touch when you carry it by a corner; seams where parts meet are neat but palpable under your fingertips. The surface is cool to the touch at first, and if it’s been used recently you might feel a faint dampness around the base or where residues collect, which is the kind of thing you tend to brush off with a quick wipe during routine upkeep.
The softer details stand out when you manipulate the seals and latches. The silicone ring compresses with a smooth, springy resistance and settles back cleanly when you release it; you can feel it seat into place rather than simply resting on the rim. The latches give a defined, audible click and usually move with a short, steady travel — sometiems you adjust your grip or give a small additional push to line them up. A few small tactile points to note as you handle it:
- Plastic surfaces: lightly grained,non-slip,shows fingerprints and dust more than scratches.
- Seals: soft, slightly tacky silicone that compresses evenly and returns to shape.
- Latches: firm snap action with minimal wobble; hinges can trap tiny bits that you’ll clear during normal cleaning.
How you fill, secure and carry the tank — the hands-on steps you follow
When you fill the tank you tend to handle it like a light, removable container rather than part of the main machine: you lift it out, angle it so the filler opening faces up, and introduce water until the level looks close to the marked area or just below the top. you’ll notice air escaping in little bubbles as it fills, and you pause for a second to let the water settle so you don’t overfill. Before putting it back you align the lid and gently press until a soft snap is felt — at that moment the lid feels seated and the fit is visually flush. Along the way you sometimes make tiny adjustments: a twist to coax the seal into place or a brief tap to settle trapped air, small habits that tend to keep the tank from leaking when it’s moved.
Securing and carrying the tank is mostly tactile. After the lid clicks you usually run a quick check by holding the tank upright and giving it a mild shake; no movement at the joint and no telltale drips are what you look for. When you transport it — between sink and robot or across a room — you keep it level and use the body’s molded contours to get a confident grip, shifting the hand position if the tank feels slightly heavier than expected. A few simple checks often accompany this routine:
- Latch engaged: lid sits flush, no gap visible
- No wobble: the tank feels one piece when you tilt it
- No seepage: a quick look under the rim after a short shake
| Moment | What you notice |
|---|---|
| After filling | air bubbles settle, level stabilizes |
| Securing lid | soft snap and flush fit |
| Carrying | even weight and no leaks |
Where it sits in your TAPO RV20/RV30 and the space it occupies on your shelf
In the machine: when you lift the top cover of your TAPO RV20 or RV30 the water tank sits in the main bin cavity, nested behind the access hatch where the dust bin normally lives. You’ll see it slide into place along the same guides and engage the same latch points you’re used to with the dust box; once pushed down it sits low and largely flush with the surrounding plastic so it doesn’t jut out above the robot’s profile. While it’s installed you tend to treat the robot like any other cleaning run — the tank is simply part of the internal volume you interact with when opening the top for refills or quick checks, and small routine wiping or airing is often done with it in hand before you drop it back in.
On your shelf: out of the robot the tank occupies a compact, near-rectangular footprint that usually fits comfortably on a narrower utility shelf or next to a lineup of cleaning bottles.In everyday use you might set it upright,lay it on its side,or stand it on a small tray to catch a few drops while it air-dries. A quick glance comparison helps: it’s not much larger than a paperback book laid flat and can be stacked or stored vertically if space is tight.
- typical orientations: upright, flat, or on a shallow tray
- storage habit: often left to air-dry between uses
| Storage note | Contextual footprint |
|---|---|
| Fits most narrow shelves or utility caddies | roughly similar to a small paperback or travel box in footprint |
What to expect from this water tank in everyday use and the limitations you might encounter
In everyday use the tank behaves like a quietly present companion: it docks and undocks without elaborate handling,sits snugly during typical navigation,and dispenses water slowly enough that the mop cloth stays evenly damp rather than soggy. Routine interactions tend to be limited to filling, seating, and the occasional rinse; the sealing system usually prevents drips during normal tilts and moves, though misalignment or trapped debris can cause brief seepage until reseated. small,habitual checks — giving the inlet a quick glance after several runs,or letting the plastic air-dry when stored closed — fit naturally into a weekly cleaning rhythm. A few common, observable patterns:
- Refilling happens more frequently enough on extended mop cycles or multi-room passes.
- Hair and lint are more likely to collect near the entry point than further inside the chamber.
- Washing the tank removes most visible residue but it can take a little time to dry fully if left closed.
The limitations that appear in ordinary use are practical rather than technical: capacity will dictate how long a continuous mopping session can run before a top-up is needed, and the tank does not alter water temperature or actively agitate solutions, so any effect depends on what’s placed into it. In some households the seal can feel finicky if the tank is bumped out of alignment during handling or if small debris lodges in the lip,leading to occasional small leaks until corrected. Over longer storage periods a faint scent can develop if the compartment is left moist and closed, and pet hair sometimes gathers at the mouth of the airway despite the anti-tangle shaping, meaning a quick visual check becomes part of routine upkeep. View full specifications and available variants
How it shapes your maintenance habits: emptying, drying and short-term storage between runs
When a run finishes you’ll find emptying quickly becomes part of the rhythm rather than an occasional chore. You tend to lift the container,give it a short inspection and decide weather it needs a full empty or just a quick tap; sometimes you pause and do it immediately,other times you leave it until several runs are done. That small decision—empty now or later—shapes where you place the bin while you move through the house (over the sink, near a trash bin, or on a mat) and whether you reach for a paper towel or let residual dust settle before handling. Over time a few minor habits settle in: you might open the lid briefly to flick out hair, rest the unit on its side to let trapped debris drop, or set it aside if you’re doing multiple short sessions close together.
how you manage drying and short-term storage between runs changes the cadence of maintenance in subtle ways. In most cases you’ll let the piece air out with the opening exposed, or stand it upright so any remaining dampness can evaporate; occasionally you’ll leave it on a towel overnight after a wet-clean rinse. Your short-term storage choices—kept attached to the charging dock, tucked into a cupboard, or left on a shelf—tend to reflect convenience more than strict rules, and they influence whether you need to recheck seals or wipe surfaces before the next run. Common, practical habits include:
- Quick wipe of the rim or exterior after emptying.
- Air-dry pause of a few hours when moisture is present.
- Temporary placement on a mat or shelf if another run is imminent.
These small routines — sometimes improvised, sometimes consistent — shape how often you interact with the part between sessions and how ready it is for the next cleaning cycle.
How It Settles Into Regular Use
After some weeks the water tank, compatible with TP-Link’s TAPO RV20 Mop Plus RV30 Plus, becomes part of the cleaning corner, an object that’s emptied, topped up, and tucked away with the small rituals of household upkeep. It finds a place on a shelf or in the robot’s dock, and the plastic shows the faint smudges and tiny scratches that come from regular handling and the occasional drip at the rim. In daily rhythms it is indeed reached for and set down without much thought, its presence folded into the pattern of chores rather than announced. It settles into routine.
As an Amazon Associate I earn from qualifying purchases. Amazon and the Amazon logo are trademarks of Amazon.com, Inc, or its affiliates. All images belong to Amazon