Your fingers find the cool, slightly textured shell before you lift it—finished in cherry, it reads narrower then you expected. The Nespresso Vertuo Next by breville has an unexpectedly light heft, yet the plastics and metal trim feel planted and well-joined under your palm. Close the head and the lever clicks into place; as the capsule spins you hear a low, controlled whir and the first steam-scented breath of coffee rises, quick and clean. Visually it balances rounded curves with tidy seams, the kind of presence that settles into a kitchen without demanding attention.
Opening the box and the first glimpse of the Vertuo Next on your kitchen counter
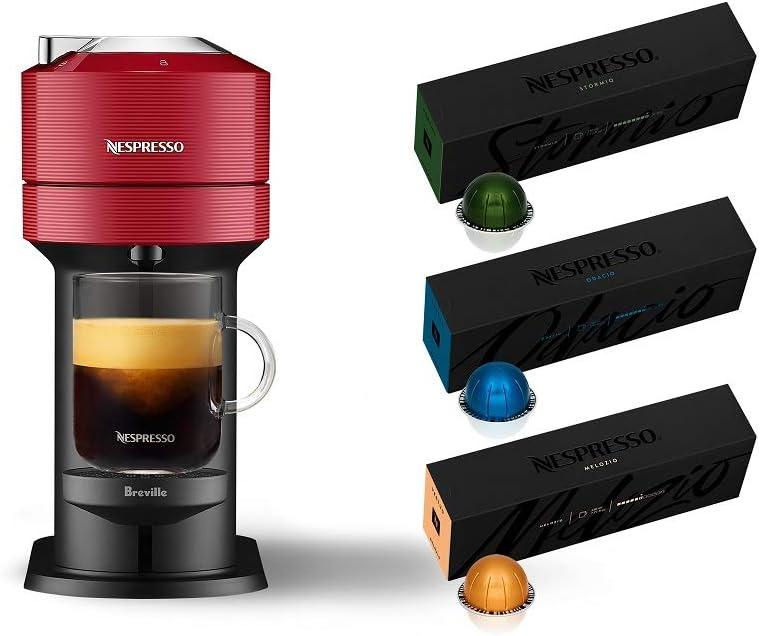
When you lift the top flap, the first thing that meets your eyes is the contrast of color and the machine’s silhouette cradled in molded cardboard. The unit is wrapped in a thin protective film and tucked into foam supports that make the unboxing feel orderly rather than frantic; you’ll find yourself peeling off a few stickers and nudging out a detachable piece or two before the core body is free. The welcome set of capsules sits in a small compartment, their foil tops catching the kitchen light, and the quick-start leaflet and power cord are laid flat beneath a flap. Ther’s a faint, new-appliance scent and the soft rustle of packing materials as you set everything on the counter to take a closer look.
With the machine now upright on your counter, you notice how it occupies a modest patch of space and how its finish catches morning light differently than the other appliances nearby. The removable elements that you uncovered in the box — the water reservoir,the capsule drawer and the starter assortment — are easy to place beside the machine while you find the best spot near an outlet; the cord lies in reach but not sprawling. Small details stand out up close: seams where panels meet, a glossy band around the front, and the way fingerprints show on certain surfaces, which tends to make you reach for a towel after the first few touches. What you found in the box that first time can be summarized as:
- Machine body — wrapped and supported inside molded packaging
- Starter capsule assortment — compact packet of sample pods
- Loose components — removable reservoir and capsule container
- Documentation and cord — quick-start guide and power lead tucked underneath
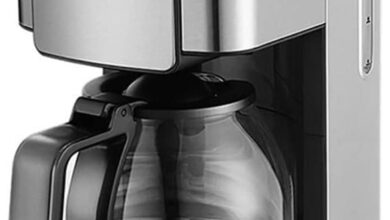
The cherry shell and assembly: how the materials and joins look and feel to your hands
When you run your hand over the cherry shell, the finish reads as a warm, slightly glossy plastic rather than painted metal — it catches light and shows fingerprints more readily than a matt surface, so you’ll notice smudges on the rounded top and front sooner than elsewhere. The main body panels meet in narrow seams that are mostly flush; if you follow them with your fingertip you can feel a faint ridge where the molding joins. Corners and edges are softly radiused, which makes handling the unit comfortable when you nudge it into place or lift the water tank. Look closely and you can see where clips and fastenings sit: they’re hidden from immediate view but reveal themselves as shallow slots or tiny gaps at the rear and beneath the reservoir, the kind of detail you tend to inspect when cleaning or moving the machine around the counter.
Interactive touchpoints have distinct personalities under your fingers. The head lever gives a crisp, single-stage motion and ends with a modest click that you come to expect; the hatch’s plastic-on-plastic contact feels solid rather than loose. The removable water tank slides into its cradle with a soft snap, and the drip tray glides on shallow rails that can catch the pad of your thumb if you pull it out quickly. The capsule bin lift has a slight detent you feel thru the palm, and the underside of the unit is finished with small rubber feet that grip the counter when you press down.A quick list of the parts you touch most often clarifies the sensations you’ll notice:
- Top/hood: rounded, glossy, faint seam at hinge
- Water tank edge: sliding snap, shallow gap where it seats
- Drip tray: shallow rails, slight catch on insertion/removal
| Area | Tactile impression |
|---|---|
| Front shell | Smooth, slightly warm to touch; shows fingerprints |
| hinge/lever | Crisp movement, audible click, plastic contact |
| Reservoir seam | Flush fit with a fine ridge that can harbor dust |
You’ll find that routine wiping removes most marks, though the recessed joins around the tank and tray tend to collect coffee dust and crumbs in everyday use, a small, familiar upkeep cue rather than anything mechanically revealing.
Where you place it and how its footprint relates to your cabinets, sink and cup storage
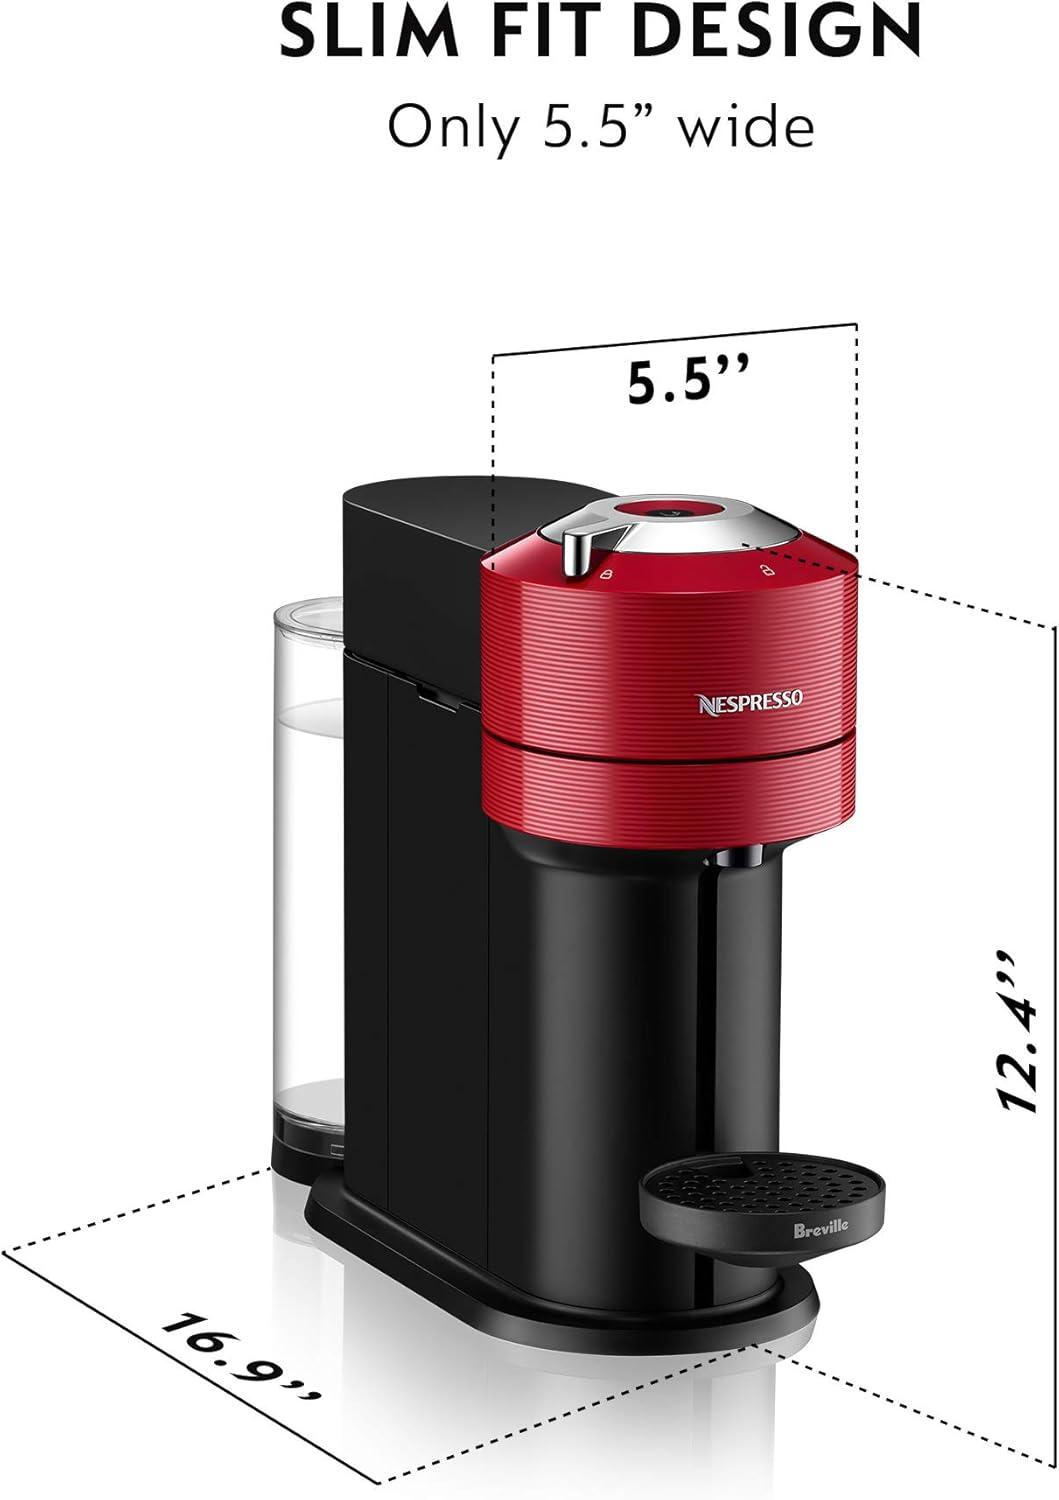
Placing the machine on a kitchen counter often comes down to three practical clearances: the space above from any upper cabinets, the side and rear clearance needed to access the removable water tank, and the room in front for cup placement while brewing. The unit’s upright profile usually fits beneath a run of cabinets, but the head and capsule chamber require a little forward room when opened, so it tends to sit slightly forward of flush cabinet faces. near a sink it makes refilling straightforward, though locating it directly adjacent to the sink can mean occasional splashes on the surrounding counter; having a bit of lateral space helps when the capsule container needs to be removed and emptied or when the machine is nudged for routine cleaning.
How cup storage is arranged will shape daily handling: if cups are on a shelf above the machine, there’s a small choreography between reaching up to grab a cup and operating the brewer, whereas nearby open shelving or a drawer beside the counter keeps mugs within easy reach. The capsule bin and drip tray both require periodic attention and tend to prompt brief moves of the appliance, so a placement that allows a few inches of clearance on at least one side makes those quick interactions less fussy. Key placement points to check include
- Overhead clearance: space for opening the head without bumping cabinets
- Sink proximity: ease of refilling versus exposure to splashes
- Cup access: whether cups are stored above, beside, or below the counter
For complete specifications and current listing details, see the product information here.
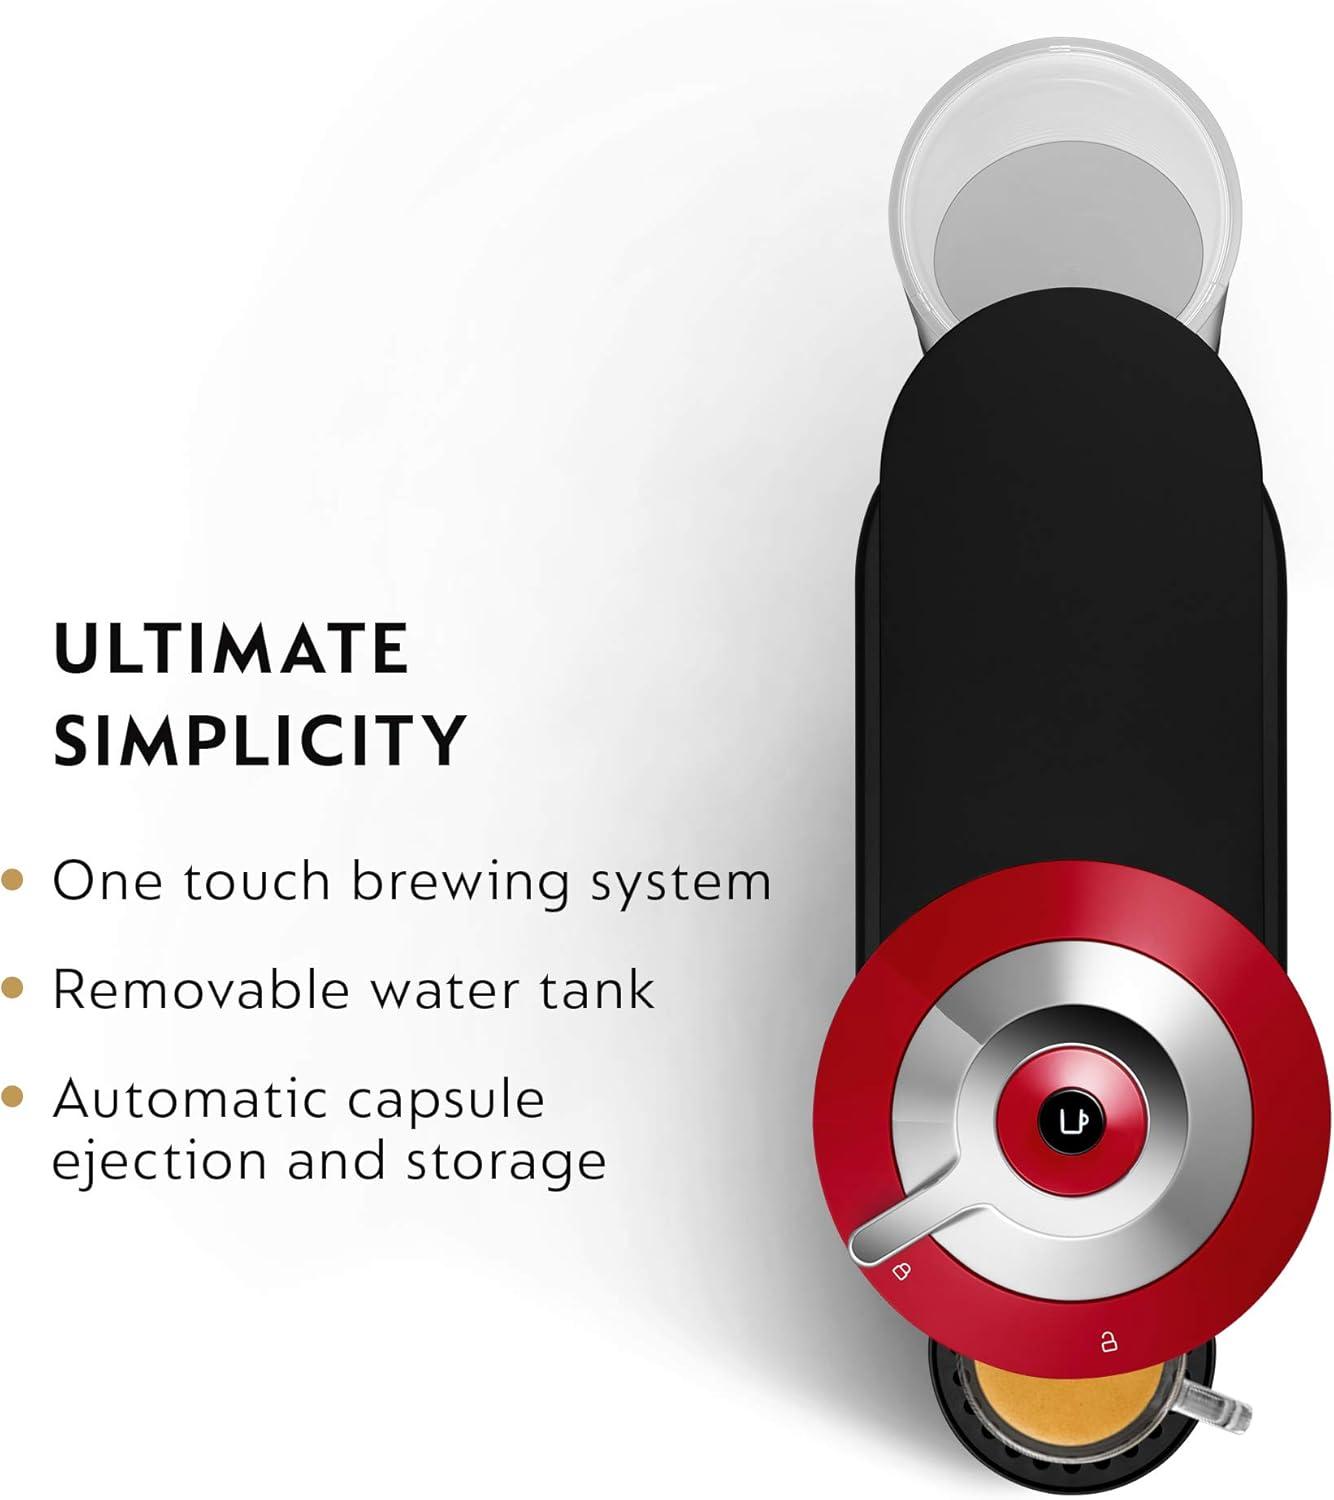
The small rituals you perform to brew: loading capsules, closing the head and where you set your mug
You learn a few little moves the first week and they become part of how you start the day. You reach for a capsule (sometimes straight from a drawer, sometimes from a little jar by the machine), drop it into the head and feel it settle—there’s a brief tactile feedback that tells you it’s seated. Closing the head is a small, curt motion: you lower the lever until it meets resistance and then give it a confident finish with the heel of your hand, or you close it gently if you’re still half-asleep. Small improvisations creep in over time — a quick wipe of fingertips if the capsule feels greasy, a light tap to centre an odd-shaped pod, or pausing for a breath before you press the button.
- Picking the capsule: the pull from storage to machine becomes automatic.
- Seating the pod: you notice the way it drops and aligns, then confirm with a soft click.
- Closing the head: that single decisive motion marks the transition to brewing.
Where you set your mug turns into a ritual of its own. You tend to place it on the drip tray so the spout lands near the centre, nudging it forward or back until the stream pours into the sweet spot; with taller mugs you shift the tray or swap in a smaller cup without much thought. Sometimes you warm the cup briefly or rest it on a coaster before brewing — those small choices affect the first few seconds of the pour and how the crema looks. After a few uses you also keep an eye on the tray and the immediate area, wiping small spills and shifting the used-capsule bin when it starts to feel crowded, habits that are more about living with the machine than about caring for it formally.
How it measures up to your expectations and the everyday limits you’re likely to encounter
The way this machine integrates into everyday routines tends to be straightforward: single-button brewing and automatic capsule reading make cups come out consistently without much fiddling, but several small practical limits become apparent over time. The spinning extraction is audible — not loud enough to stop a conversation,yet noticeable when the kitchen is or else quiet — and the longer 18‑ounce cycle feels slower and cooler compared with a quick espresso shot, with the crema dissipating more during larger pours. Used capsules collect under the hood and will occupy space after a handful of brews, so emptying that compartment and topping up the removable water tank work their way into the rhythm of a morning. The unit’s energy‑saving auto-off and brief warm-up pauses mean there can be a short delay if a machine sits unused between cups.
Routine upkeep and day-to-day interaction are simple but visible in practice: surface wiping, clearing the drip area, and emptying the capsule bin show up as small chores rather than complex maintenance, and pairing with a separate milk frother adds another device to store and clean. Typical patterns that emerge include the occasional mid‑day refill, a habit of scheduling larger carafe brews ahead of time, and accepting a modest mechanical hum during extraction.
- Refill frequency: tends to depend on household usage and not the machine’s footprint.
- Used-capsule storage: fills predictably and will need clearing on a weekly cadence in many homes.
- Noise and timing: extraction is distinct but not intrusive; longer brews run noticeably longer than espresso shots.
for full specifications and current configuration details,see the product listing: View listing and specifications.
Daily upkeep as you live with it: refilling water, swapping capsules and routine cleaning

Living with the machine quickly settles into a small set of habitual motions.The removable water tank sits where you expect it, so topping it up becomes a quick trip to the sink between a few morning drinks or during a quiet afternoon — in most cases you refill when you notice the level visibly lower, rather than on a fixed schedule. as you brew, used capsules are automatically dropped into the internal container, and you find yourself checking or emptying that compartment after several cycles; sometimes you’ll nudge the emptied capsule drawer to make space without thinking about it.Little, everyday touches also become part of the routine: a quick wipe of the exterior and the drip area after a spill, a rinse of the tank now and then if the water’s been standing, and the occasional lift of the brew head to clear any stray grounds or moisture that collect from regular use.
Those small upkeep tasks fall into a handful of repeated actions you’ll do without much ceremony:
- Water top-ups: usually done when you notice the level low or before a big batch of cups, often at the sink rather than at the machine itself.
- Capsule handling: swapping in a fresh pod for each brew and emptying the used-capsule container every few days or after a run of drinks.
- Surface and tray care: wiping the drip area and rinsing removable parts when they look spotted or after a milk-based drink session.
These are the routines that keep the machine presentable and ready without demanding formal maintenance each day; how often you perform each one tends to depend on how many drinks you make, your water quality, and whether you milk-froth often, so patterns settle into whatever rhythm your kitchen already follows.
How It settles Into Regular Use
Over time you notice the Nespresso Vertuo next by Breville slipping quietly into the background of your mornings, more an accepted presence on the counter than a thing of attention. Its footprint and cherry surface shape the little ways you move around the sink and mug rack; fingerprints and the occasional soft scuff mark the places it’s touched as pods are dropped and the drip tray is rinsed. In daily routines the small sounds and rituals — the spin, the clink of a cup, the emptied pod bin — become familiar, and your movements adapt around that steady cadence. after a few weeks it simply settles into routine and stays.
As an Amazon Associate I earn from qualifying purchases. Amazon and the Amazon logo are trademarks of Amazon.com, Inc, or its affiliates. All images belong to Amazon