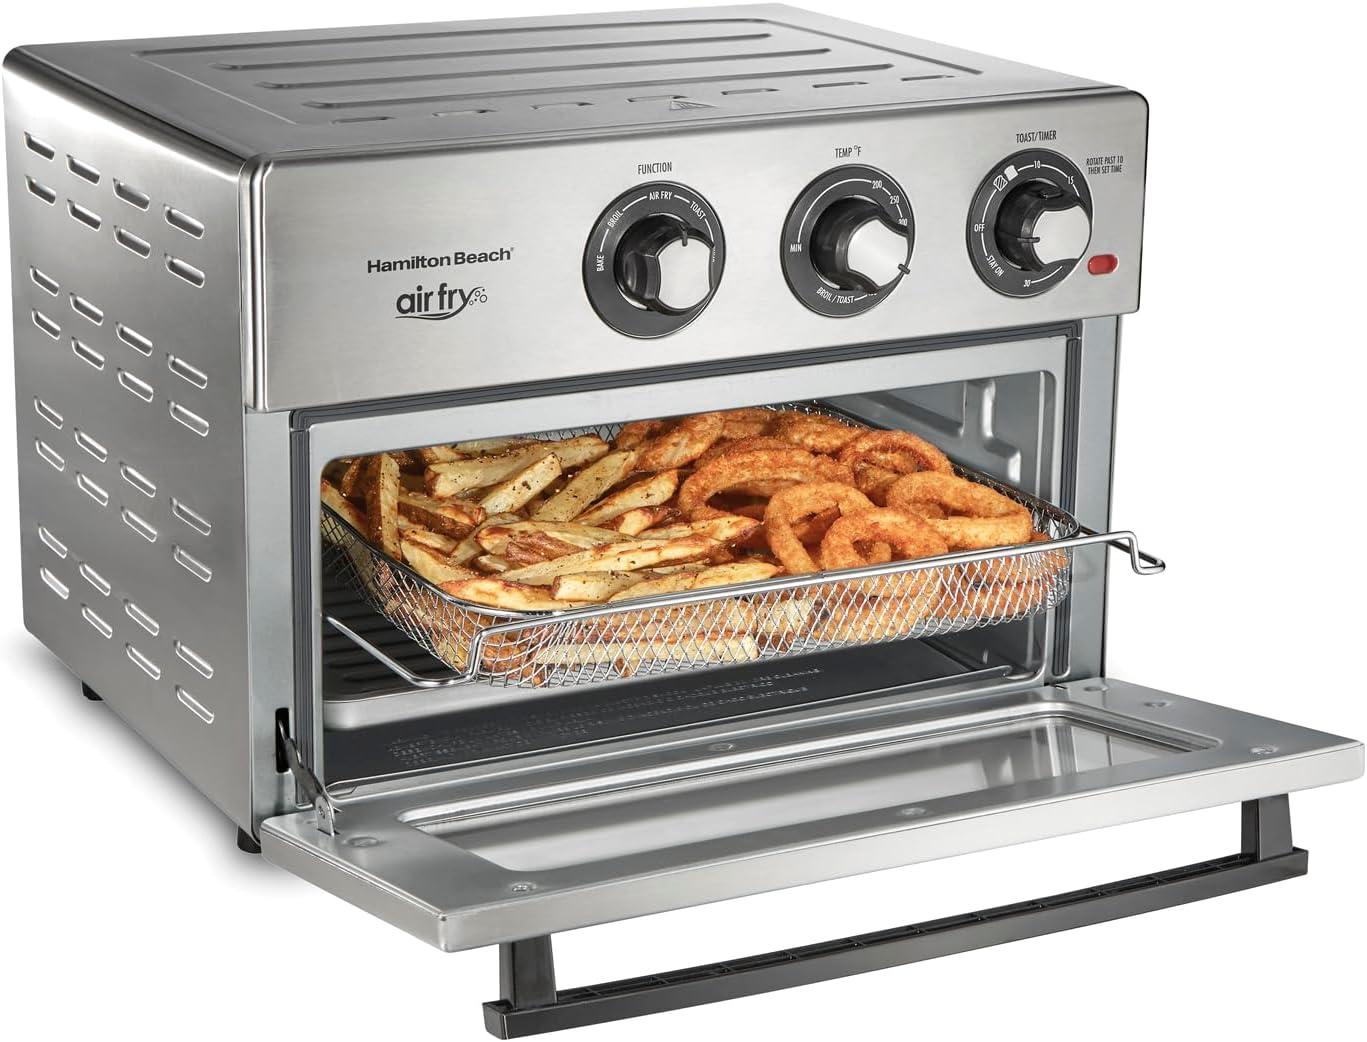
You lift the Hamilton Beach Toaster Oven Air Fryer Combo — the combo oven — out of its box and instantly notice a reassuring heft, the kind that makes you steady it with both hands before you set it down. The stainless-steel skin feels cool and a little grainy under your fingertips, edges squared off but softened by a brushed finish that catches the light without glaring. Turn a dial and you get a firm click; close the glass door and it settles with a compact thud,then a low fan hum and interior glow register as the first real signs of life. It occupies a balanced presence on the counter, and the rack slides in with a quick, quiet glide, so those small textures, sounds, and movements become your first impressions long before anything reaches the tray.
You set it on the counter and plug it in — first impressions of the combo in everyday light
You lift it out of the box, set it down on a clear stretch of counter and notice how the stainless surface catches the kitchen light — luminous where the overhead hits it, but quick to show a faint pattern of fingerprints where you handle the door. The unit sits solidly; you frequently enough find yourself nudging it a fraction to line it up with outlets or to give the power cord its little arc. The feet grip the countertop enough that a single nudge moves it rather than sliding freely, and the door feels weighty when you open it, the glass giving a clear view of the interior. Small details stand out as you position it: the control dials have a definite resistance, the handle clears most cabinet lips, and the crumb tray is visible from the front, so occasional wiping seems likely to become part of the routine.
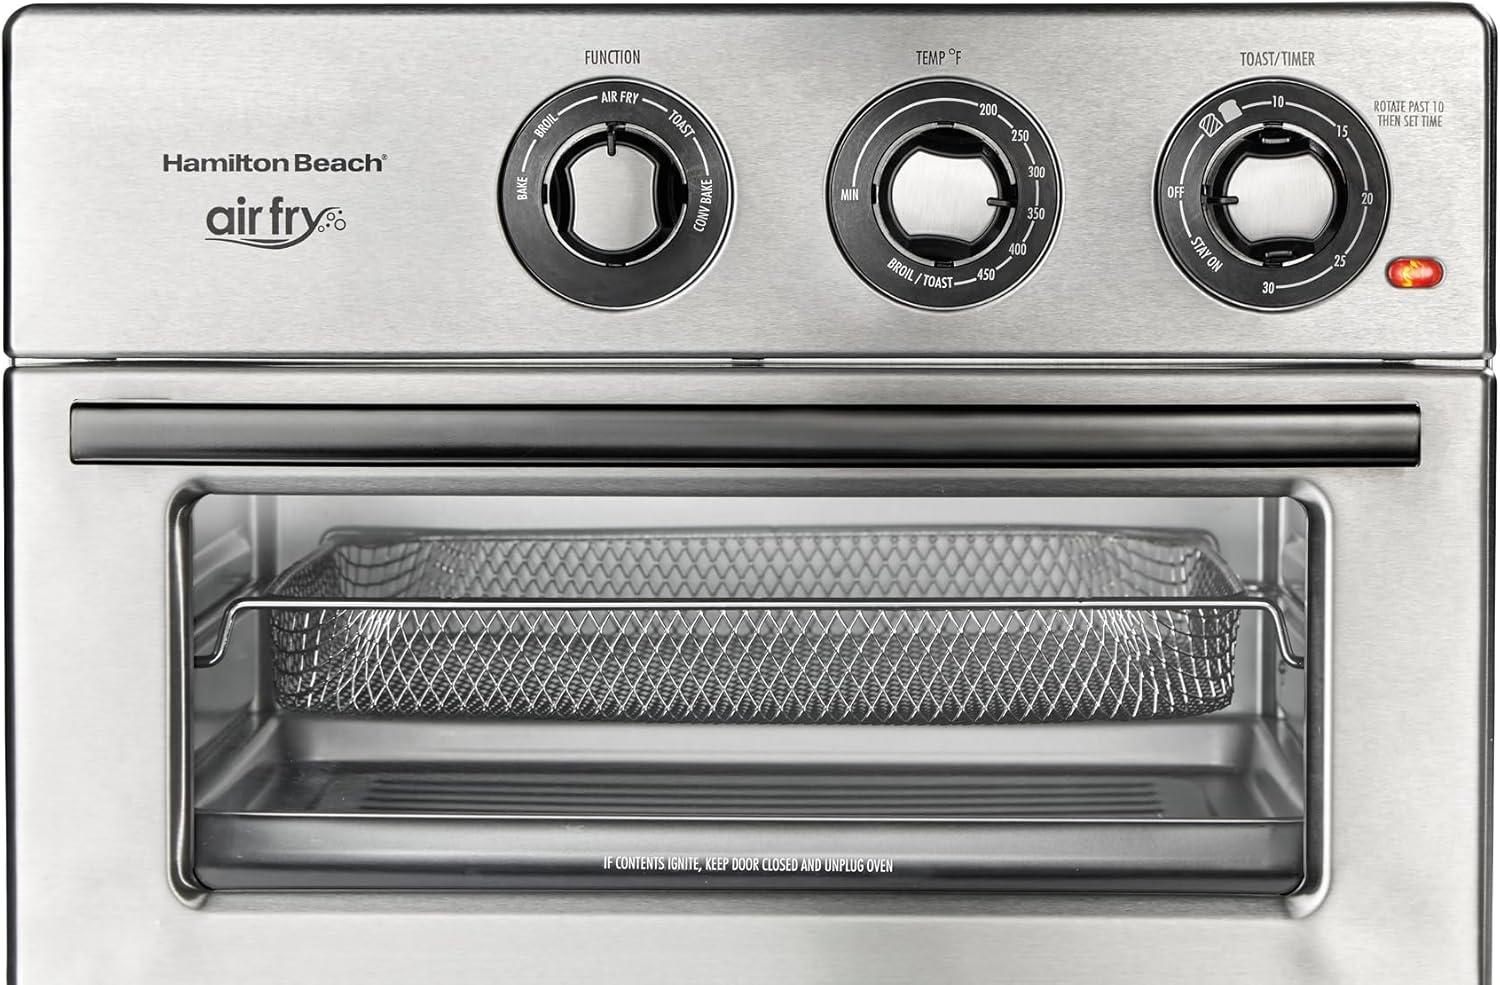
When you plug it in, subtle cues tell you it’s awake — a small indicator lights, the dials meet thier stop positions with a soft click, and the metal finish reflects the indicator glow into the room. If you turn a dial or nudge a setting the sound is a muted, mechanical click rather than a digital beep; selecting a function sometimes brings a low, steady fan hum that you notice more when the kitchen is or else quiet. The interior light (if on) makes it easy to see the rack positions without reaching in, and after a brief run the outer surfaces can feel slightly warm to the touch. These first moments tend to shape how you use and care for it day to day: quick surface wipes show up as a likely habit, and the way the door and racks move suggests how often you’ll be reaching in and rearranging trays.
The stainless exterior, glass door and knobs as you touch them: materials and build in real use
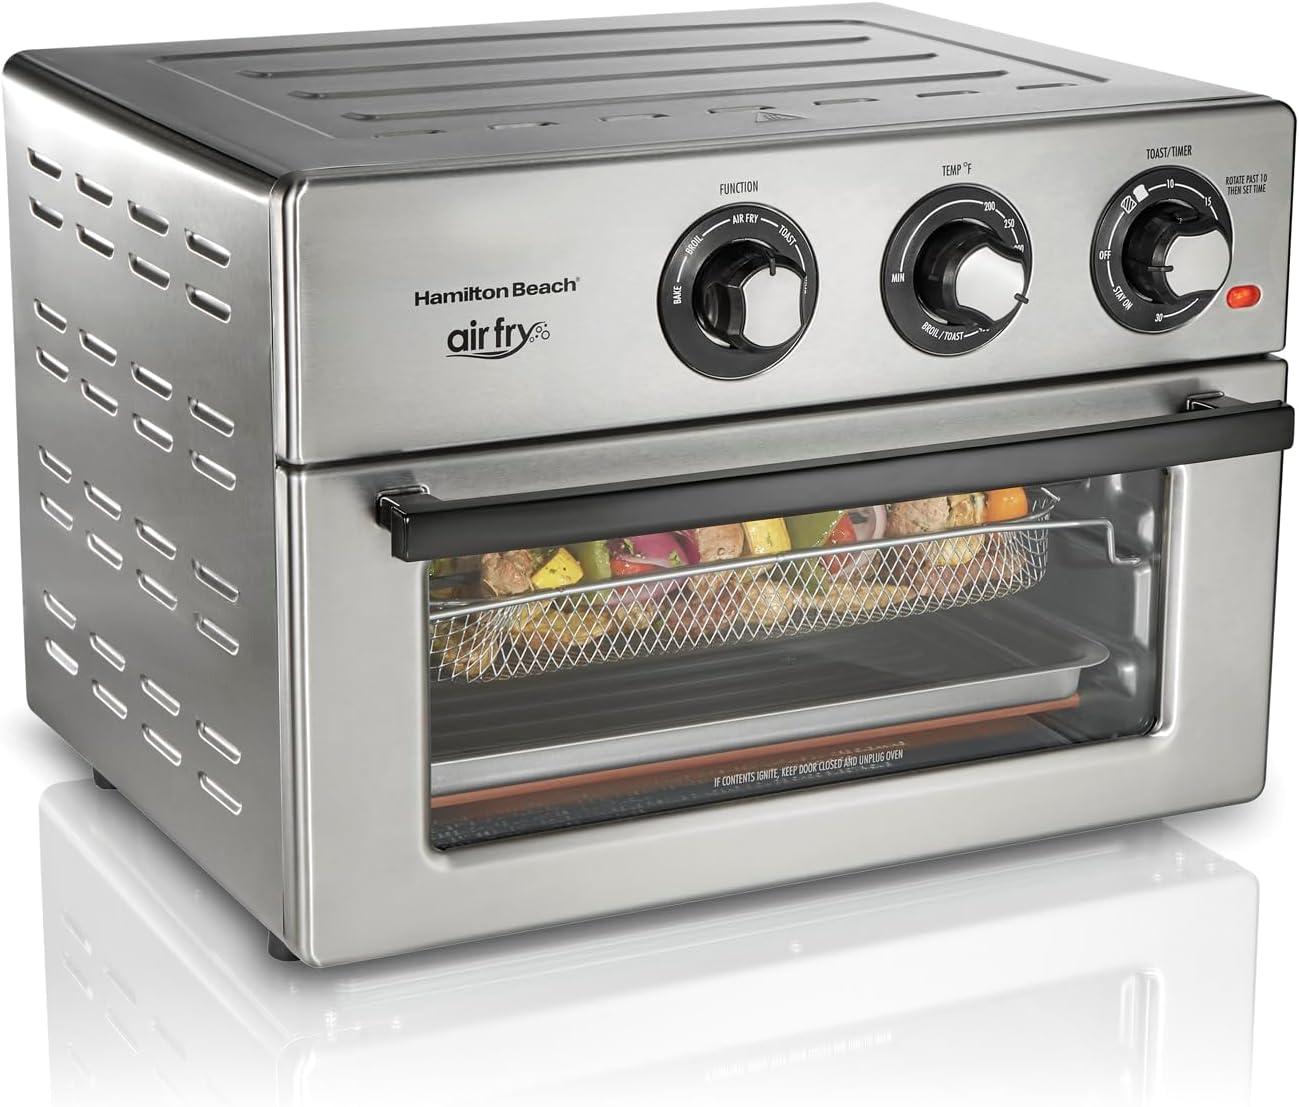
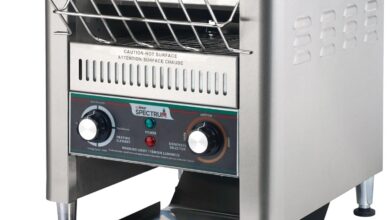
When you run your hand over the stainless exterior it greets you with a cool, smooth surface that often picks up fingerprints and faint streaks during normal use, so you find yourself wiping it more than once between cooks. the finish isn’t mirror-polished; it has a subtle texture that hides tiny smudges but still shows wetter spots, and you’ll notice seams and joins where panels meet if you look closely while leaning in to check the oven. The glass of the door feels solid under your palm — not wafer-thin — and the visual depth of the glass makes the interior seem set back a little from the frame. When the oven is running the outer face of the door warms in roughly the way a window does on a sunny day: the center stays cooler to the touch than the area near the vent, so you naturally test different spots with a fingertip before grabbing the rack or handle.
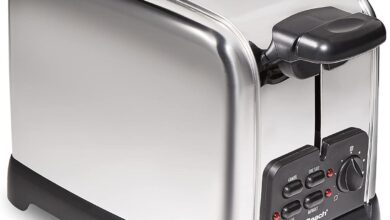
The controls are the bits you interact with most, and they register those small, everyday behaviors: turning a dial, pausing to listen for a click, nudging a knob back into place after a quick adjustment. The knobs have enough resistance that you don’t spin them accidentally when brushing past, and their tactile feedback tends to be a quick, audible snap into each setting so you frequently enough rely on touch as much as sight. In routine upkeep you treat each surface differently — a quick swipe across the stainless, a gentle wipe on the glass, and a brief run around the knobs — and you’ll notice that grease and flour show up in different ways on each material, which guides how and when you clean during regular use.
- Exterior: cool, slightly textured, shows fingerprints
- Door: solid-feeling glass, warmer near vents
- Knobs: tactile resistance with audible clicks
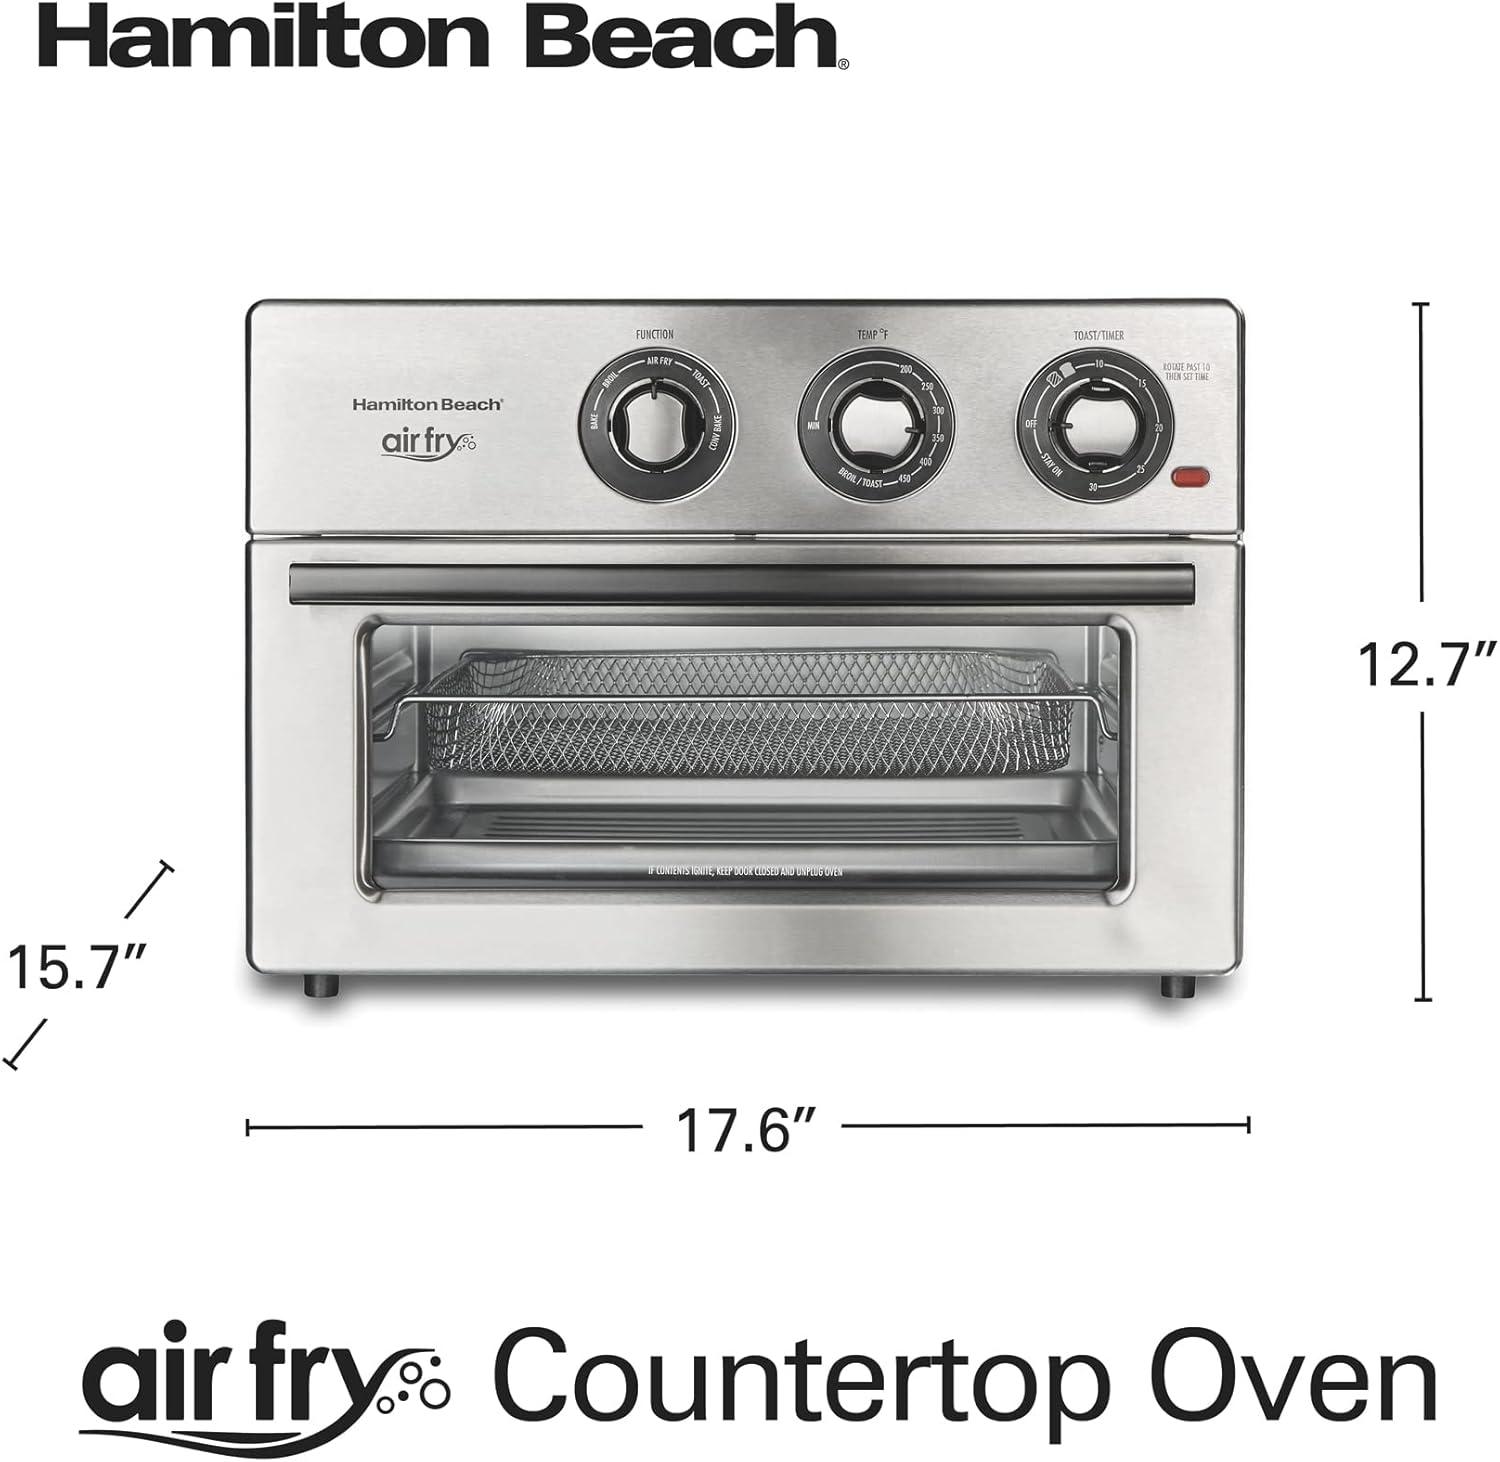
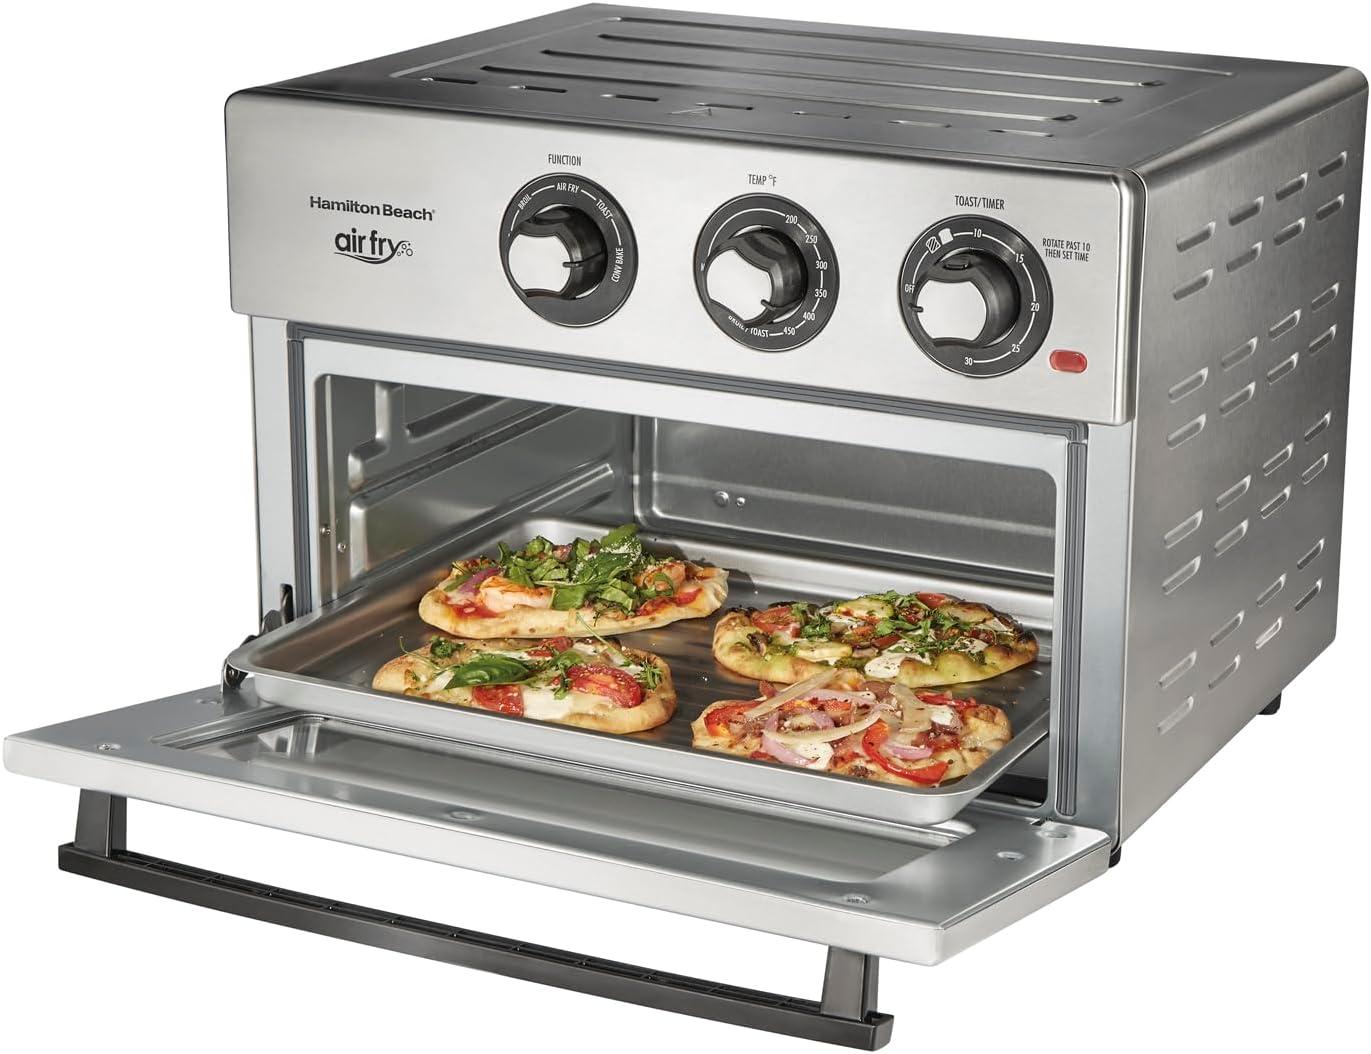
Where it finds a home in your kitchen and how a 12 inch pizza sits on the rack
The unit typically lives on a stretch of counter where a few inches of clearance are available in front for the door and a bit of space behind for the cord. It frequently enough ends up beside other small appliances or tucked under an overhanging cabinet; in those placements the door swing and the location of the controls become the most noticeable daily considerations. Everyday interaction includes sliding the rack in and out, nudging the appliance a little when accessing the plug, and occasionally pulling the crumb tray forward as part of routine tidying. Common countertop spots where it fits without crowding include:
- next to the coffee maker — keeps morning prep stations compact
- between the microwave and stove — allows for quick transfer of pans
- on an open run of counter space — makes door access and ventilation simpler
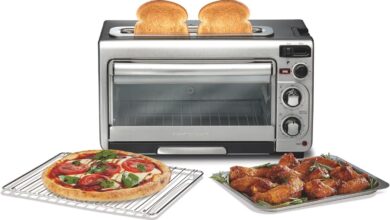
The 12-inch pizza sits flat on the middle rack and generally clears the oven sides with a hair’s width to spare; centered placement helps keep the crust from pressing against the glass and avoids uneven edge contact. Placing the pizza on the higher rack moves it closer to the top heating element, which changes how the crust and toppings brown, while the lower rack leaves more room above the pie but brings it nearer the heating surface below. Small habitual moves—sliding the rack a fraction forward to check doneness, or shifting the pan slightly to center the pizza—are common during use and tend to affect results more than hard measurements.
| Rack position | Pizza clearance | Typical interaction |
|---|---|---|
| Upper | Closer to top element, minimal headroom | Frequent peeks and brief adjustments to avoid over-browning |
| Middle | Centered with modest side clearance | Standard placement for even contact and easy retrieval |
for full specifications and current listing details, see the product listing here.
Moving through a day of meals: how you switch modes and reach for the controls during breakfast,lunch and dinner
In the morning you tend to grab the front dial first and let your hands find the familiar click of the mode selector. For quick toast you turn and watch the indicator settle where you expect, then nudge the timer toward a short span while you butter the first slice; for a heartier start — frozen waffles or a small batch of hash browns — your movements include one more twist to the air-fry setting and a glance at the timer before you step away. Mid-cook checks are part of the rhythm: you open the door to peek, slide the rack a notch if the pan looks too close to the element, and the crumb tray is a brief afterthought you clear between energetic breakfasts and the quieter moments when you reheat coffee.
Through lunch and then into dinner the same physical routine repeats but with different priorities — you reach for the mode dial to shift from a quick toast or reheat into bake, broil, or convection bake depending on weather you’re finishing a casserole or crisping a sheet of vegetables. the controls encourage incremental adjustments: a small turn for extra browning, a short extension of the timer when a dish needs a few more minutes, or the stay-on position if you’re slow to plate. Typical, everyday habits around the oven show up in little gestures and shortcuts rather than formal steps:
- Quick toggles — a rapid twist to switch from reheat to broil for finishing edges.
- Timer nudges — small increases you make while checking doneness instead of restarting the whole cycle.
- Mid-run door checks — brief openings to reposition pans or lift a crust, then closing to continue the countdown.
| Meal | Mode you turn to | Immediate control action |
|---|---|---|
| Breakfast | Toast / Air Fry | Set a short timer and glance once or twice during the cycle |
| Lunch | Bake / Convection | Adjust time for reheating, occasionally move the rack for even browning |
| Dinner | Broil / Convection Bake | Tilt the dial for higher heat, use brief broil bursts to finish surfaces |
How it actually measures up to what you expect from an 1800 watt, six mode countertop oven
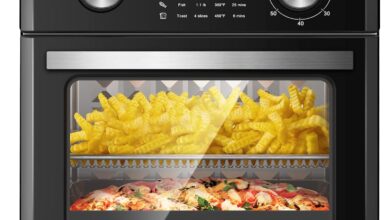
The 1800‑watt rating shows up in everyday use as a tendency toward quicker heat-up and slightly shorter run times compared with lower‑powered countertop ovens; cycles that rely on airflow in particular finish noticeably sooner.Mode changes produce observable shifts in how food browns and crisps: Air Fry moves heat around items for a crisp exterior without long waits, Convection Bake evens out browning across the middle rack, while Broil delivers rapid top-coloring that can darken quickly if left too long. Rack position matters in a practical way—moving a tray up a notch speeds surface finish but shortens the margin for error—so timing and a glance through the door become part of the routine when switching between functions.
Routine interaction with the controls and interior tends to feel straightforward; the dials make mode and time changes immediate and the timer’s automatic shutoff is reliable during repeated use.Ambient fan noise is present when air fry or convection is active but rarely interferes with normal kitchen activity, and light splatters or crumbs are noticeable after frequent air frying, so periodic wiping becomes part of having it on the counter. Typical, observed behaviors include:
- shorter cook cycles with air circulation modes compared to simple bake;
- faster surface browning under broil that benefits from closer monitoring;
- mid‑rack placement yielding the most consistent overall results.
| Mode | Common,practical outcome |
|---|---|
| Air Fry | Quicker crisping with less visible oil residue on food surfaces |
| Convection Bake | Even browning across trays placed at the center |
| Broil | Rapid top browning; requires short monitoring bursts |
Full specifications and configuration details can be viewed here: Product details
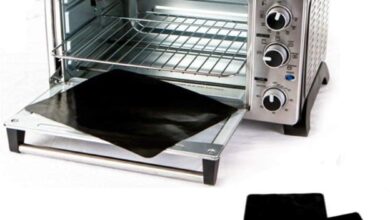
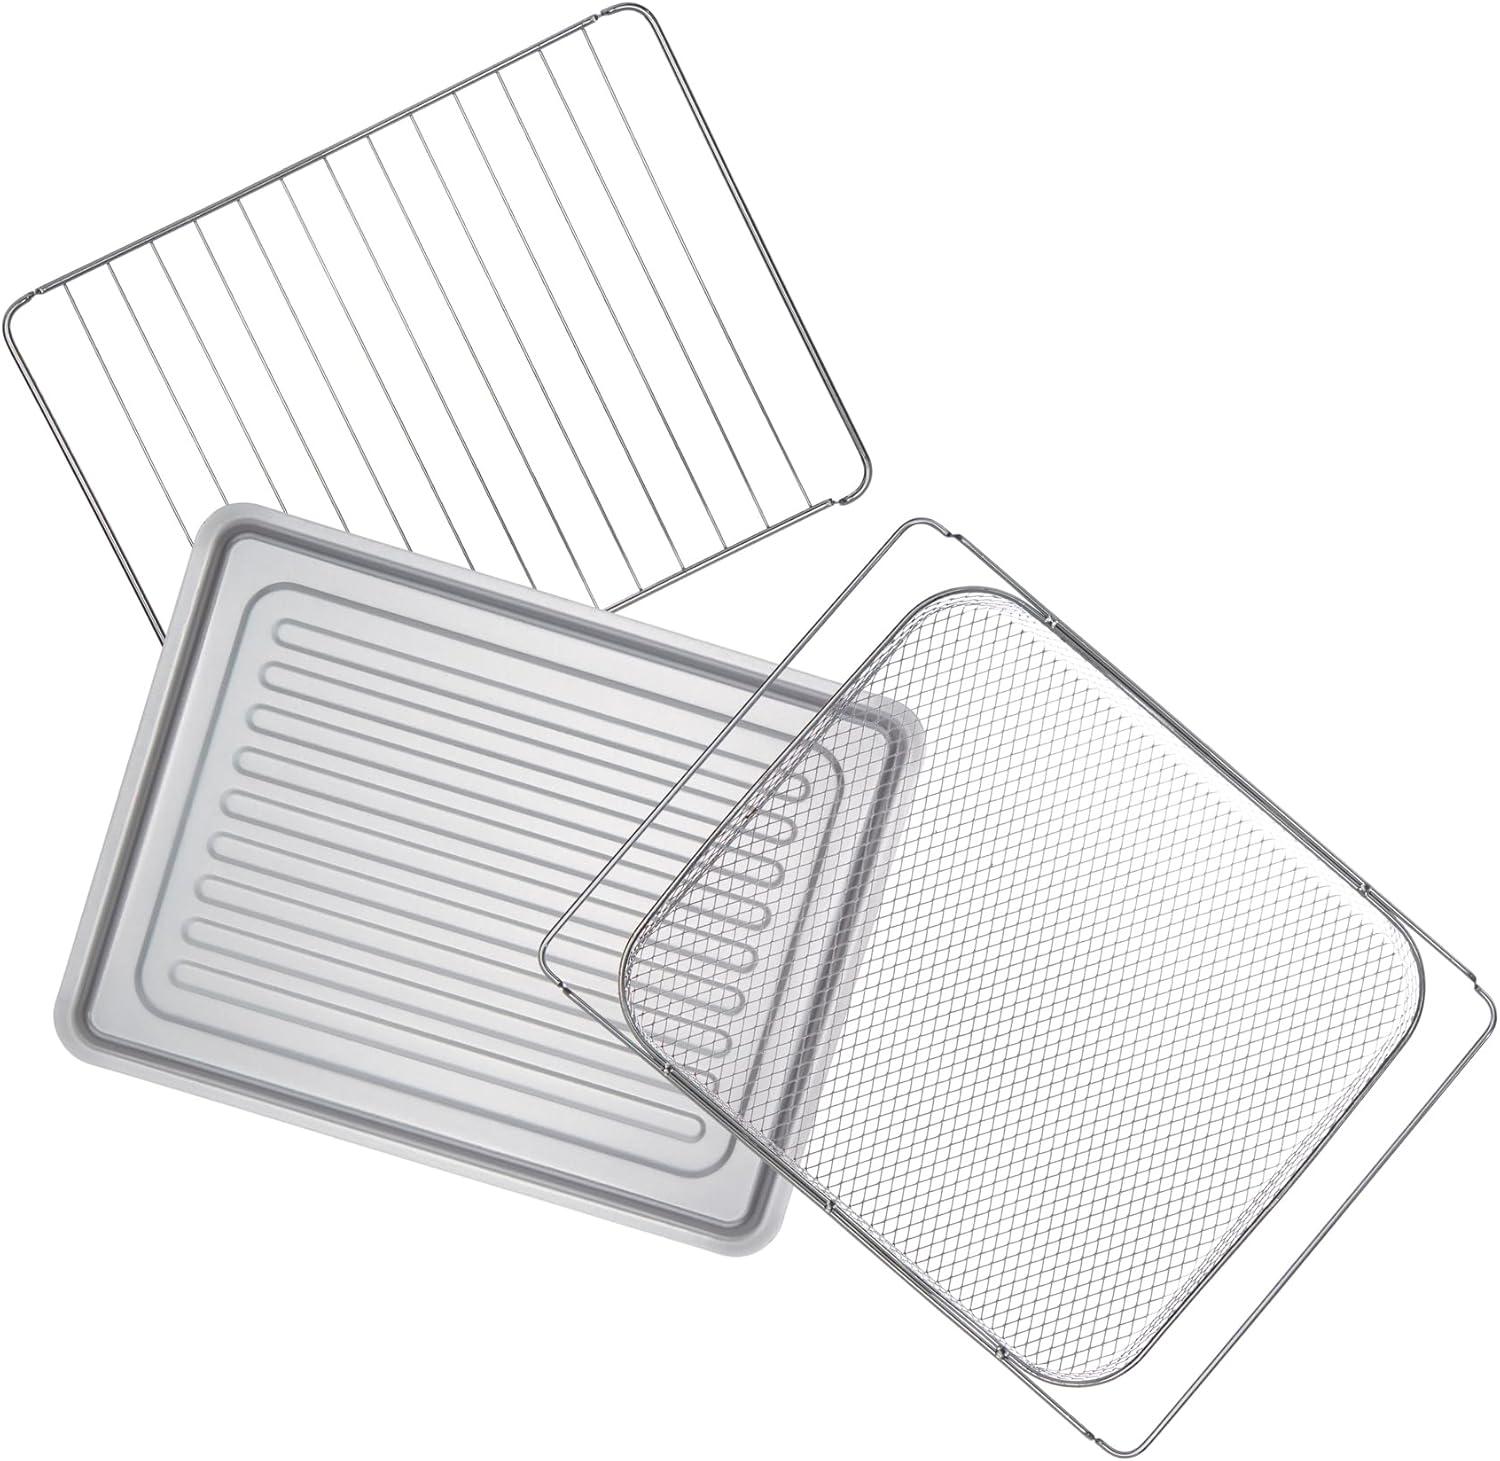
After you cook: what removing the crumb tray, wiping the rack, and storing the unit look like in practice
When you open the door after a session, the first thing you notice is where the loose bits collect: the shallow crumb tray tends to hold the larger flakes and crumbs while finer soot or oil residue settles near the corners. Pulling that tray out is a quick, one-handed motion in most cases and what you actually do next often depends on habit — a shake over the trash, a quick rinse, or a wipe with a damp cloth if you’re keeping things simple. The wire rack usually needs a little more attention; grease and stuck-on bits tend to cling to the lower edges and the crossbars, so you’ll catch yourself leaning the rack against the sink or the back of the counter while you wipe, sometimes making a small adjustment to reach an awkward spot.
In everyday practice you tend to keep a short list of post-cook tasks in mind:
- Crumb tray — removed and emptied or wiped depending on how much accumulated.
- Rack — wiped or briefly soaked when residues are stubborn.
- Exterior/interior — quick wipe of visible splatters, occasional deeper clean when things build up.
A simple reference of what each action looks like in use can help set expectations without turning it into a chore:
| Component | What it looks like in practice |
|---|---|
| Crumb tray | Slides out with a light pull; often contains crumbs and small solids that are shaken out or wiped clean. |
| Wire rack | usually carried to the sink or wiped on the counter; stubborn spots may require a brief soak or extra scrubbing. |
| Storing the unit | Either left on the counter with cord tucked behind or slid into a lower cabinet; some people store the rack and tray inside the cavity when moving it. |
These moments are part of the routine — small, repeated adjustments and quick wipes more often than big cleaning sessions — and they shape how the appliance sits on your counter between uses.
How It Settles Into Regular Use
After a few weeks the Hamilton Beach Toaster Oven Air Fryer Combo sits on the counter the way a useful appliance does — quietly present in the corners of morning coffee and late-night snacks. You notice the stainless surface picking up tiny smudges, crumbs gathering on the tray, and the faint wear where hands habitually turn knobs, all small traces of regular use. It doesn’t demand attention so much as fold into rhythms, handling quick reheats and simple meals while your movements around it adapt; you reach for it at certain times, wipe it down at others. It settles into routine.
As an Amazon Associate I earn from qualifying purchases. Amazon and the Amazon logo are trademarks of Amazon.com, Inc, or its affiliates. All images belong to Amazon