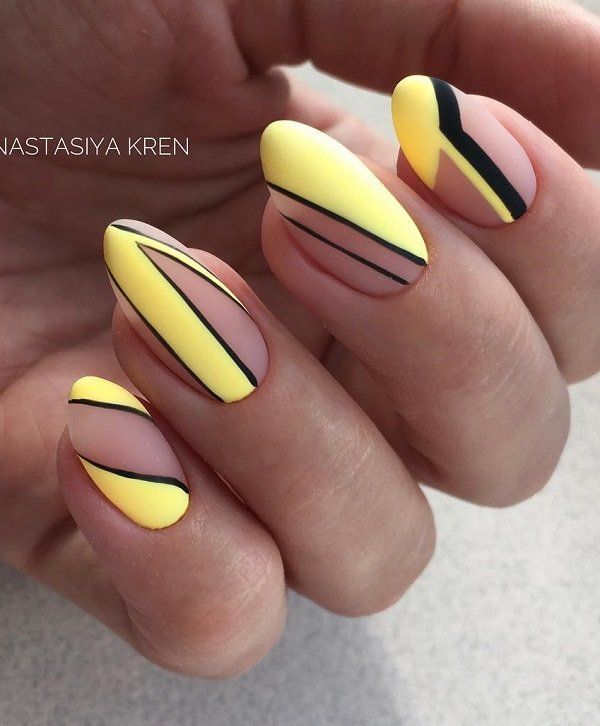
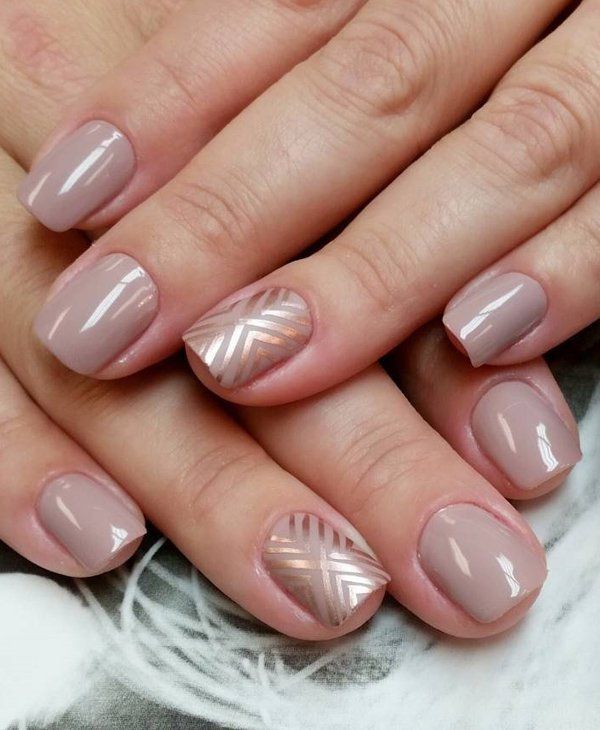
One of the latest trends in nail art is geometric designs, and what better way to showcase this trend than with nude shades? Nude colors are timeless and versatile, making them the perfect choice for any occasion. By combining the two, you can create a chic and sophisticated look that is sure to turn heads.
To achieve this DIY geometric nail art look, start by selecting a range of nude nail polishes in varying shades. These can include colors like beige, taupe, peach, and light pink. You’ll also need a thin nail art brush or striping tape to create clean lines and shapes on your nails. Additionally, a clear top coat will help seal and protect your design.
Begin by painting your nails with a base coat in a nude shade of your choice. Once dry, use your nail art brush or striping tape to create geometric shapes on each nail. This can include triangles, squares, rectangles, and even lines and dots. Don’t be afraid to mix and match shapes and colors to create a unique and eye-catching design.
To add some depth and dimension to your geometric nail art, consider adding metallic accents in gold or silver. This can be done by using a thin brush or nail art pen to outline the geometric shapes or add small details like dots or lines. The metallic accents will add a touch of glamour to your nude nail design and make it stand out even more.
Once you have finished creating your geometric nail art design, allow it to dry completely before applying a clear top coat. This will help seal and protect your design, as well as give your nails a glossy finish. You can also add a matte top coat for a more modern and edgy look.
DIY geometric nail art in nude shades is a trendy and stylish way to showcase your creativity and nail art skills. By combining nude colors with geometric shapes, you can create a sophisticated and eye-catching design that is perfect for any occasion. So why not give this nail art trend a try and create a unique and chic look for your nails today?

