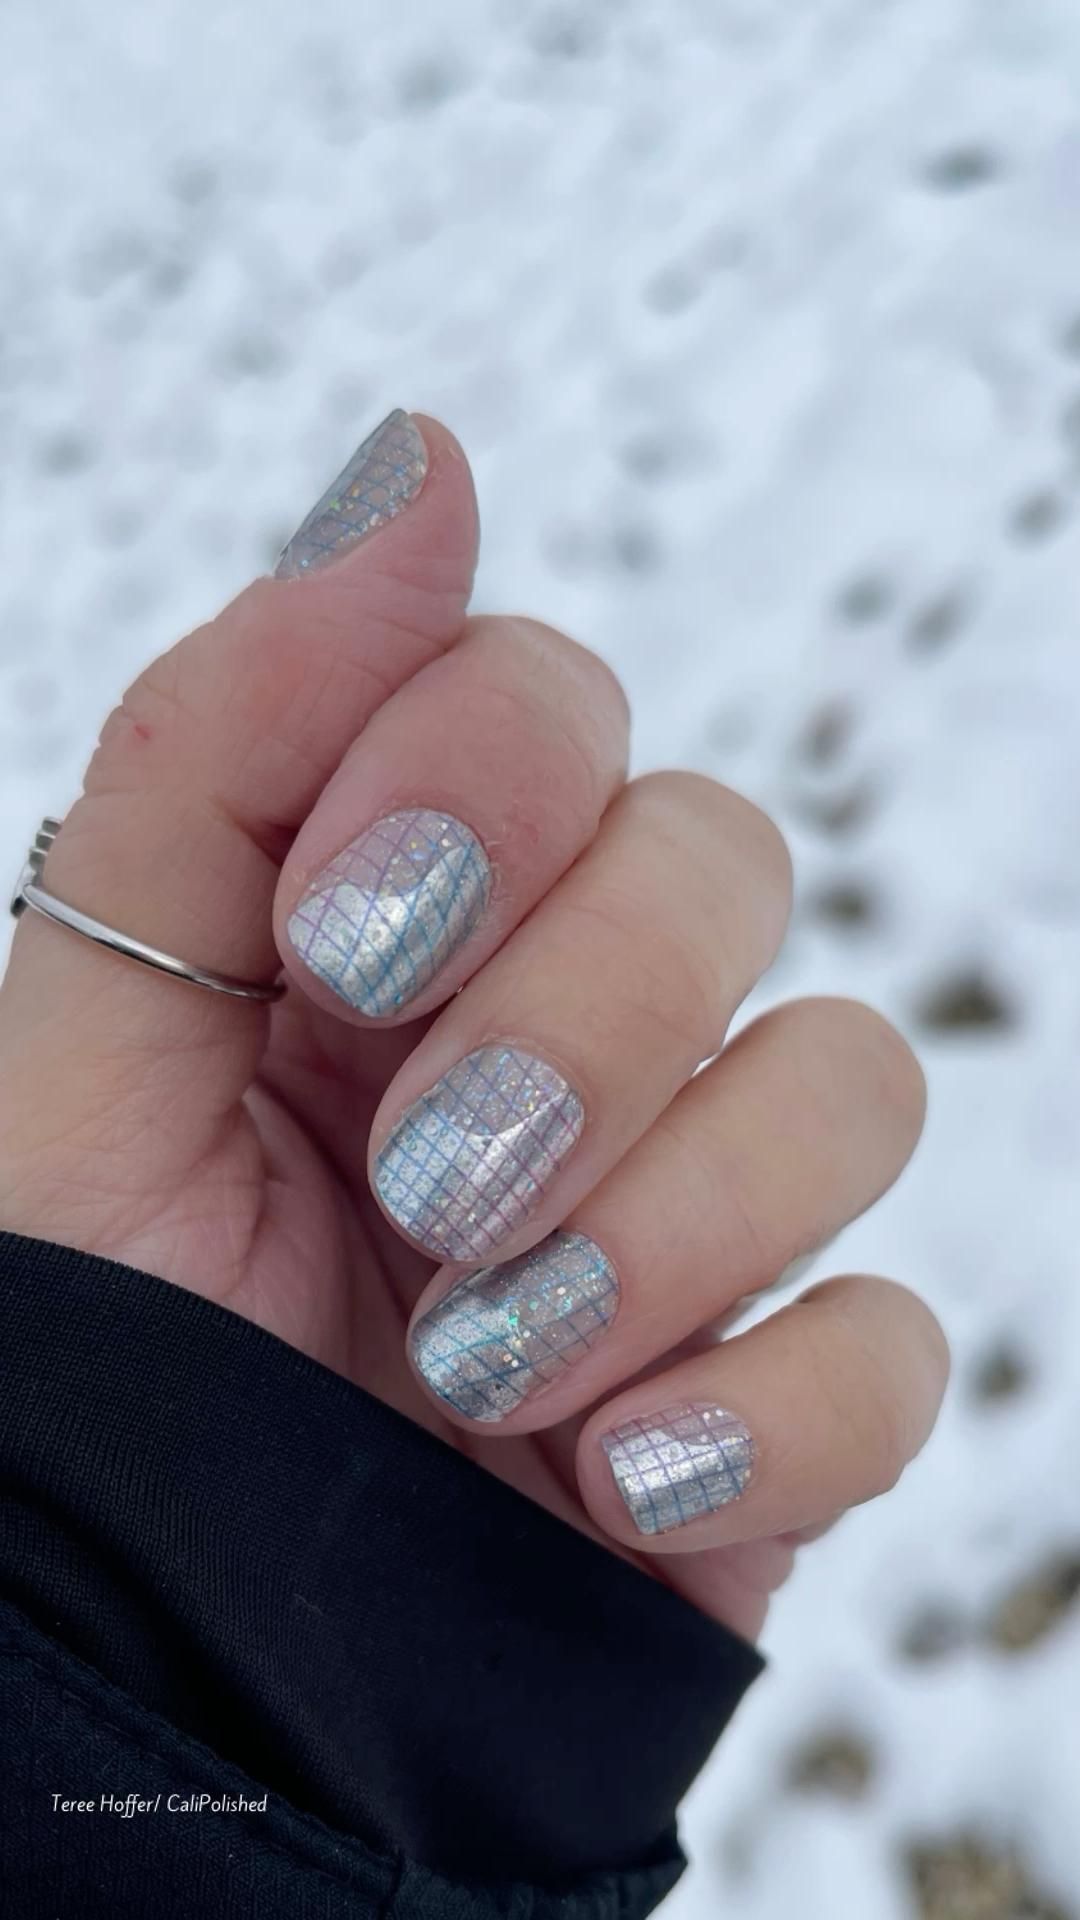
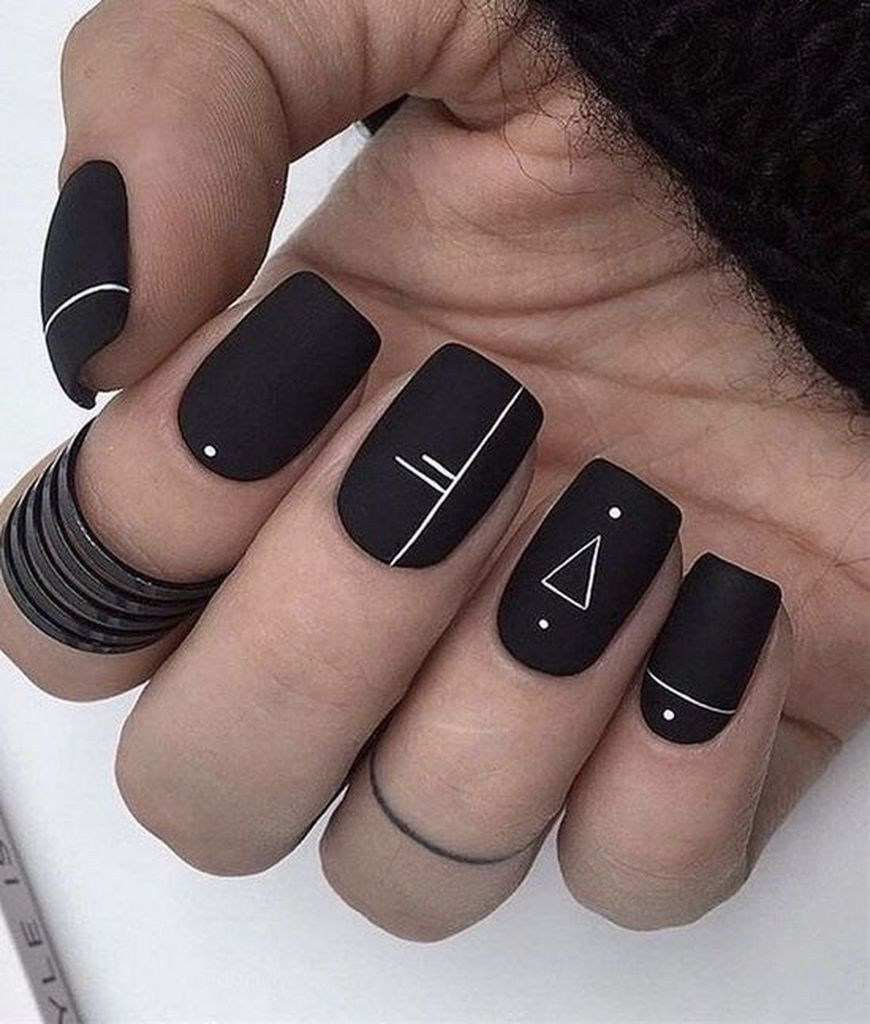
Geometric nail art has been gaining in popularity in recent years, and for good reason. This modern and sleek design adds a unique touch to any manicure and is surprisingly easy to achieve with a little bit of patience and creativity. Instead of paying for expensive salon visits to achieve this look, why not try your hand at DIY geometric nail art at home?
To create your own geometric nail art, start by choosing a color palette that you love. You can opt for a single color for a more uniform look, or mix and match different shades for a more eclectic design. Next, gather your tools: tape, nail polish, a small brush, and a top coat. These simple tools will help you achieve clean lines and a professional finish.
To begin the design, start by applying a base coat to protect your nails and ensure the nail polish lasts longer. Once the base coat is dry, use the tape to create geometric shapes on your nails. You can go for simple triangles, squares, or more intricate designs like chevrons or diamonds. Press down the tape firmly to ensure clean lines, and then apply your chosen nail polish colors within the taped-off areas.
After applying the nail polish, carefully remove the tape to reveal your geometric design. If you made any mistakes or if the lines are not as clean as you’d like, don’t worry! You can always clean up the edges with a small brush dipped in nail polish remover. Once you are satisfied with your design, finish off with a top coat to seal in the colors and add a glossy finish to your nails.
Geometric nail art is a fun and creative way to experiment with different shapes and colors on your nails. With a little practice and patience, you can achieve stunning and professional-looking designs right at home. So why not give DIY geometric nail art a try and show off your unique and stylish manicure to the world? You’ll be amazed at the compliments you’ll receive on your one-of-a-kind nail art creations.


