If you’re looking to add a fun and trendy twist to your nail art, why not try your hand at DIY geometric nail art? This style is a great way to create a modern and unique manicure that is sure to turn heads.
To get started with DIY geometric nail art, you’ll need a few key supplies. You’ll want to have a variety of nail polish colors on hand, as well as tape or nail striping tape to create clean, straight lines. You may also want to have a nail art brush or a toothpick to help with creating intricate designs.
One of the simplest ways to create geometric nail art is to use tape to create clean, straight lines on your nails. Simply tape off the areas where you want to apply a different color of nail polish, paint over the tape with your desired polish, and then carefully remove the tape to reveal crisp, geometric lines.
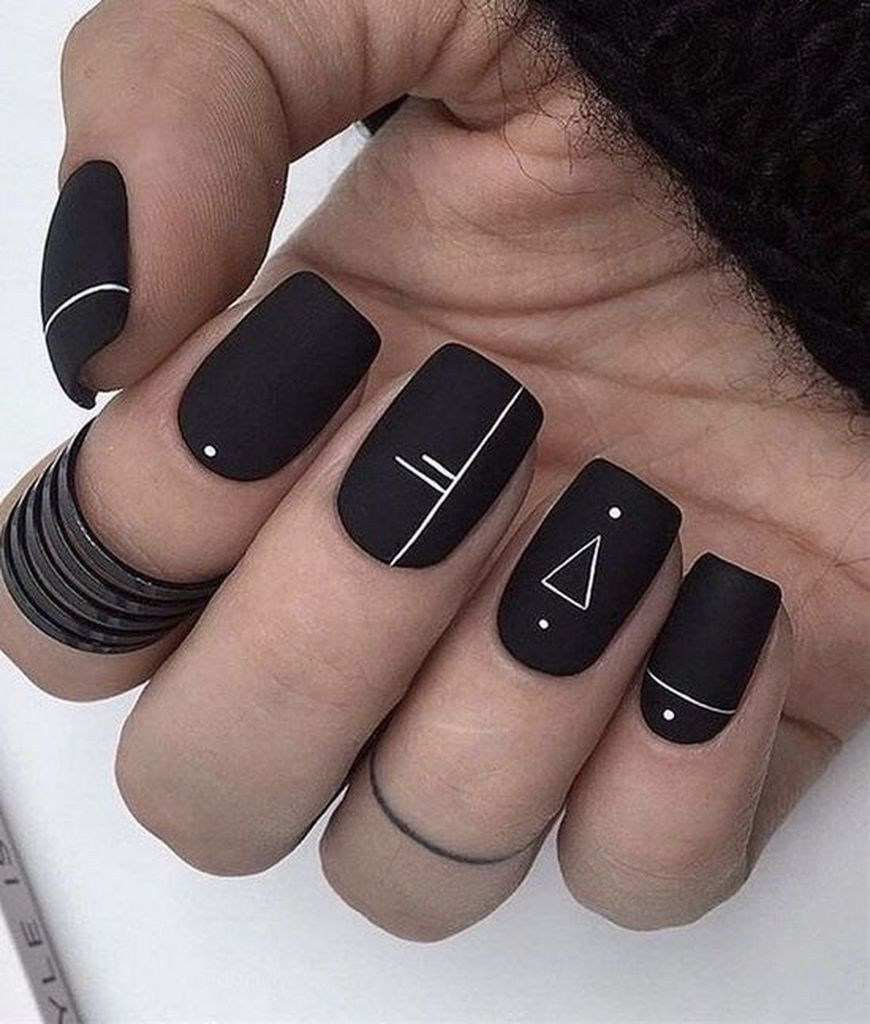
For a more intricate design, you can use a nail art brush or toothpick to create shapes like triangles, squares, or stripes on your nails. You can play around with different colors and patterns to create a truly unique look that reflects your personal style.
If you’re feeling extra creative, you can even try your hand at creating negative space geometric nail art. This involves leaving parts of your nails bare to create geometric shapes, creating a cool and minimalist look that is sure to impress.
DIY geometric nail art is a fun and creative way to elevate your manicure game. Whether you’re a nail art beginner or a seasoned pro, there are endless opportunities to experiment and create stunning geometric designs that will have everyone asking where you got your nails done. So grab your supplies and get ready to show off your trendy and chic geometric nail art!


