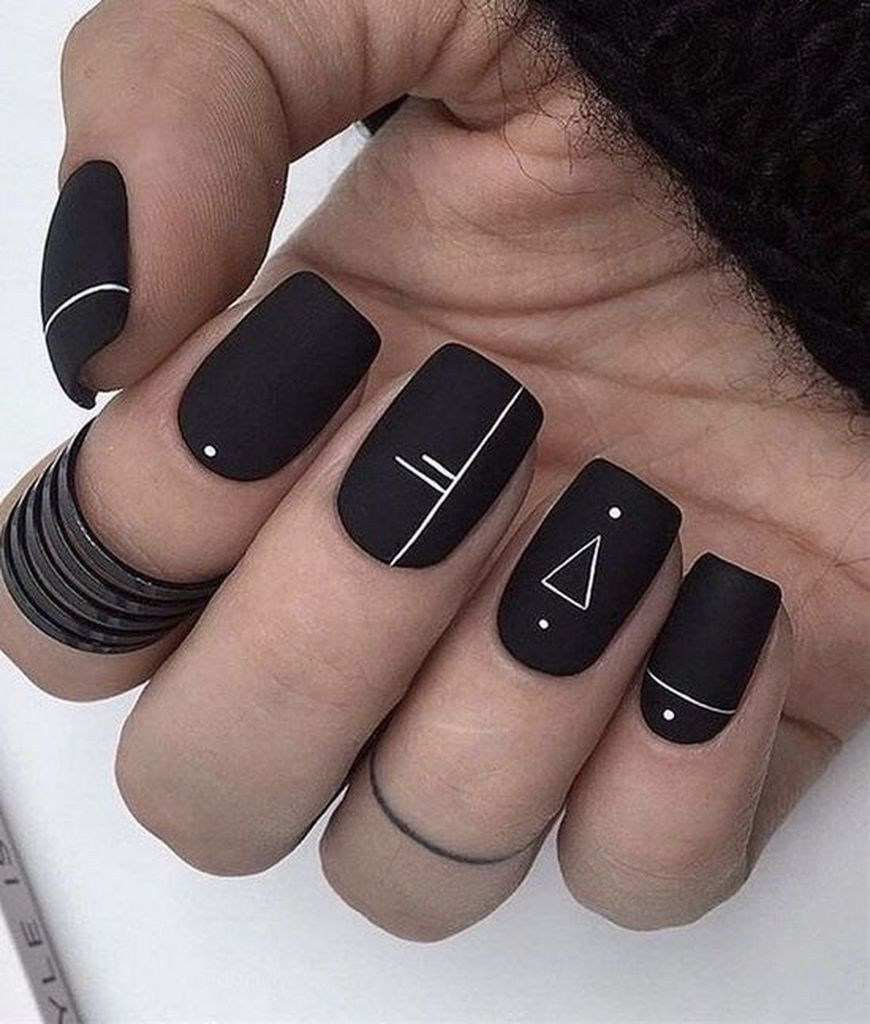
Geometric nail art has become increasingly popular in recent years, with many people opting for this modern and stylish nail design. Instead of relying on traditional nail polish colors and patterns, geometric nail art allows for a creative and unique look that is sure to turn heads. The best part about this trend is that you can easily achieve the look at home with a few simple tools and a bit of creativity.
To create your own DIY geometric nail art, start by selecting a few different nail polish colors that complement each other well. You can opt for bold and contrasting colors for a stand-out look, or choose more subtle shades for a minimalist design. Once you have your colors picked out, gather a striping tape or nail art stencil to help create clean and precise lines on your nails.
Begin by applying a base coat to your nails and allowing it to dry completely. Next, choose a color to use as the base of your design and apply it to all of your nails. Once the base color is dry, use the striping tape or nail art stencil to create geometric shapes on your nails. You can create lines, triangles, squares, or any other shape you desire.
After you have created your geometric design, fill in the shapes with your chosen nail polish colors. Make sure to let each layer dry completely before moving on to the next, to avoid smudging or smearing the design. Once your design is complete and all layers are dry, finish with a top coat to seal in your nail art and give it a glossy finish.
With a little practice and patience, you can easily master the art of DIY geometric nail art and create beautiful and unique designs at home. Whether you opt for a bold and colorful look or a more subtle and minimalist design, the possibilities are endless when it comes to this modern nail trend. So grab your nail polish and tools, and get ready to show off your creative side with a fabulous geometric nail art design.


