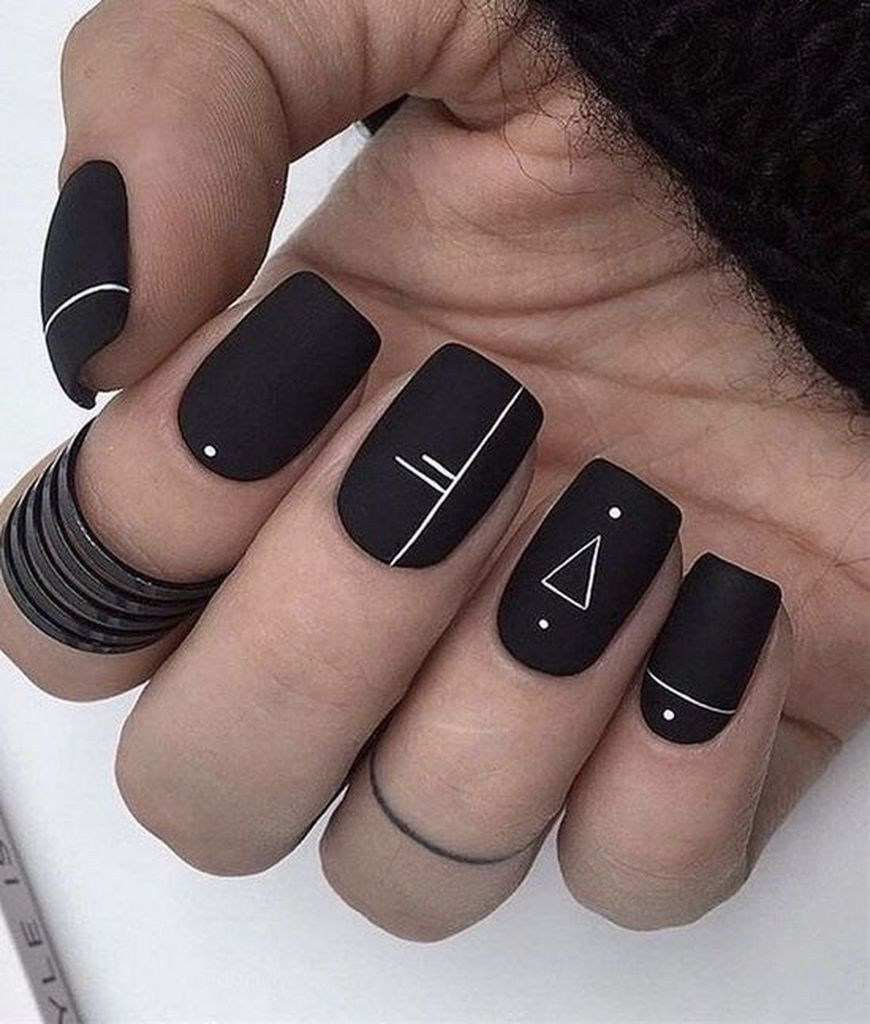
Nail art has become a popular trend in the beauty industry, offering individuals a creative way to express their personal style. One particular trend that has gained traction in recent years is geometric nail art. This style involves using straight lines, shapes, and patterns to create intricate designs on the nails. While it may seem complicated, DIY geometric nail art is actually quite simple with the right tools and techniques.
To begin creating geometric nail art, start by selecting a base color for your nails. Once the base color is dry, gather striping tape or nail stencils to create clean, precise lines and shapes on the nails. Using striping tape, you can easily create straight lines and angles on the nails. Alternatively, nail stencils can be used to create geometric shapes such as triangles, squares, and circles. These tools make it easy to achieve a professional-looking design at home.
Experiment with different color combinations to create unique geometric nail art designs. Consider contrasting colors for a bold look, or opt for complementary colors for a more subtle design. You can also play around with different patterns and textures to add depth and dimension to your nail art. For a modern twist, try mixing matte and glossy finishes or incorporating metallic accents into your design.
When applying the striping tape or nail stencils, make sure to press them firmly onto the nails to prevent any polish from bleeding underneath. Once the design is complete, carefully peel off the tape or stencil to reveal clean, crisp lines. Finish off your geometric nail art with a top coat to seal in the design and add a glossy finish.
With some practice and patience, you can create stunning geometric nail art designs right at home. Whether you prefer minimalist designs or intricate patterns, there are endless possibilities to explore with geometric nail art. So grab your nail tools and polish, and start creating your own geometric nail art masterpieces today!
