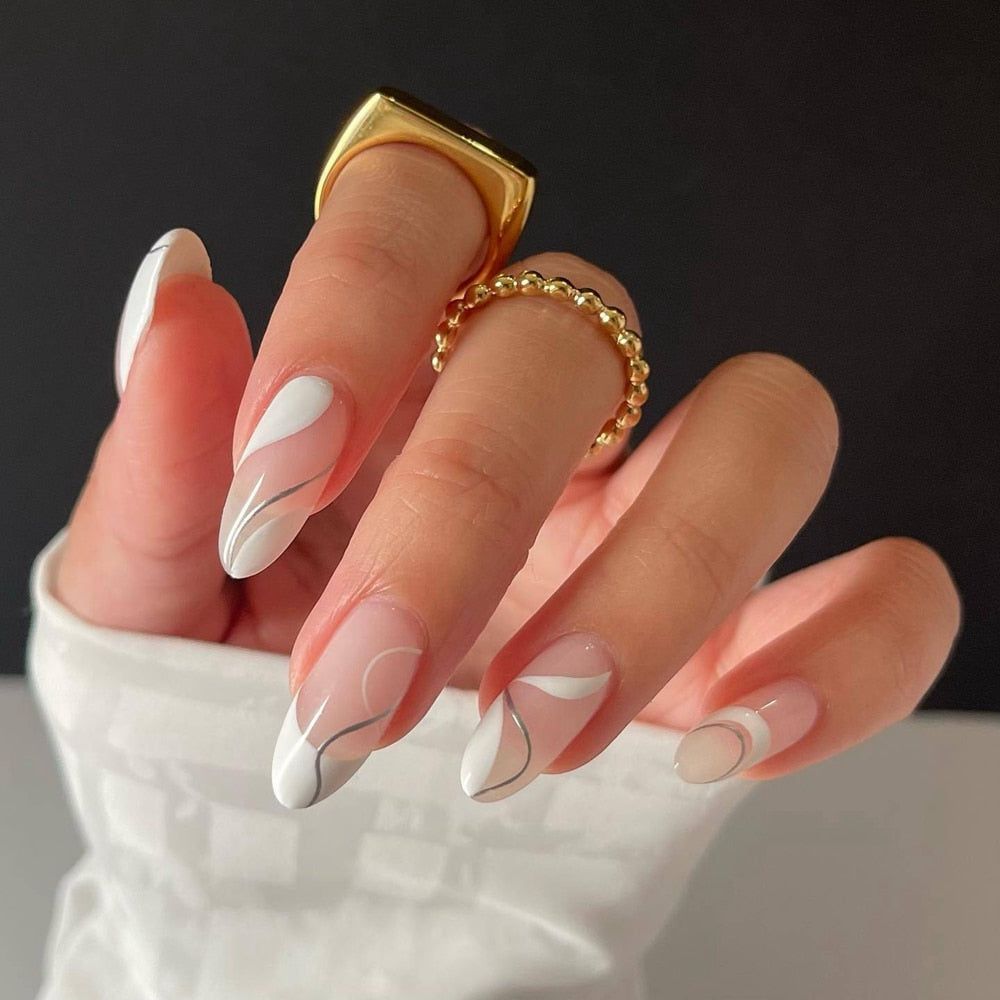
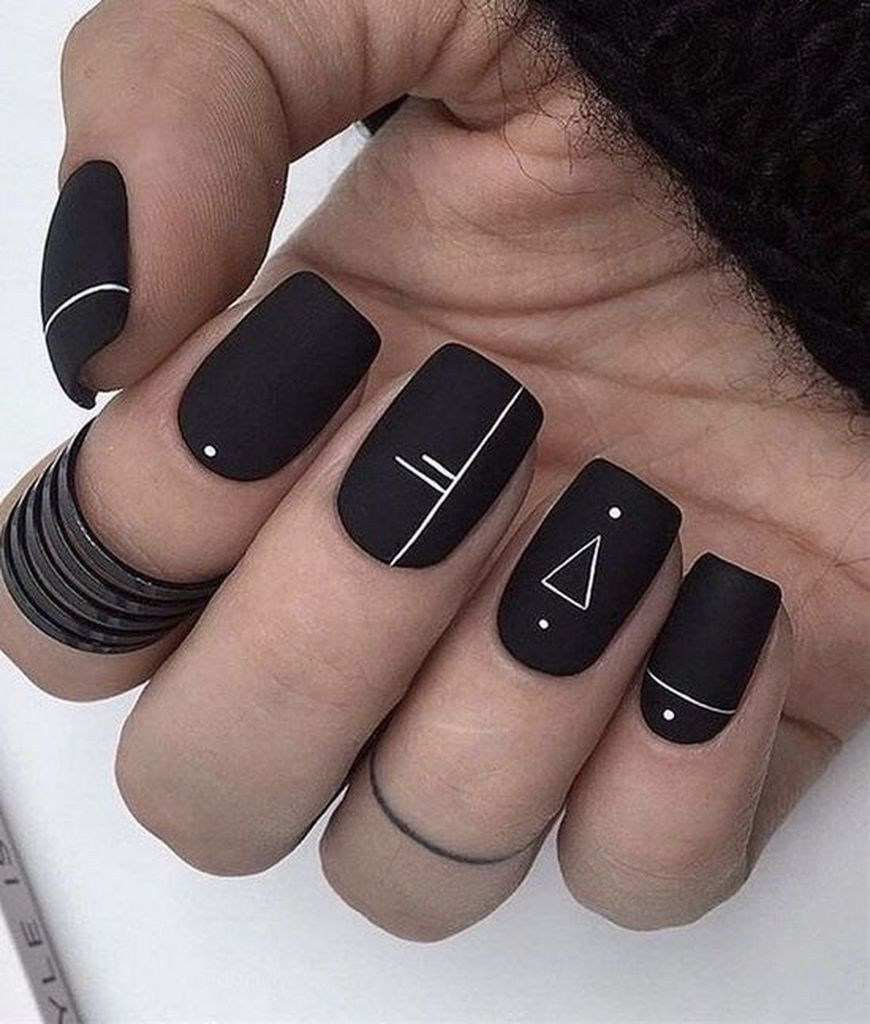
If you’re a fan of nail art and looking for a creative way to spice up your manicure, why not try your hand at DIY geometric nail art? This trendy and eye-catching nail design is easier to achieve than you may think, and the results are sure to impress. With just a few simple tools and some patience, you can create a unique and stylish geometric nail art look that is sure to turn heads.
To start, gather your materials. You will need a base coat, a variety of nail polish colors, striping tape or nail art brushes, and a top coat. Choose colors that complement each other well and will create a cohesive look when combined. You can also experiment with different shapes and patterns to create a truly one-of-a-kind design. Once you have all your materials ready, it’s time to get creative.
Begin by applying a base coat to protect your nails and help the polish adhere better. Once the base coat is dry, choose a color to use as your base and apply it to all of your nails. Allow it to dry completely before moving on to the next step. Next, use striping tape or nail art brushes to create geometric shapes on your nails. You can create triangles, squares, diamonds, or any other shape that inspires you. Be patient and take your time to ensure clean lines and a polished finish.
Once you have created your geometric design, allow it to dry completely before applying a top coat to seal in your artwork and give it a glossy finish. This will help protect your nail art and ensure it lasts longer. Remember to clean up any excess polish or mistakes with a small brush dipped in nail polish remover for a clean and professional look. Once your nails are dry and looking fabulous, show them off to the world and enjoy the compliments that are sure to come your way.
One of the best things about DIY geometric nail art is that the design possibilities are endless. You can mix and match colors, experiment with different shapes and patterns, or even add glitter or nail stickers for a more personalized touch. The key is to have fun and let your creativity shine through. So, next time you’re looking for a fun and stylish nail art idea, consider trying your hand at DIY geometric nail art. With a little practice and patience, you’ll be creating stunning nail designs in no time.


