Are you looking for a fun and creative way to spruce up your old heels? DIY bow heels might just be the perfect project for you. Adding bows to your shoes can instantly elevate their look, giving them a trendy and chic feel. Plus, making your own bow heels allows you to customize them to your liking, whether you prefer a sleek and understated bow or a larger, more statement-making one.
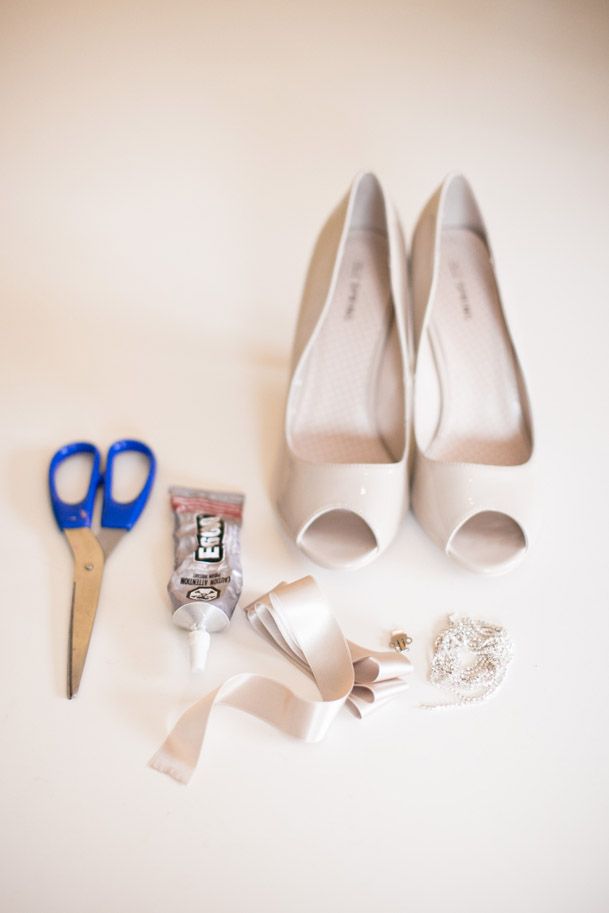
To create your own DIY bow heels, you’ll need a few basic supplies. Start by selecting a pair of heels that you want to embellish – this could be an old pair that you want to give a new life or a new pair that you want to personalize. Next, gather some fabric in a color or pattern of your choice to make the bows. You’ll also need a hot glue gun, scissors, and any additional embellishments you want to add, such as beads or sequins.
Begin by cutting your fabric into two rectangular pieces – one for each bow. The size of these pieces will depend on how large you want your bow to be, so feel free to experiment and adjust as needed. Next, fold the fabric in half lengthwise and secure the edges with your hot glue gun, creating a loop. Then, fold the loop in half again to create the bow shape and secure with more hot glue.
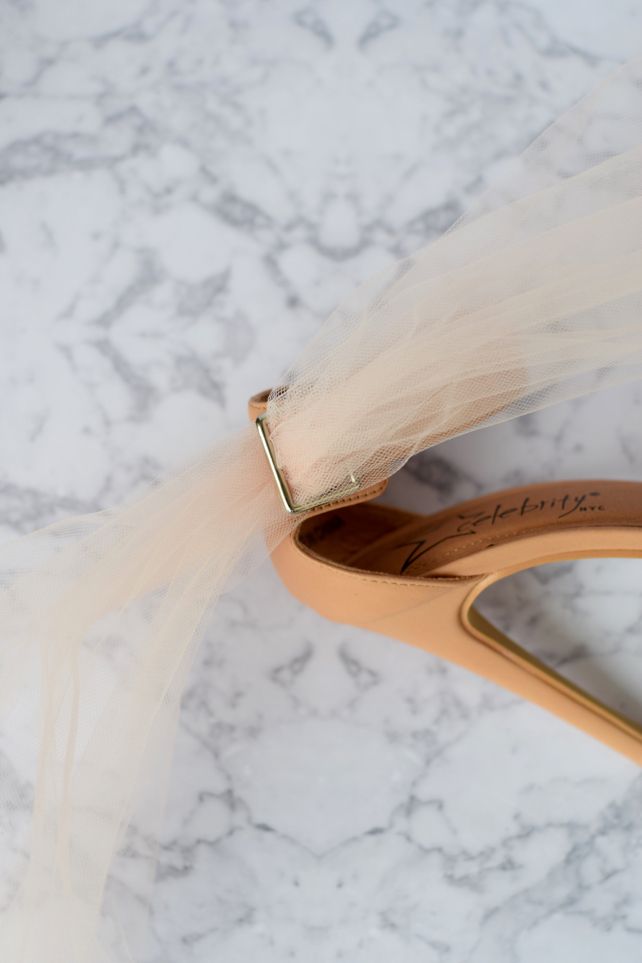
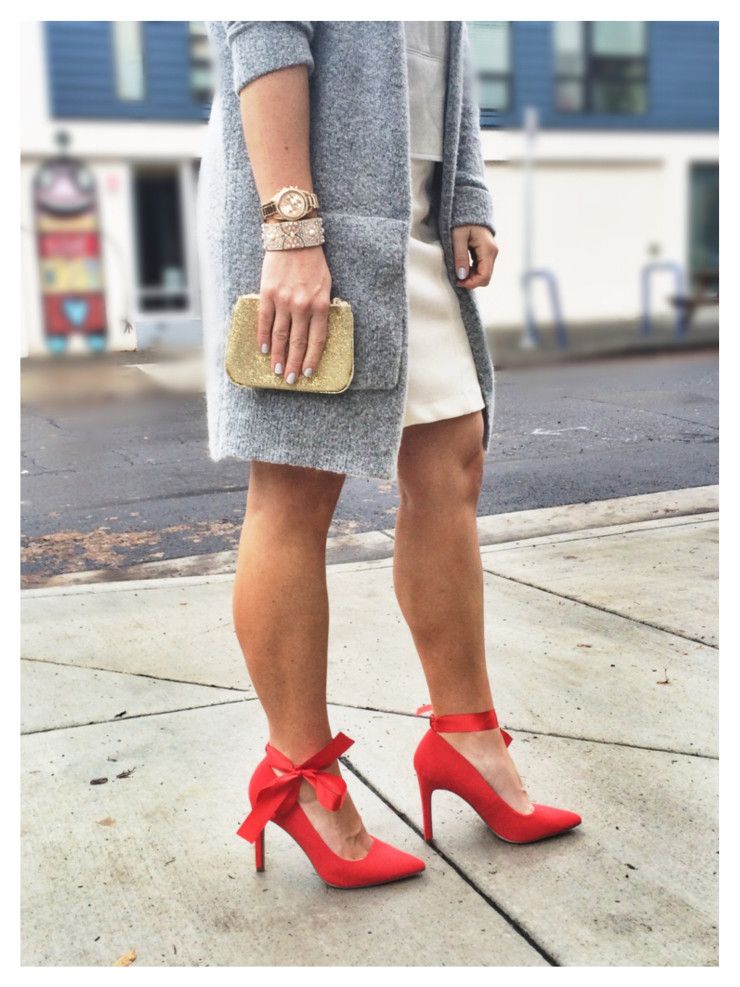
Once you have created your bows, attach them to your heels using the hot glue gun. You can place them anywhere on the shoe that you like – on the toe, near the heel, or even on the strap. Play around with different placements to see what looks best. If you want to add some extra flair, consider embellishing your bows with beads, sequins, or other decorations for a more personalized touch.
DIY bow heels are a simple and budget-friendly way to add a touch of style to your footwear. Whether you’re dressing up a pair of old heels or customizing a new pair, adding bows is a fun and easy way to make your shoes stand out. With just a few basic supplies and a bit of creativity, you can create a unique and eye-catching look that is sure to turn heads wherever you go. So why not give DIY bow heels a try and step out in style?


