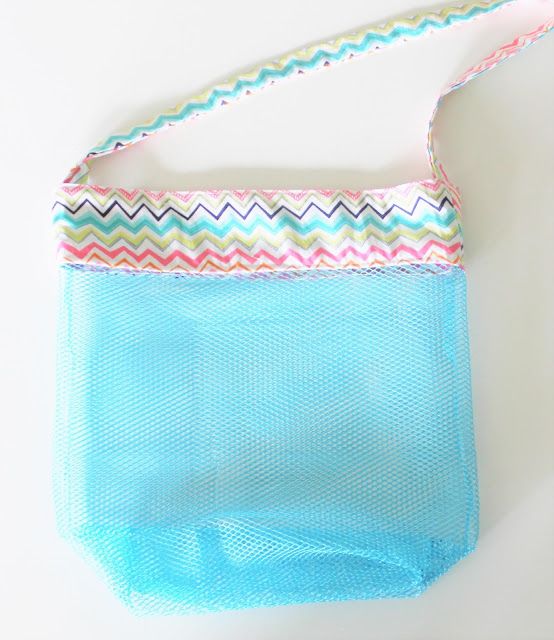
Are you looking for a fun and creative way to update your beach tote for the summer? Why not try adding some shells for a stylish and unique touch! This simple DIY project can be done in just a few easy steps and will instantly give your beach bag a personalized and beachy look.
To begin, gather some shells that you have collected from previous beach trips or purchase some from a local craft store. You can choose a variety of shapes and sizes to create a visually appealing design on your tote. Additionally, you will need a plain canvas tote bag, fabric glue, and a small paintbrush.
Next, lay out your tote on a flat surface and arrange your shells in a pattern that you like. This is where you can get creative and experiment with different layouts until you find one that you love. Once you have your design set, use the fabric glue to attach the shells to the tote one by one, pressing down firmly to ensure they are securely in place.
Continue this process until you have covered the entire front side of the tote with shells. You can also add some extra touches such as small beads or sequins for a bit of sparkle. Once all of the shells are attached, allow the glue to dry completely before using your new beach tote.
Not only is this DIY project a fun way to customize your beach bag, but it is also a great way to repurpose old shells and create a unique accessory that is sure to turn heads. So gather your materials and get started on this fun and easy project today!


