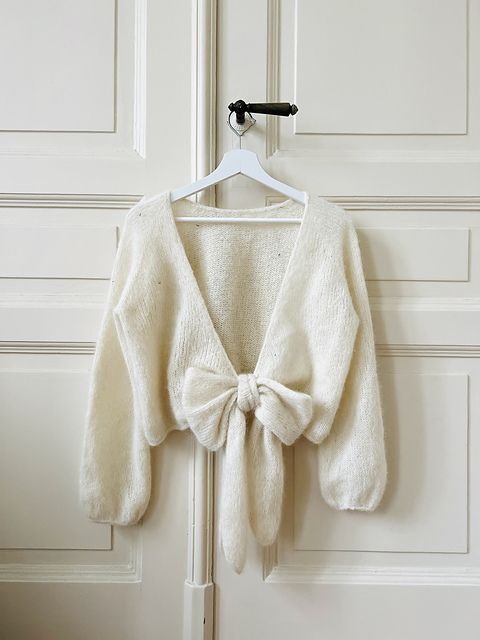
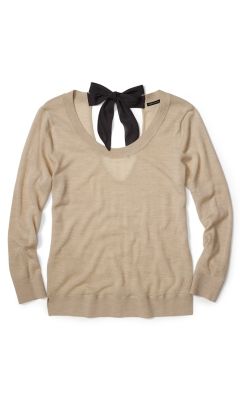
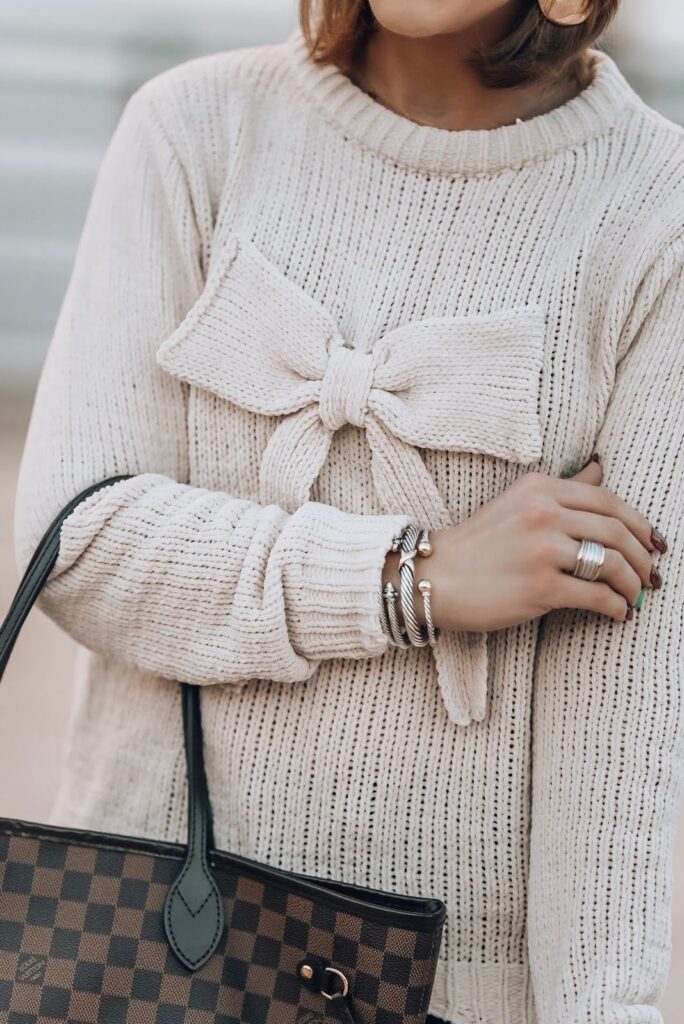
If you’re looking to upgrade your wardrobe with a fun and unique piece, a DIY back bow sweater is the perfect project to try out. This adorable sweater features a sweet bow detail on the back, adding a touch of whimsy to any outfit. Plus, creating your own back bow sweater allows you to customize the color, fabric, and size to perfectly suit your personal style.
To create your own back bow sweater, start by selecting a plain sweater in a color and fabric of your choice. You can choose a simple crewneck sweater for a classic look, or opt for a trendy oversized style for a more modern vibe. Next, gather your materials, including matching fabric for the bow, a sewing needle and thread, scissors, and pins.
To begin the DIY process, carefully cut out a large rectangle of fabric for the bow. The size of the rectangle will depend on how big you want your bow to be, so be sure to measure and cut accordingly. Once you have your fabric rectangle, fold it in half lengthwise and sew along the edges, leaving one end open to turn the fabric right side out.
After turning the fabric right side out, press it flat with an iron to create a neat and crisp bow shape. Then, fold the ends of the fabric rectangle towards the center to create the bow loops, and secure them in place with a few stitches. attach the bow to the back of your sweater using a needle and thread, making sure it is centered and secure.
Once your back bow sweater is complete, you can style it in endless ways to create a variety of looks. Pair it with jeans and sneakers for a casual daytime ensemble, or dress it up with a skirt and heels for a more polished outfit. Whether you wear it to work, to meet friends for brunch, or for a cozy night in, your DIY back bow sweater is sure to become a staple in your wardrobe.
