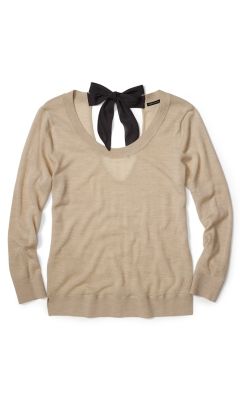
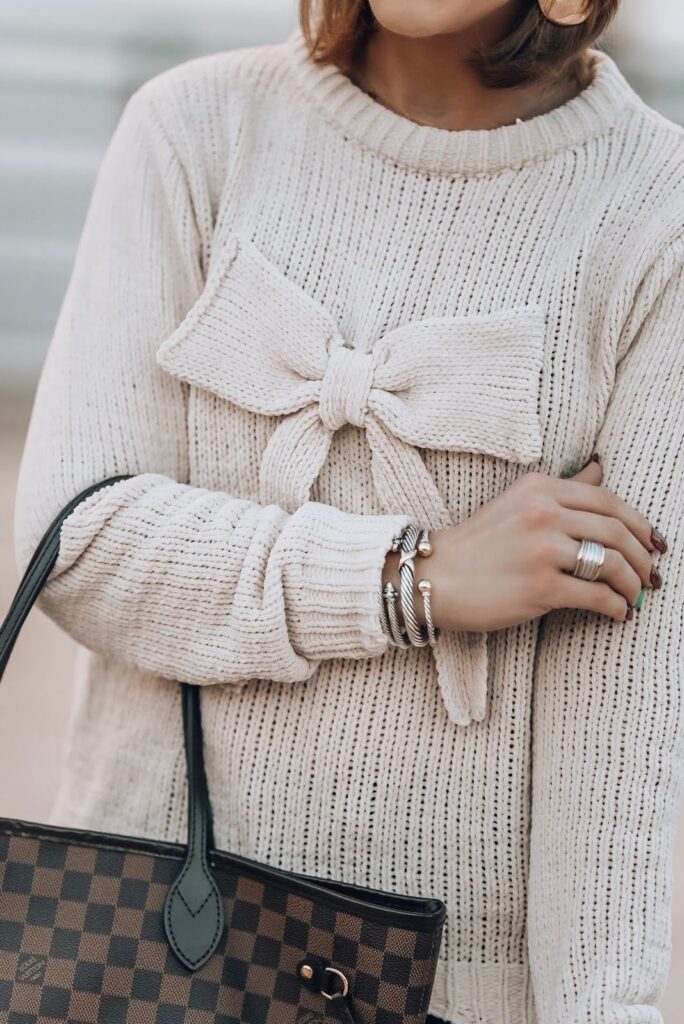
Do you love the look of a cute back bow sweater but don’t want to break the bank to own one? Why not try making your own DIY back bow sweater at home! Not only is it a fun and creative project, but you can also customize it to your liking by choosing your favorite color and fabric. Plus, you’ll be able to show off your crafty skills to all your friends and family.
To start, you’ll need a plain sweater that you can easily embellish with a beautiful back bow. You can choose a sweater in any color or style that you like, but make sure it has a relatively simple back design so that the bow will stand out. You’ll also need some fabric of your choice to create the bow, as well as a sewing kit with needles and thread.
Next, take your fabric and cut out two long strips that will serve as the bow. You can choose to use a matching or contrasting fabric to add a pop of color to your sweater. Then, fold the strips in half lengthwise and sew along the edges to create clean seams. Once the strips are sewn together, tie them in a bow shape and adjust the size to your liking before attaching it to the back of your sweater.
After you’ve created the bow, carefully attach it to the back of your sweater using a needle and thread. Make sure to securely sew it in place so that it stays put while you wear it. You can also add some extra embellishments like buttons or beads to the bow for an extra touch of flair. Once everything is in place, try on your newly transformed back bow sweater and show it off with pride!
Not only is making your own back bow sweater a fun and rewarding project, but it’s also a sustainable and cost-effective way to update your wardrobe. Instead of spending money on a pricey designer sweater, you can create a unique piece that reflects your personal style and creativity. So why not give it a try and see how easy and fun it can be to DIY your own back bow sweater today!
