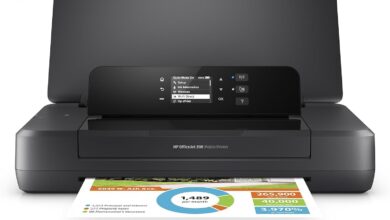
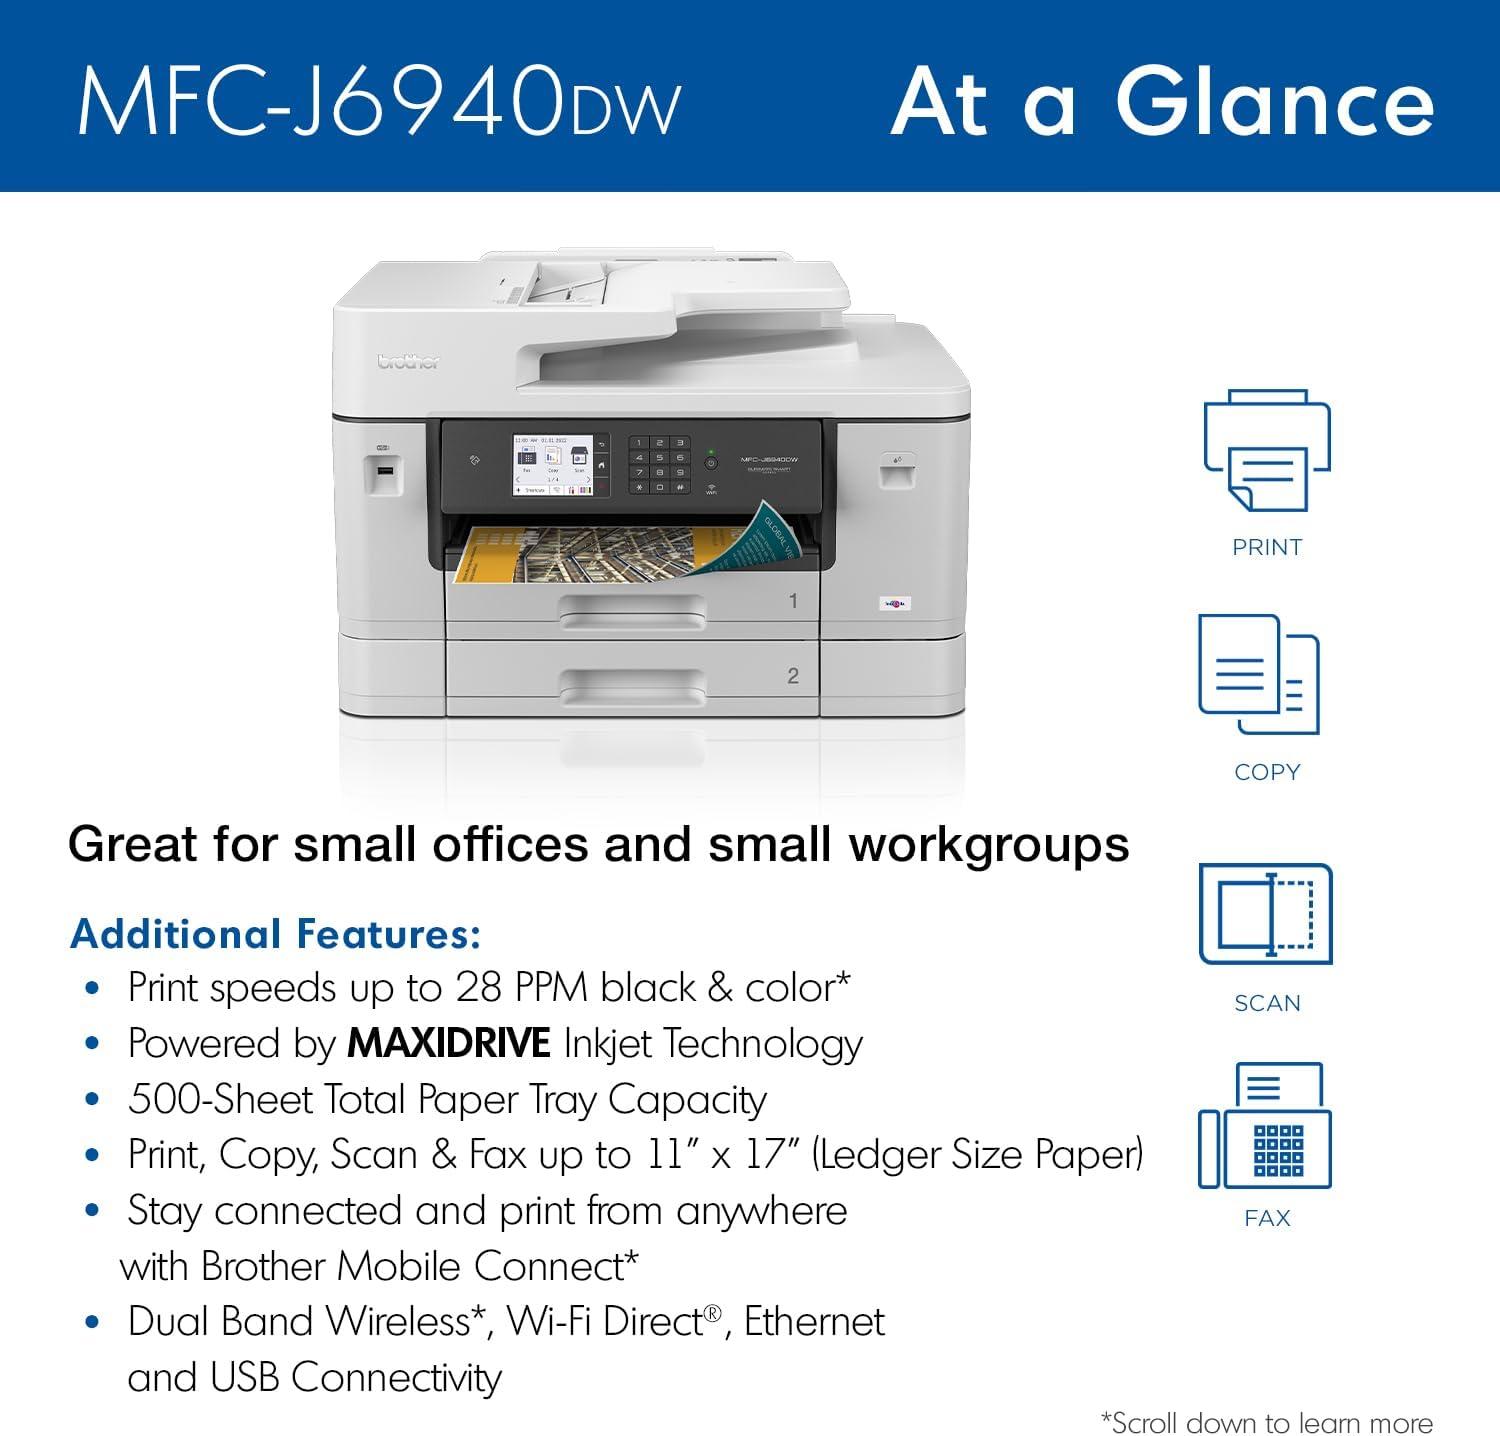
You slide it into the nook and its weight tells you this is not a lightweight impulse buy — it moves with a steady mass that feels intentional. The Brother MFC-J6940DW — the 6940 in everyday shorthand — wears a cool, matte plastic skin under your palms, and the paper trays close with a small, damped click that somehow feels reassuring. Powering up, a low mechanical hum and a soft blink from the 3.5″ display announce themselves; the first paper feed is accompanied by a precise, slightly brisk shuffle. Visually it reads as a wide, balanced block on the surface, and your fingers find the controls easily, noting the modest travel of buttons and the firmness of the touchscreen on first use.
how the MFC-J6940DW settles onto your desk the first time you bring it home
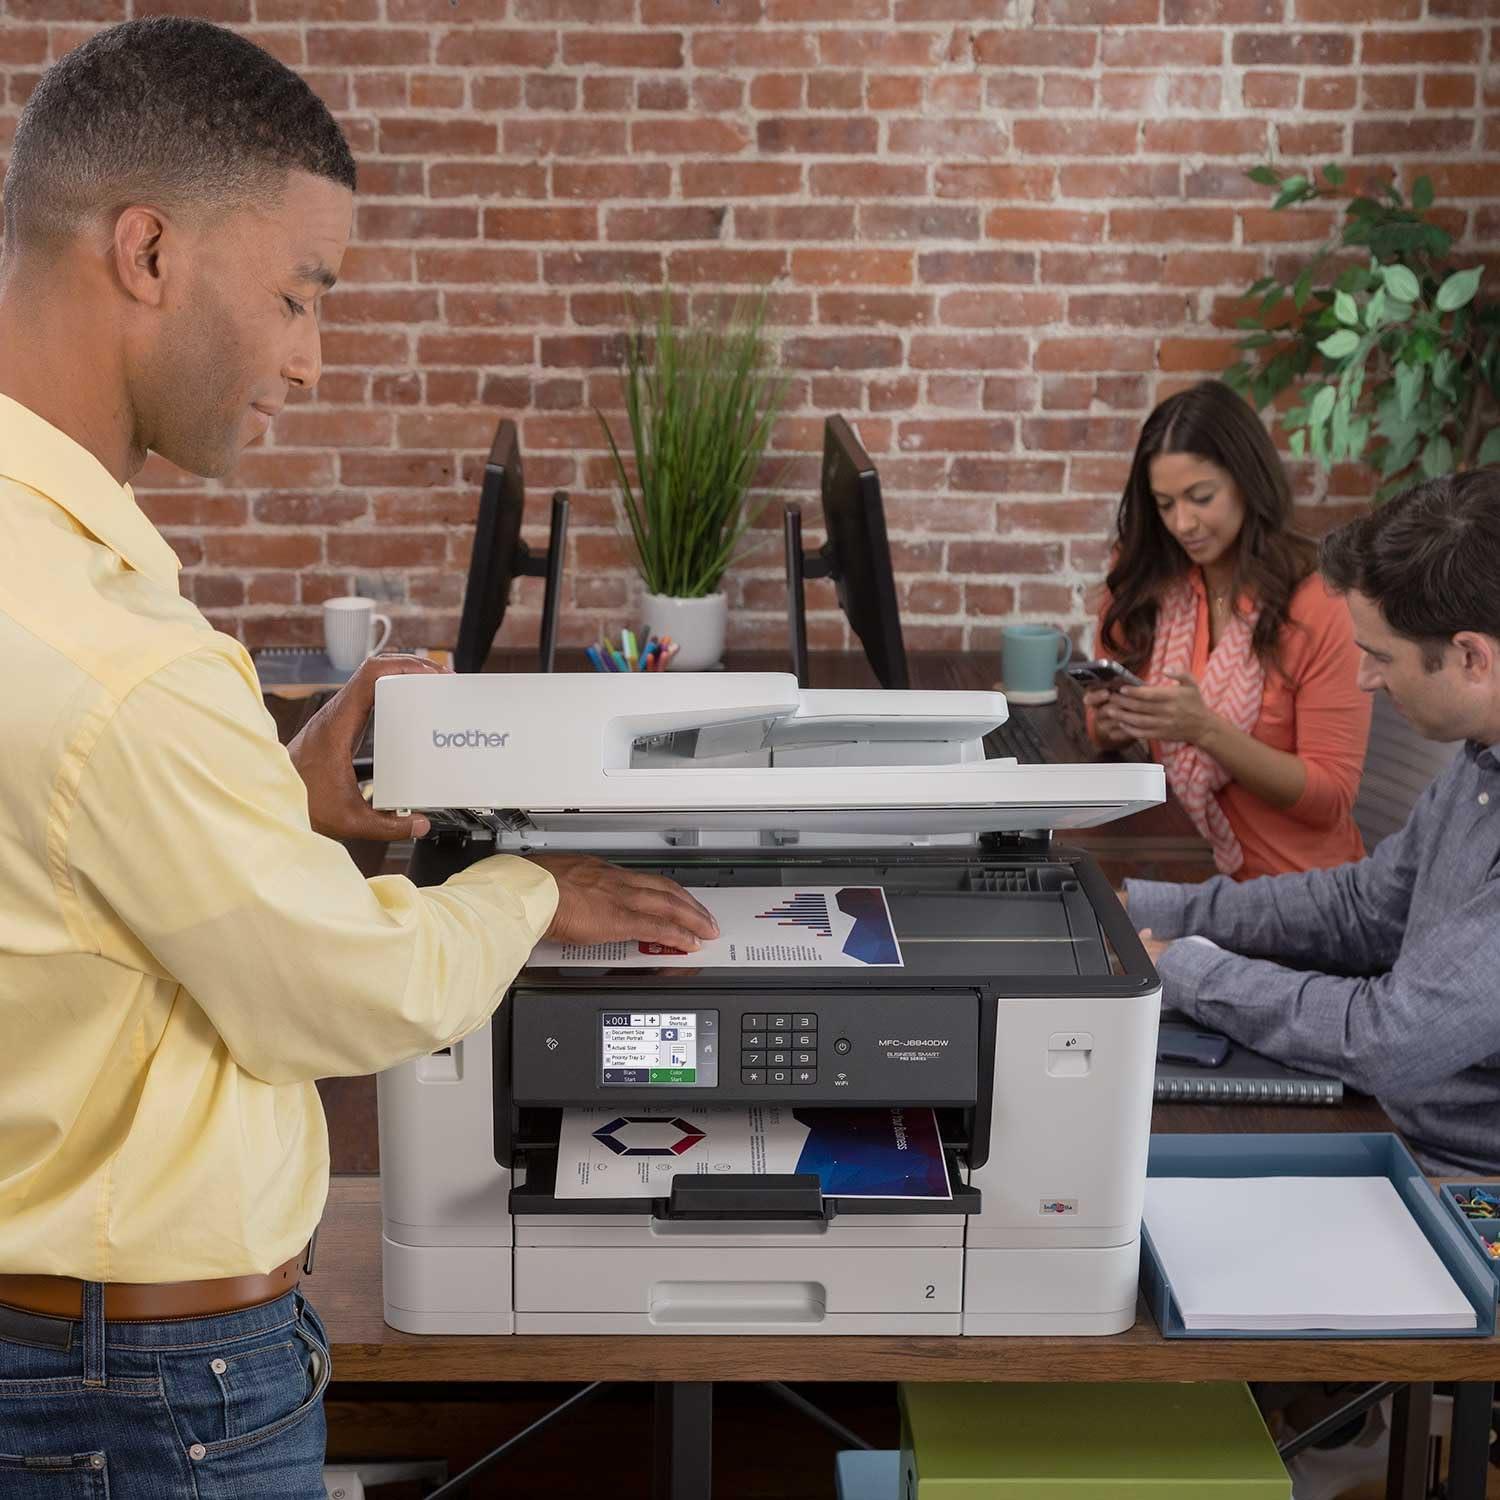
When the printer first arrives and is set down on a workspace, the initial interaction is tactile and spatial: lifting it into place, peeling away transport tape, and opening the lower trays all make it clear how it will occupy the desk. The main trays slide and seat with little fuss, and the control panel sits forward enough to be reached without leaning over the unit; at the same time, the back of the chassis wants a little breathing room for cables and the automatic document feeder lid. A few fast movements—nudging the machine a half-inch to line up with the desk edge, angling it so the touchscreen is easier to read from a seated position, or having a second pair of hands help lift—tend to settle it into a predictable spot rather than an exact, measured one.
Practical placement shows up in small,everyday ways: the paper trays need room to slide,the output area should remain unobstructed,and the top surface must clear enough space for the feeder lid to open fully. The feet grip reasonably well but the unit can shift slightly during heavier print runs, so it usually gets nudged back into place now and then. Below is a brief reference of typical clearance considerations observed when first situating the device on a desk.
- Front access — leave room for trays and for reaching consumable access points.
- Top clearance — allow space for the feeder lid to open without catching on shelves.
- Rear space — permit simple cable routing and occasional reach behind the unit.
| Area | Typical note |
|---|---|
| Front | Clear enough to pull trays and remove output pages comfortably |
| Top | Room for ADF lid lift and scanning access |
| Rear | space for cables and connector access without full lateral movement |
Full specifications and configuration details are available here.
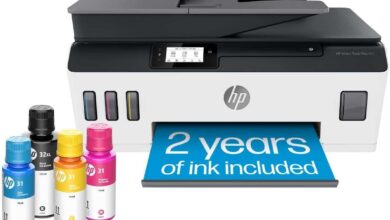
What the materials, trays and finish feel like when you lift and load the machine
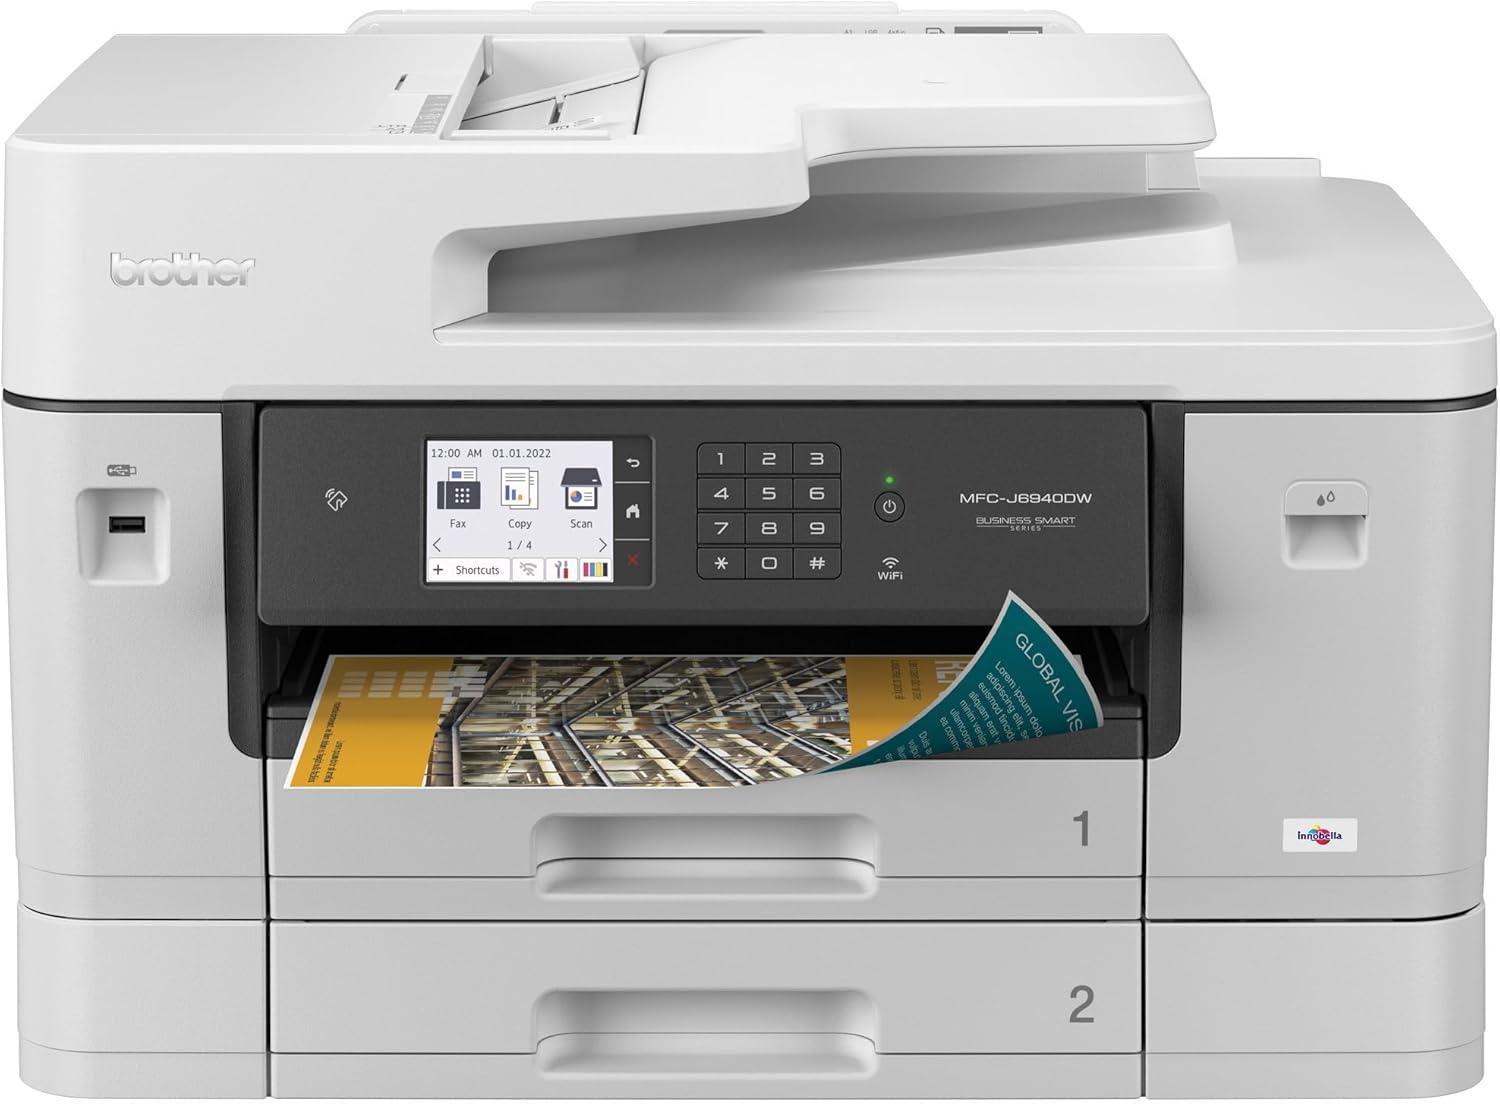
When you lift the unit to move it or slide it into place, the casing feels like a combination of textured and smoother plastics: the shell along the sides and rear has a matte, slightly grippy finish that gives your hands purchase, while the control-panel area and touchscreen are glossy and cool to the touch. There aren’t large, dedicated handles; instead you habitually find a finger hold under the top edge or brace the base. The weight feels concentrated low and toward the front when trays are closed, so you tend to steady the front lip with one hand as you lift. As you open trays to load paper, the front cassette pulls out on shallow, guided rails with a soft resistance and a clear stop; the multipurpose flap flips down on a light hinge and the input/ADF cover moves with a gentle, predictable give rather than a stiff clack. Small adjustments—shifting your grip or nudging a tray back into place—are common while loading, and those moments reveal subtle tolerances where panels meet (a thin line rather than a tight seam) and where internal plastic sometimes emits a low, quick snap as parts seat into position.
Surface and loading impressions:
- Top/control area: smooth, glass-like touchscreen; shows fingerprints but wipes clean.
- Sides/base: matte textured plastic that feels slightly warm after use.
- Paper trays: glide on guided tracks with a defined stop and a muted click when seated.
- Flip-down trays/ADF lid: light hinge action with consistent resistance.
| Area | Tactile impression during handling |
|---|---|
| Front cassette | Low friction slide; you feel the carriage settle into its stop. |
| Multipurpose tray | Thin plastic flap with a springy return and slight vibration when loaded. |
| Control/display | Cool, glossy surface that warms and attracts smudges after extended use. |
A few routine upkeep notes tend to come up in normal use: dust collects along shallow tray lips, so you find yourself brushing edges before loading paper, and the glossy panel benefits from an occasional wipe after repeated touches. For some households, those small interactions—repositioning a tray, re-seating paper guides, wiping fingerprints—become part of the lift-and-load rhythm.
How you move through the 3.5″ touchscreen, NFC taps and basic controls in daily use
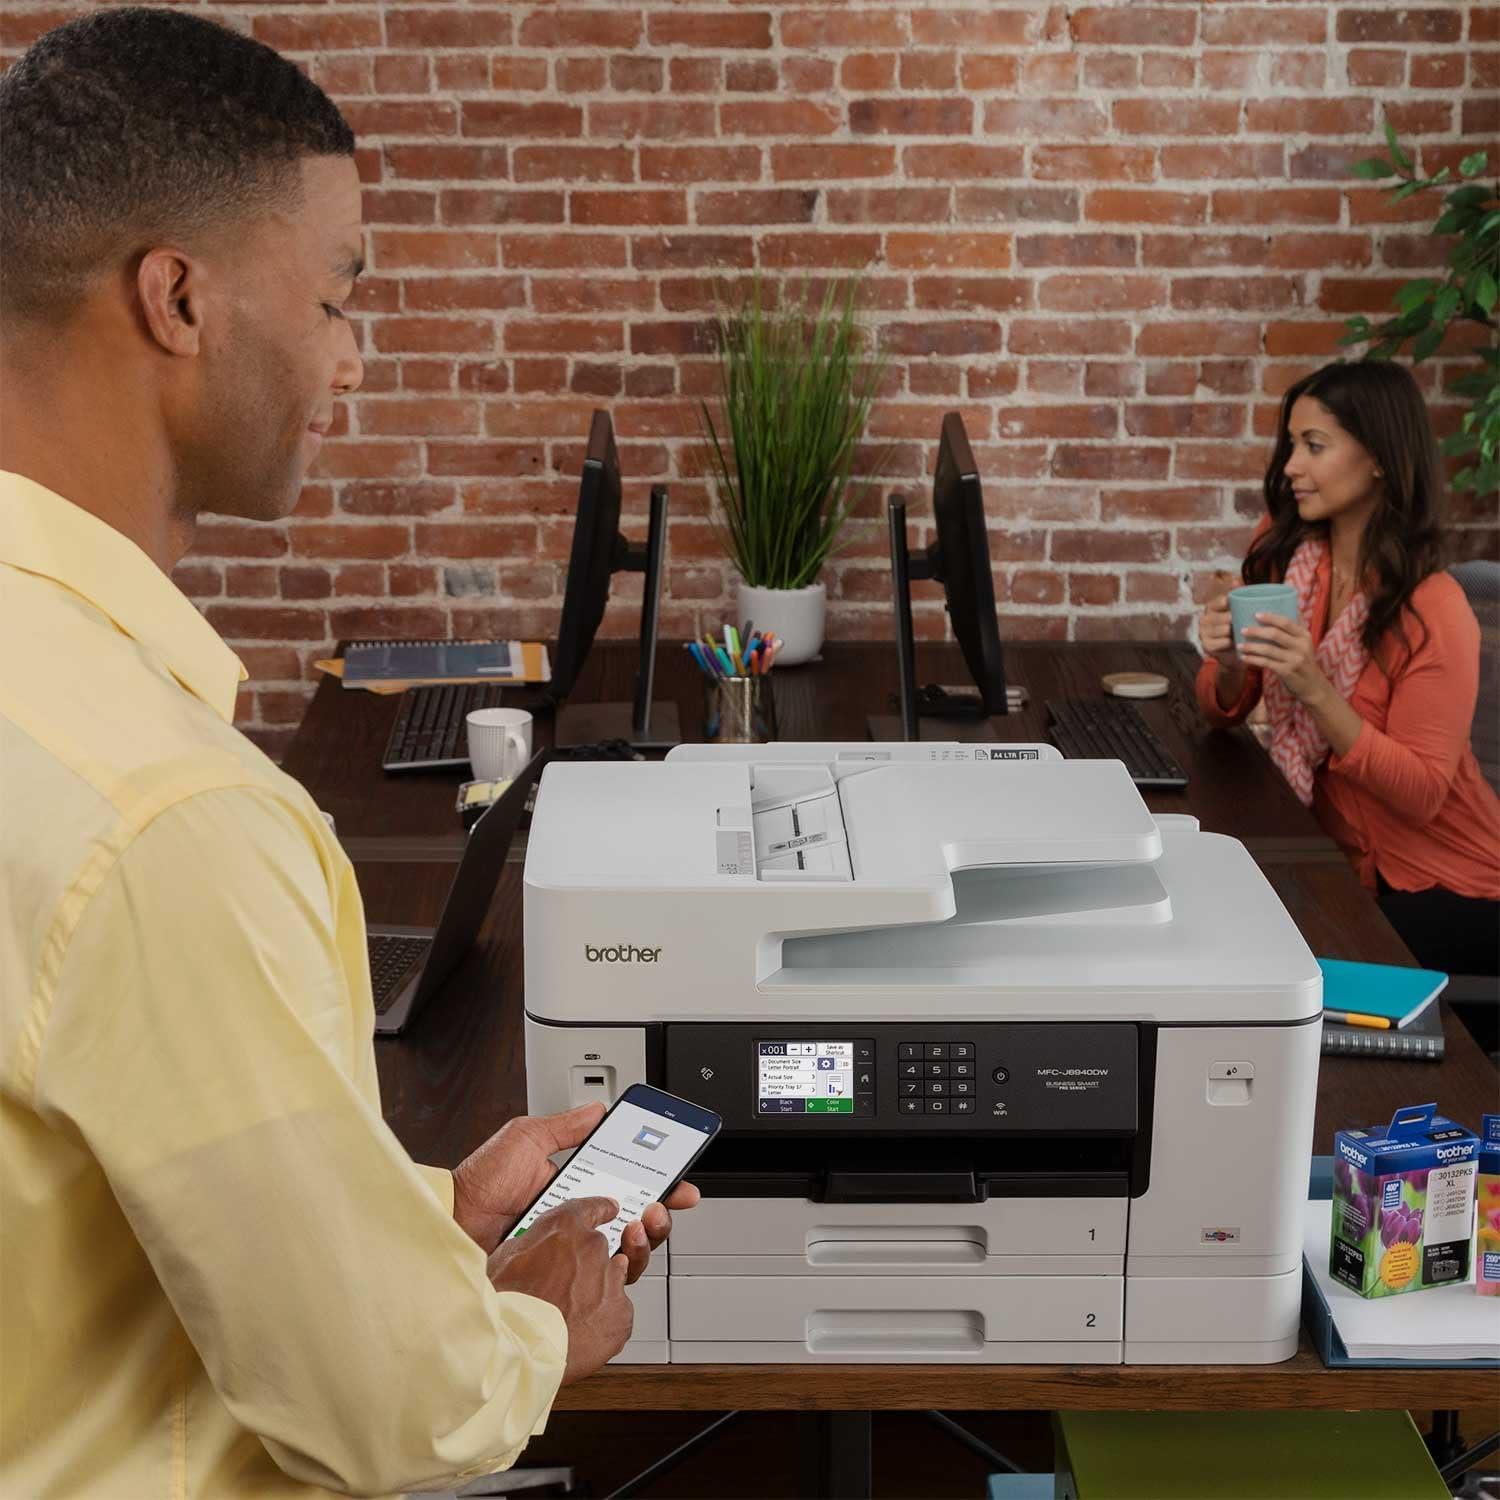
When you wake the unit and look at the 3.5″ touchscreen,you move through functions mostly by tapping clear,icon-driven tiles and using a visible Home or Back area to retreat from deeper menus.The touch targets are large enough that you rarely need to aim precisely; a single tap selects an item and a tap on a confirmation button starts the job. In everyday use you rely on three simple gestures: tap to choose, swipe to reveal more icons or settings, and the Back/Home tap to exit. Menus unfold in short lists rather than deep trees, so you tend to navigate in short bursts—tap, glance, confirm—rather than hunting through nested options. Small delays can appear when the device finishes a previous task, so you sometimes wait a beat before the next menu becomes responsive.
The NFC area responds when you tap a compatible phone or tablet near the control panel; you’ll see the screen acknowledge the contact with a brief status message and the phone usually prompts for the next action. Basic physical controls—power and a cancel/stop key—stay handy for interrupting jobs or putting the device to sleep without using the touchscreen. In routine maintenance you wipe fingerprints off the display and keep the NFC zone free of stickers or paper, since obstructions can interrupt a quick tap. Below is a small reference table of common controls as they appear during ordinary use:
| Control | Typical daily action |
|---|---|
| Touchscreen icons | tap to select job type, swipe for more options, confirm to start |
| NFC tap zone | Place phone briefly to trigger mobile print/connection prompt |
| Power / Cancel buttons | Power to wake or sleep, Cancel to halt a misfed or unwanted job |
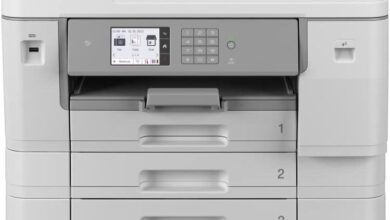
Where the printer actually fits in your room — footprint, paper stacks and the 11″ x 17″ scale
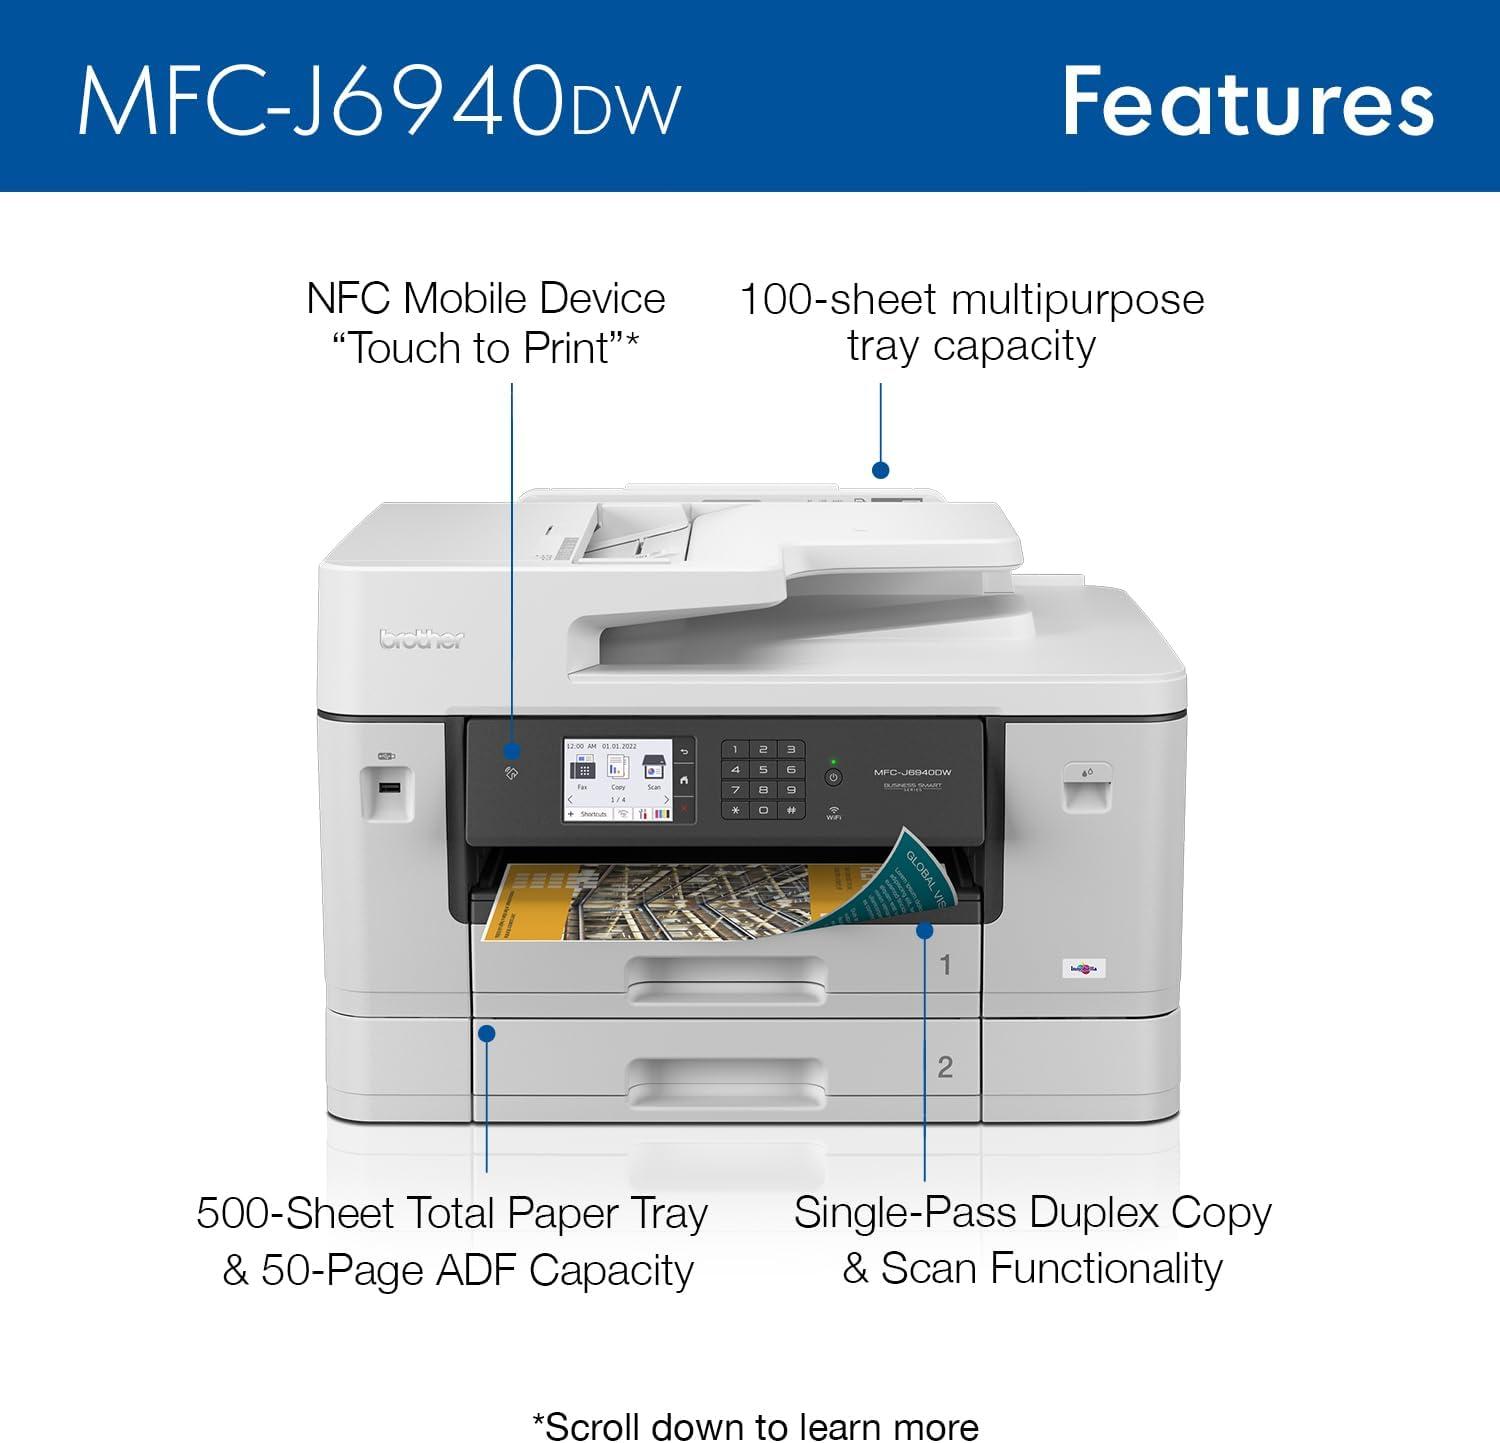
You’ll notice the printer occupies a bit more real estate than the compact inkjets you might be used to — it sits like a small countertop appliance rather than a desktop accent. Leave room in front for the paper trays to slide and for the output stack to collect; the top-mounted document feeder and the tilt of the control panel mean you’ll also want unobstructed vertical space so the lid can open and the touchscreen remains reachable. Routine interactions are part of having it in the room: you’ll habitually slide the lower trays to check stock, nudge a slightly skewed stack back into place, or clear the output area before starting a long run, and those small, everyday moves shape where it ends up in your workspace more than a single number on a spec sheet does.
When working with ledger-sized documents the practical effects are easy to feel. An 11″ x 17″ sheet lies flat in the multipurpose feeder and produces larger output stacks that don’t tuck away as neatly as letter prints, so plan a horizontal surface nearby for immediate sorting. Keep in mind that the printer’s paper trays and the front output area are the main points where paper accumulates — a little staging space beside or in front of the unit prevents bumped sheets and makes routine clearing easier.
- Paper trays — accessible from the front; you’ll be handling reloading and seasonally swapping stock here.
- Output area — larger prints tend to sit across the tray edge, so a short reach clears them faster.
| action | What to leave clear |
|---|---|
| Loading ledger paper | Front and slightly to the side for maneuvering long sheets |
| Removing stacks | Surface nearby for sorting and flattening |
| Running long jobs | Unobstructed front output area to avoid jams |
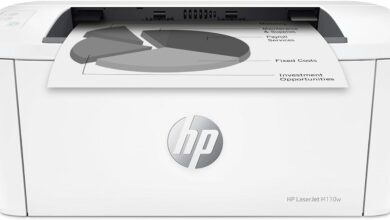
How it measures up to your expectations and the practical limits you’ll encounter
In regular, day-to-day interaction, users tend to find that the machine behaves largely as was to be expected for multi-size, multi-page work, while also exposing a handful of practical limits that become apparent with routine habits. Short jobs and occasional ledger prints move along with little fuss, but sustained batches that mix media weights or demand long duplex runs can require a bit more attention—feed adjustments, a pause to let output cool, or a quick check for skewed sheets. The touchscreen and mobile links respond predictably in most cases, though there are moments where job status takes an extra beat to update and where switching networks briefly interrupts a mobile queue. Small upkeep tasks show up as part of normal ownership: occasional head cleaning cycles, replacing ink cartridges more often during heavy color use, and the occasional re-feed when a specialty sheet needs manual realignment.
Common scenarios that reveal everyday limits
- Long mixed-media jobs — tend to need monitoring for stacking and slight throughput variation
- Large multipage scans — single-pass duplex helps, but the feeder sometimes requires realignment
- Heavy color output — ink usage accelerates compared with mostly text work
A few practical patterns recur: feed sensitivity shows up with heavier or textured stock, noise and warmth increase noticeably during long runs, and wireless handoffs can cause job pauses if the network environment changes. routine maintenance stays in the background rather than becoming a chore; users will find themselves loading trays, checking the ADF, and swapping cartridges as part of regular workflows rather than following a frequent, involved regimen. Below is a quick reference that matches common tasks to the kinds of limits most often encountered during routine use.
| Routine task | Typical practical limit observed |
|---|---|
| Long, mixed-media print runs | Throughput can vary and stacking needs occasional oversight |
| Large duplex scans | ADF handles one-pass duplex but may need sheet nudging for odd sizes |
| Frequent high-color graphics | Ink replacement frequency increases compared with mostly text jobs |
See full specifications and current listing details
A typical week of prints, copies and scans and the routines you’ll fall into
Across a typical week you’ll settle into a few repeatable rhythms: a morning run of queued documents, a couple of midday scans to archive invoices, and the odd ad-hoc copy or ledger‑sized print for a last‑minute layout.You’ll notice how certain actions become second nature — pausing to flip paper sizes when a brochure job comes up, tapping a phone briefly to release something from the queue, and letting the automatic feeder chew through a stack while you move on to other tasks. Everyday touchpoints that pop up most frequently enough include:
- loading a different paper type in the tray for a particular job
- placing multi-page documents on the feeder and walking away while it scans
- using the control panel to preview or cancel a print before it runs
These small rituals shape the week more than any single high‑volume session — they’re what you actually do,repeatedly,as projects arrive and get resolved.
Maintenance and minor interruptions weave into those routines without much fuss: you’ll glance at ink or status prompts a few times, clear a misfeed now and then, and tidy the output stack at the end of a long day.The cadence tends to be predictable — a batch of prints early in the week, a pile of scans for bookkeeping midweek, and catch‑up copies toward the end — so you develop quick fixes and preferences (where to park freshly printed documents, which tray holds envelopes, when to switch to a heavier stock). Below is a simple table that captures how these touchpoints typically fall across a week and what they mean for daily workflow:
| Task | When it tends to happen | Typical impact on your day |
|---|---|---|
| Batch printing | early week or before meetings | short prep time,then unattended run |
| Multi‑page scanning | midweek | one-time setup,frees you to move on |
| Quick copies or single‑sheet jobs | throughout the day | interrupts flow briefly,handled at the panel |
Routine upkeep — a brief surface wipe,occasional head check,or swapping a cartridge when levels dip — simply becomes part of the rhythm rather than a separate task.
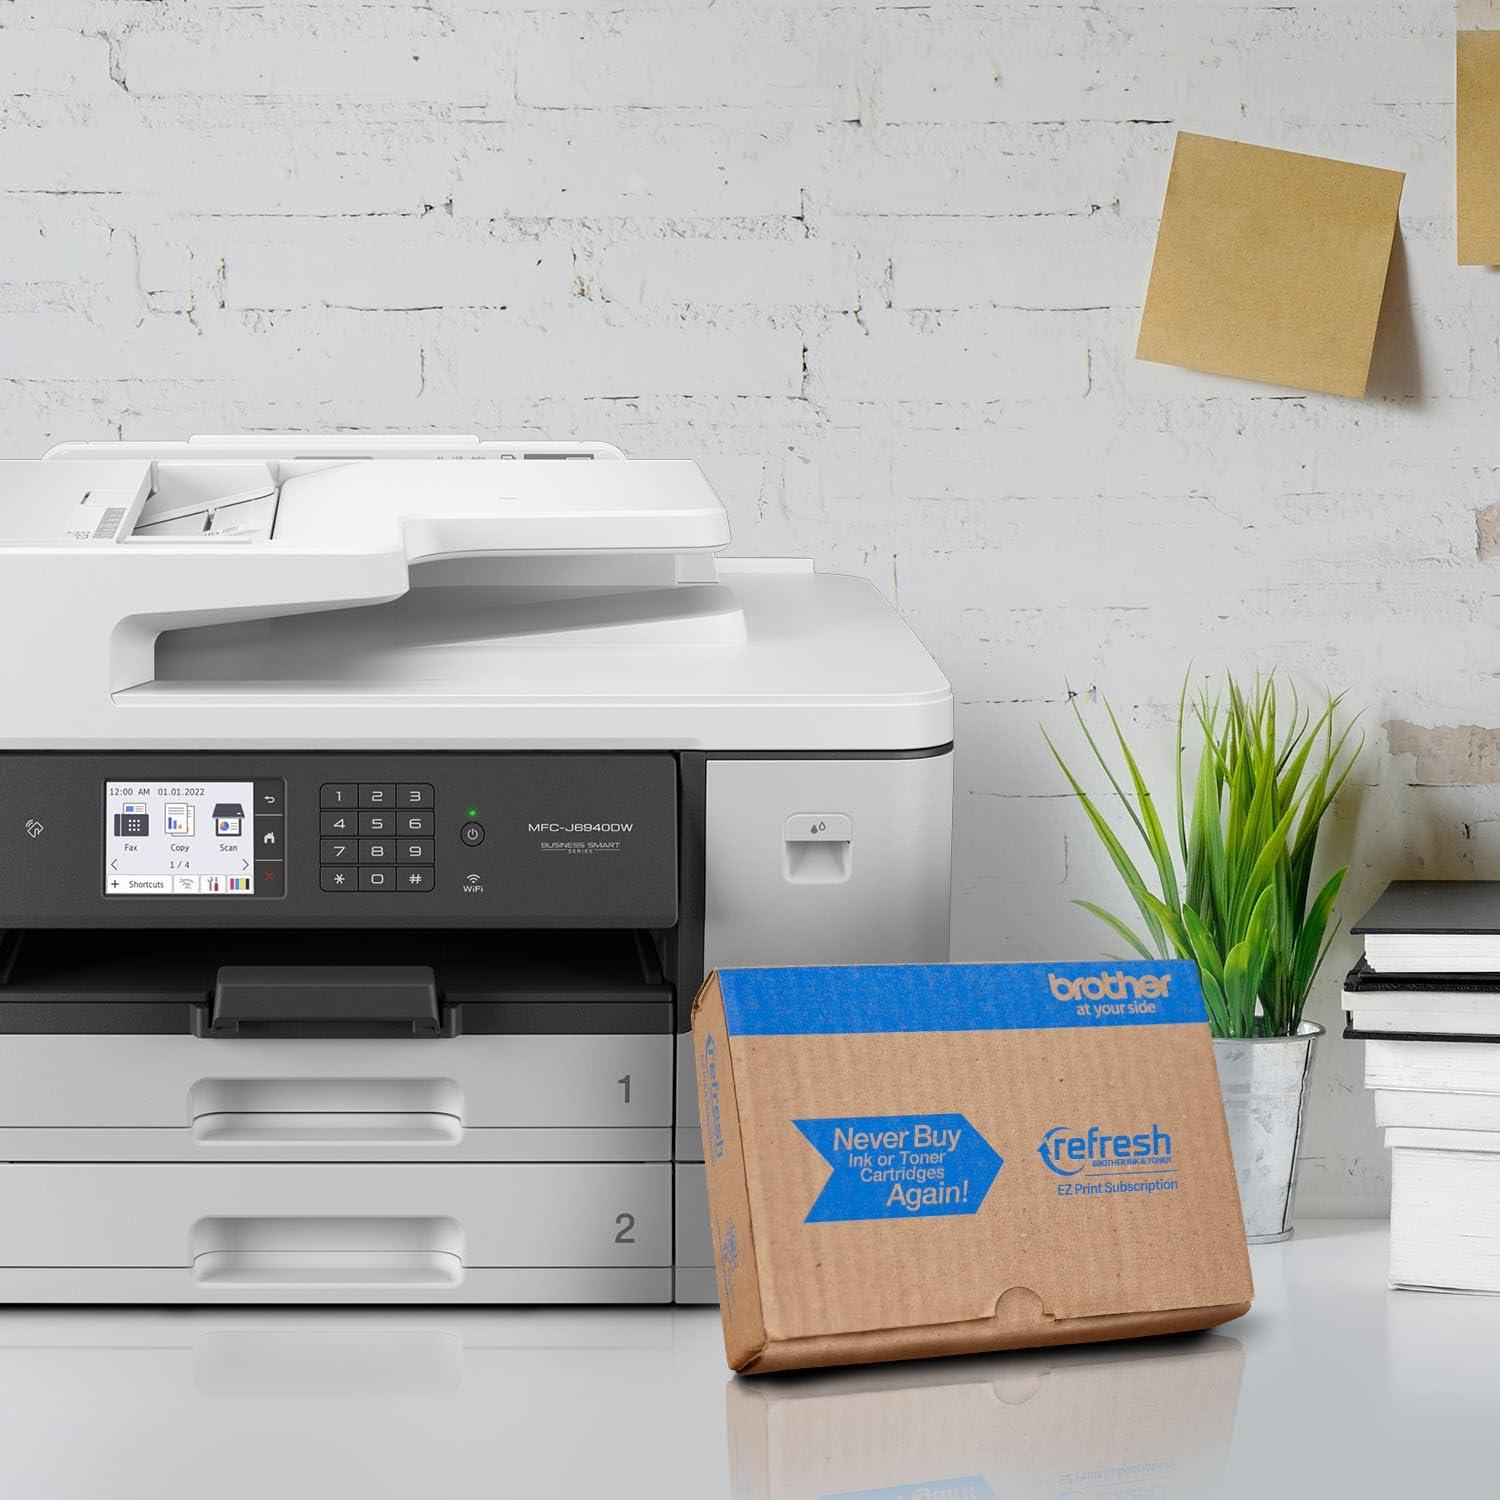
Its Place in daily Routines
After living with the Brother MFC-J6940DW for a while, its presence in the room feels ordinary rather than striking. It settles into a corner of the desk where papers are shuffled and the outer plastic gathers a few small scuffs, while the touchscreen quietly shows the marks of regular use in daily routines. Morning prints and quick scans become little habitual acts — pulled, nudged back, glanced at between tasks — more a part of the rhythm than an event. Eventually it settles into routine.
As an Amazon Associate I earn from qualifying purchases. Amazon and the Amazon logo are trademarks of Amazon.com, Inc, or its affiliates. All images belong to Amazon