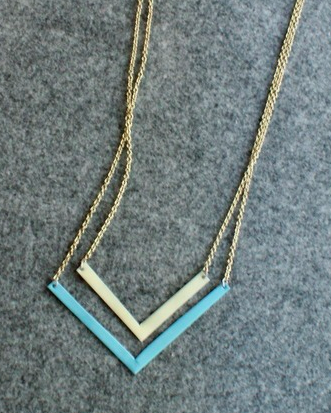
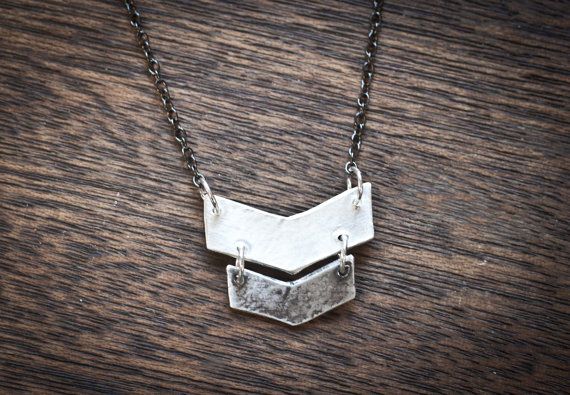
If you’re looking to add a touch of style and glamour to your accessory collection, then a DIY chevron necklace may be the perfect project for you. Chevron patterns have been a popular trend in fashion for some time now, and what better way to embrace this trend than by creating your own chic necklace?
To get started on your DIY chevron necklace, you’ll need a few key materials. This includes some basic jewelry-making tools such as wire cutters, pliers, and jump rings. You’ll also need some beads or gemstones in the colors of your choice to create the chevron pattern. Additionally, you’ll need some jewelry wire to string the beads on, as well as a chain for the necklace itself.
The first step in creating your DIY chevron necklace is to lay out your beads or gemstones in the desired chevron pattern. This may take some trial and error to get the pattern just right, but once you have it laid out, you can begin stringing the beads onto the wire. Be sure to leave a little extra wire at the ends to attach jump rings for connecting the pendant to the chain.
Once you have finished stringing the beads onto the wire in the chevron pattern, you can then attach the jump rings to the ends of the wire. These jump rings will allow you to connect the pendant to the chain of the necklace. After attaching the jump rings, all that’s left to do is to add the pendant to the chain and secure it in place with the jump rings.
Creating your own DIY chevron necklace is a fun and creative way to express your personal style. Not only will you have a unique piece of jewelry to wear, but you’ll also have the satisfaction of knowing that you made it yourself. So why not give it a try and see what gorgeous creation you can come up with? With a few basic materials and a little bit of patience, you’ll have a stunning chevron necklace to show off in no time.


