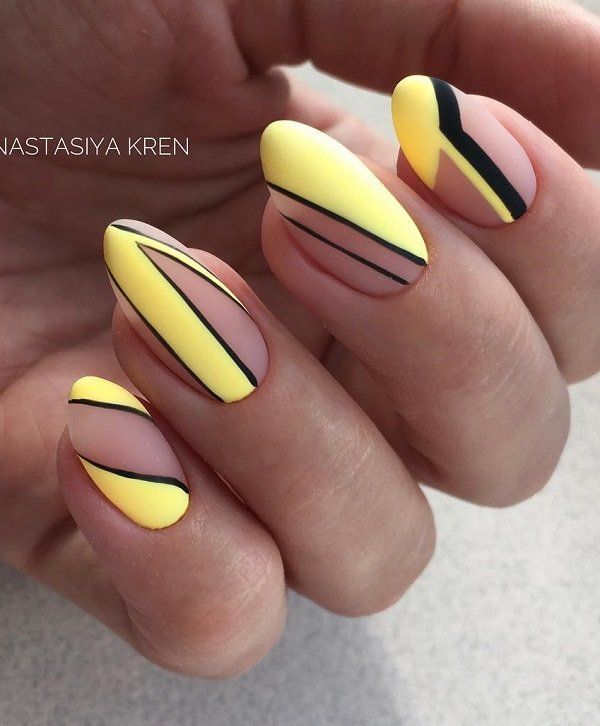
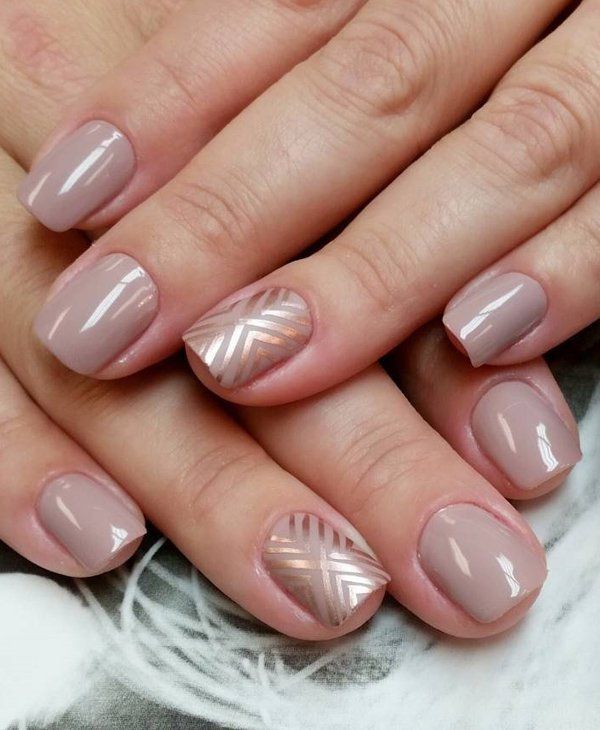
Do you love trying out new nail art designs but want something subtle and chic? Why not try DIY geometric nail art in nude shades? This trendy and minimalist design is perfect for any occasion, whether you’re heading to work or a special event. Not only is it easy to create, but it also gives your nails a sophisticated and modern look.
To create your own geometric nail art in nude shades, start by choosing a nude nail polish as your base color. Nude shades are versatile and look great on any skin tone, making them a perfect choice for this design. Apply two coats of the nude polish and allow it to dry completely before moving on to the next step.
Next, it’s time to create the geometric shapes on your nails. You can use a nail art brush, striping tape, or even a toothpick to create straight lines, triangles, squares, or any other shapes you desire. Experiment with different angles and placement of the shapes to create a unique and eye-catching design. You can also add accents like dots or stripes to enhance the geometric pattern.
For a minimalist look, consider using a matte top coat to finish off your geometric nail art in nude shades. A matte finish adds a touch of elegance and sophistication to the design, making it perfect for any occasion. Alternatively, you can add a glossy top coat for a more polished and shiny finish.
If you’re feeling extra creative, you can also add some sparkle to your geometric nail art by using a metallic or glitter nail polish. Simply apply the sparkly polish to a few nails or accentuate certain geometric shapes to add a touch of glamour to your design. This is a great way to make your nail art stand out and add a bit of flair to your overall look.
DIY geometric nail art in nude shades is a simple yet stylish way to elevate your nail game. With just a few simple steps and some creativity, you can create a stunning design that is sure to turn heads. So why not give it a try and show off your trendy new nails at your next event?


