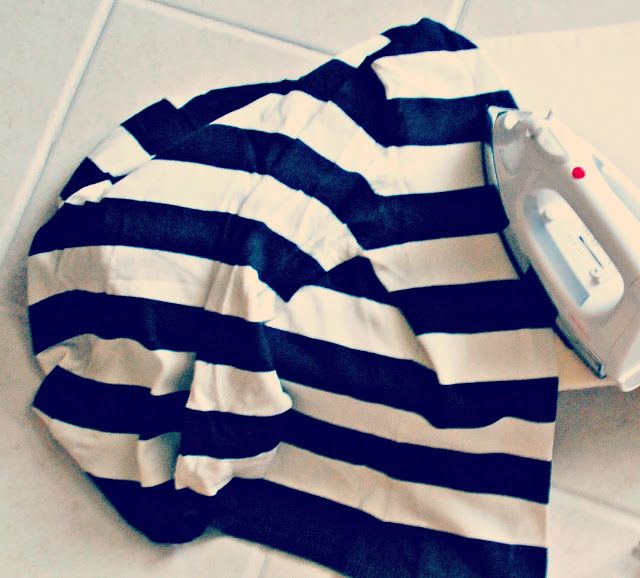
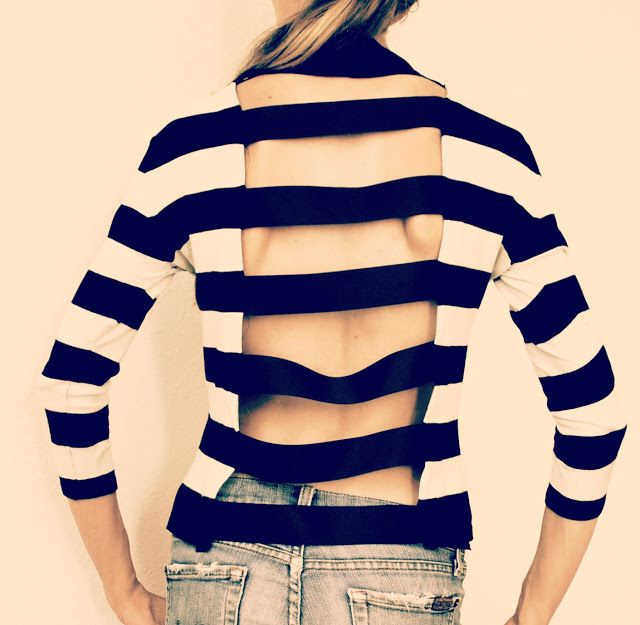
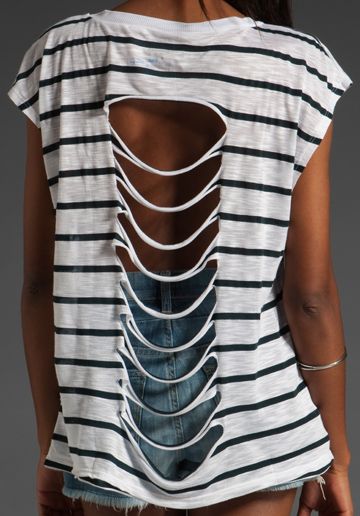
If you’re looking to upgrade your wardrobe without breaking the bank, DIY projects are a great way to add unique pieces to your collection. One fun and trendy project to try is making your own cutout striped shirt. This project allows you to customize a basic shirt and give it a fresh and modern look.
To get started, all you need is a basic t-shirt, some fabric scissors, and a ruler. Begin by laying your shirt flat on a clean surface and deciding where you want the cutouts to be. You can create horizontal or vertical stripes, or even diagonal lines for a more dynamic look. Use the ruler to measure out the spacing of your stripes and mark them with a fabric pen or chalk.
Once you have your stripes marked, carefully cut along the lines using the fabric scissors. Make sure to take your time and cut straight to ensure clean and even lines. If you want to add a distressed look, you can fray the edges of the cutouts by pulling on the threads gently. This will give your shirt a more edgy and worn-in vibe.
After you’ve finished cutting out the stripes, try your shirt on to see how it looks and make any adjustments if needed. You can also experiment with different patterns and shapes to create a truly one-of-a-kind piece. Once you’re happy with the design, give your shirt a gentle wash to remove any loose threads and give it a more polished finish.
DIY projects like this are not only a fun way to express your creativity, but they also allow you to have a hand in creating a piece that is unique to you. Plus, the satisfaction of wearing something you made yourself is unmatched. So, grab a plain t-shirt and some scissors, and get ready to transform it into a stylish cutout striped shirt that is sure to turn heads.


