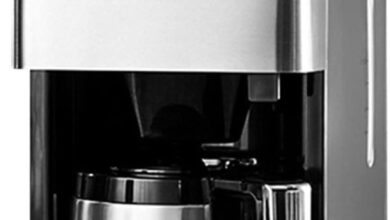
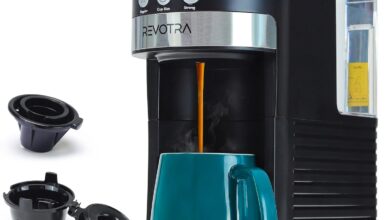
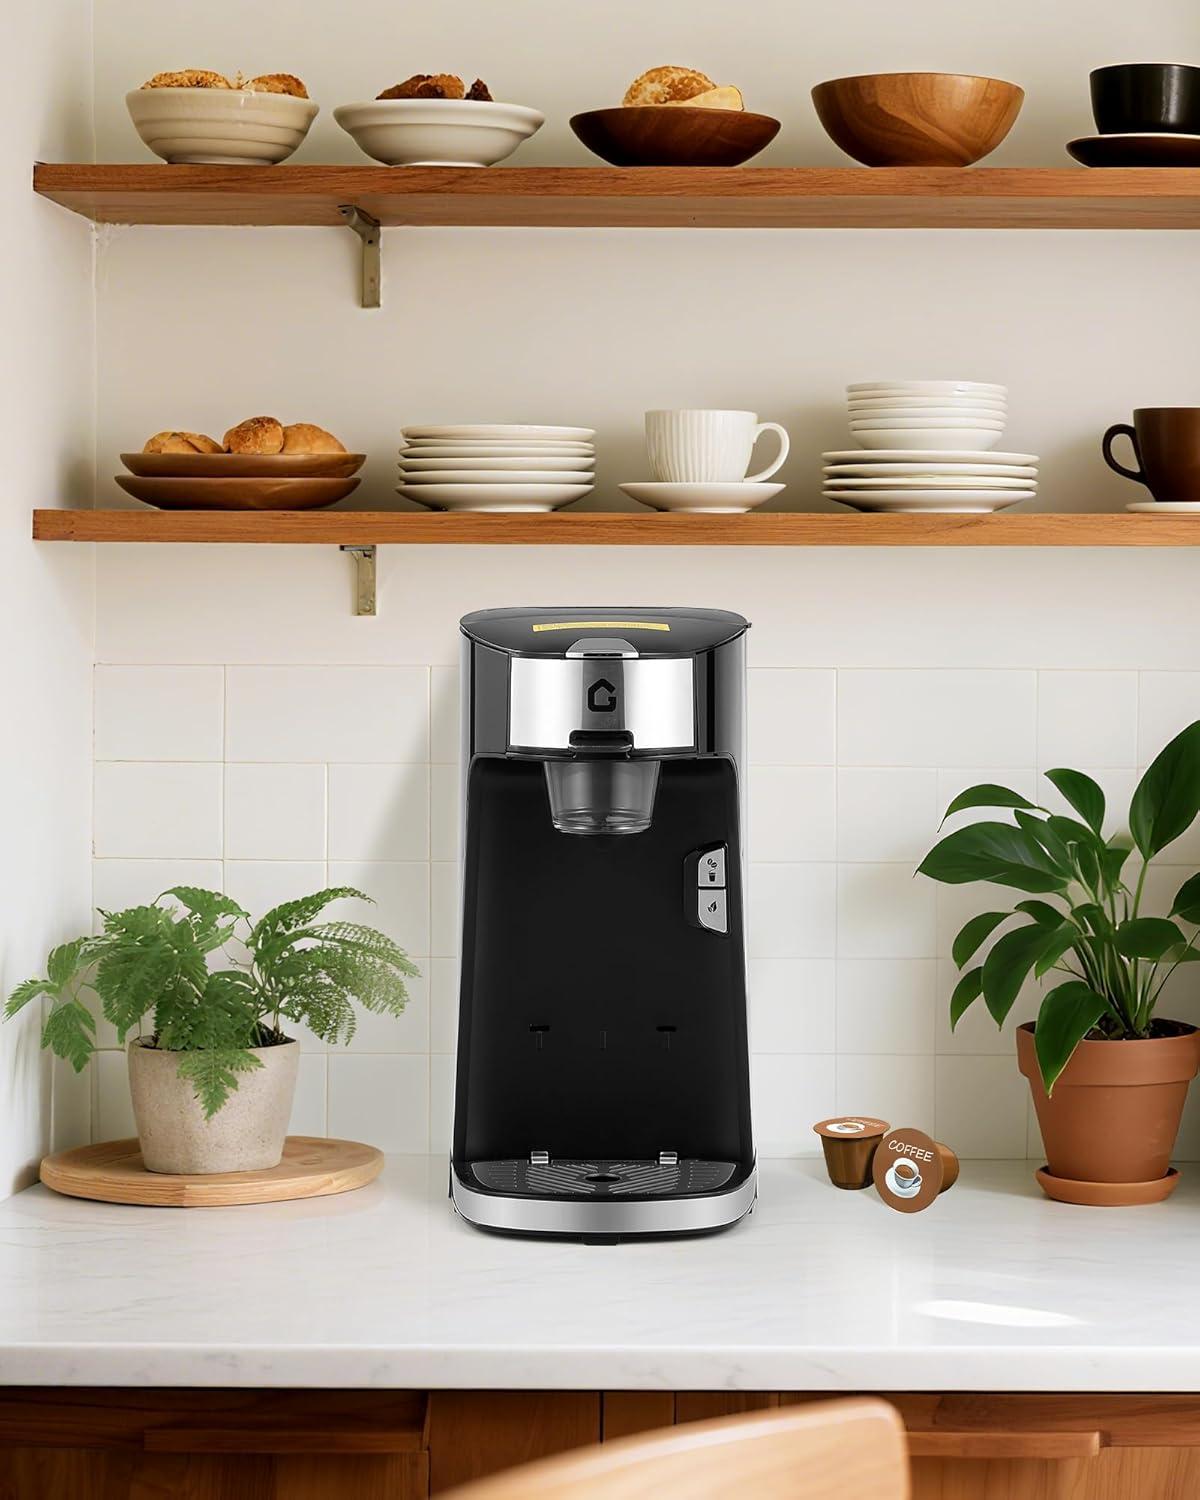
You lift the PrecisionAuto Single Serve coffee Maker from its box and instantly notice a modest weight and a compact footprint in your hand. The matte plastic shell feels smooth and slightly warm to the touch, and the lid snaps down wiht a soft, reassuring click. A single button lights up with a blue flash, then a low hum and the frist steam tell you the machine has started doing its work.In the kitchen light its slim, balanced silhouette reads as quietly utilitarian, the sort of appliance that settles into the space without fanfare.
How the PrecisionAuto slips into your morning routine and what it looks like in use

When morning arrives you’ll find it easy to fold this little brewer into whatever ritual you already have. It usually sits on the counter within arm’s reach of your mug; you flip the lid, slide in a pod or scoop in grounds, top up the water, and settle the cup on the drip plate. The control is a single touch, and while it runs you’ll notice a brief blue glow and a steady hum as steam and aroma build — the pause between pressing the button and the first drip becomes part of the cadence of getting ready. On hurried days you’ll grab the cup right at the end of the pour; on slower ones you might let it sit a minute while you collect keys or sort the morning mail. The machine’s compact presence means it rarely feels like a separate task, more like another swift motion you do on the way out the door.
Day-to-day use brings a few small habits that stick. You tend to keep a coaster or a small towel nearby for occasional drips, and the used pod or grounds end up in the same bin you empty each morning. Minor,recurring upkeep—rinsing the holder or wiping the surface—becomes part of the post-brew routine rather then a special chore. A few routine observations you might notice:
- Sound: a short, steady whirr while brewing that doesn’t usually drown out conversation
- Timing: the whole interaction can be a quick, single-handed sequence on rushed mornings
- Placement: it fits neatly beside other small appliances and is simple to unplug and move when needed
These little patterns — where you set the mug, how you deal with the spent pod, the brief wipe-down after use — are what determine how seamless the brewer feels within a week of regular use.
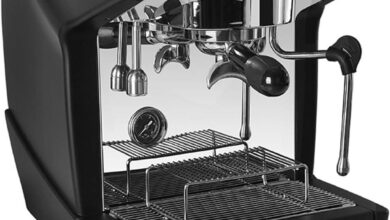
The first touch: the machine’s silhouette, finishes, and what your fingers register
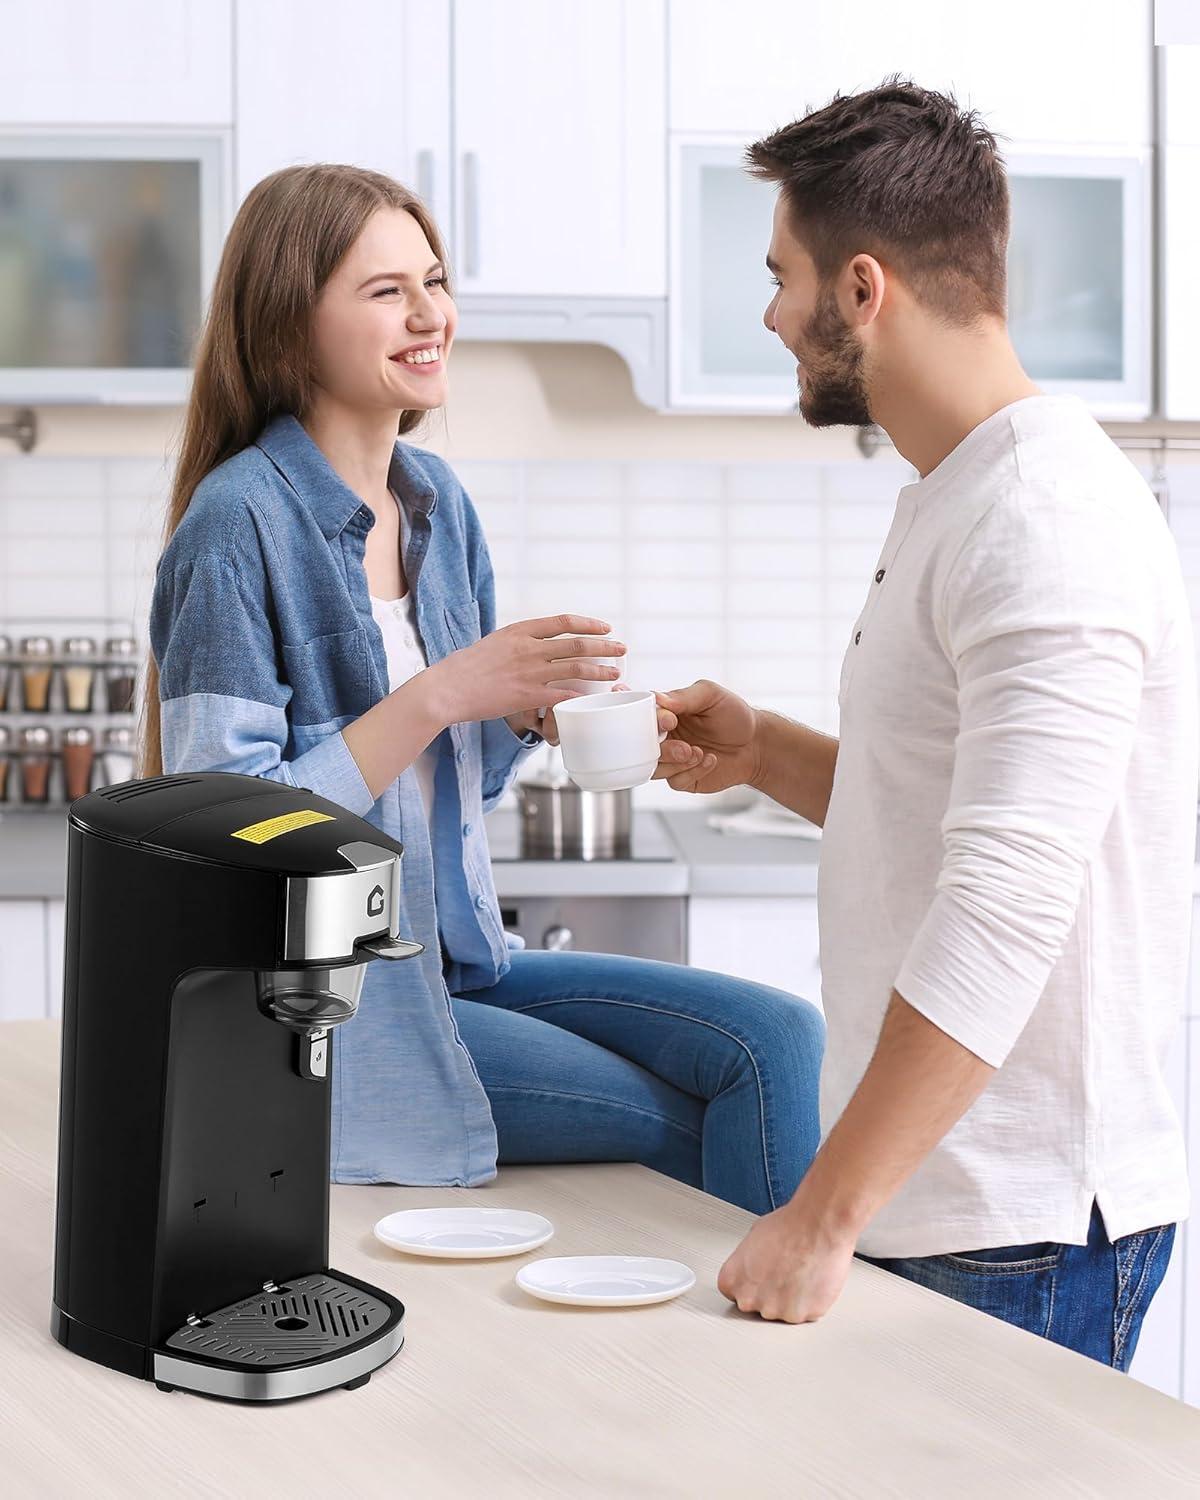
When you first set hands on the machine, its silhouette reads as deliberately compact and upright: a narrow front plane rises into a gently rounded top where the lid sits, and seams curve away toward the back. Surfaces alternate between a slightly glossy faceplate and more matte-finished panels along the sides; the contrast is subtle but obvious under kitchen light. gloss areas tend to catch fingerprints and streaks the moment you touch them, while the matte parts feel a touch warmer and hide smudges. The lid hinge lines and the small gap where the removable tray meets the body are easy to find by feel, which makes routine handling—sliding the tray out or setting a cup in place—more intuitive than it looks from across the counter.
Your fingers register a handful of small, repeatable sensations each time you use it. The lid offers a modest resistance and a short, slightly springy travel before it settles; there’s no sharp edge to catch your skin. The control surface is flat and gives a soft, audible click with minimal travel, enough to confirm an input without needing to look. The cup platform has a faint texture so mugs don’t slide when you nudge them into position, and the removable drip tray moves with a small, reassuring notch where it locks. After a brew cycle the area around the spout and the top panel can feel gently warm and may hold a faint roasted scent—things you notice as part of habitual upkeep rather than as a surprise. Below are the primary tactile touchpoints you’ll likely use most often:
- Lid edge — hinge resistance and travel
- Control button — low-travel click
- Cup platform/drip tray — textured contact and sliding notch
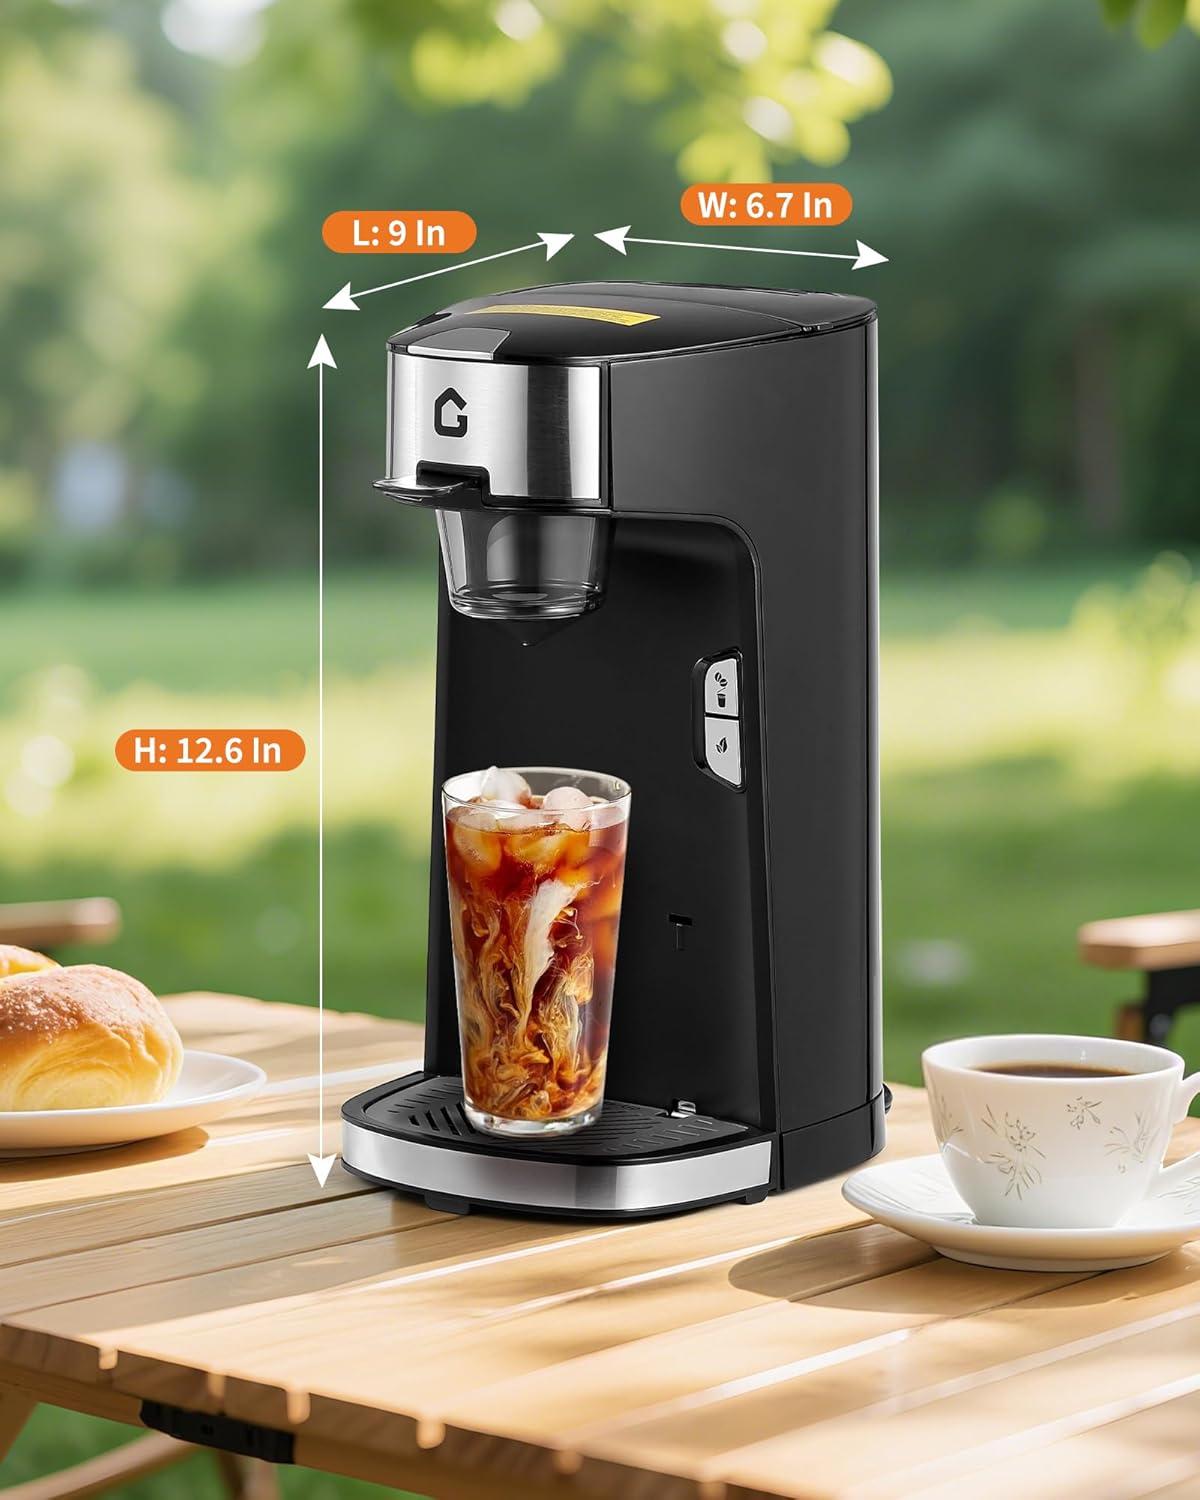
Where you can place it — footprint, height, and how it sits on a crowded counter or in an RV
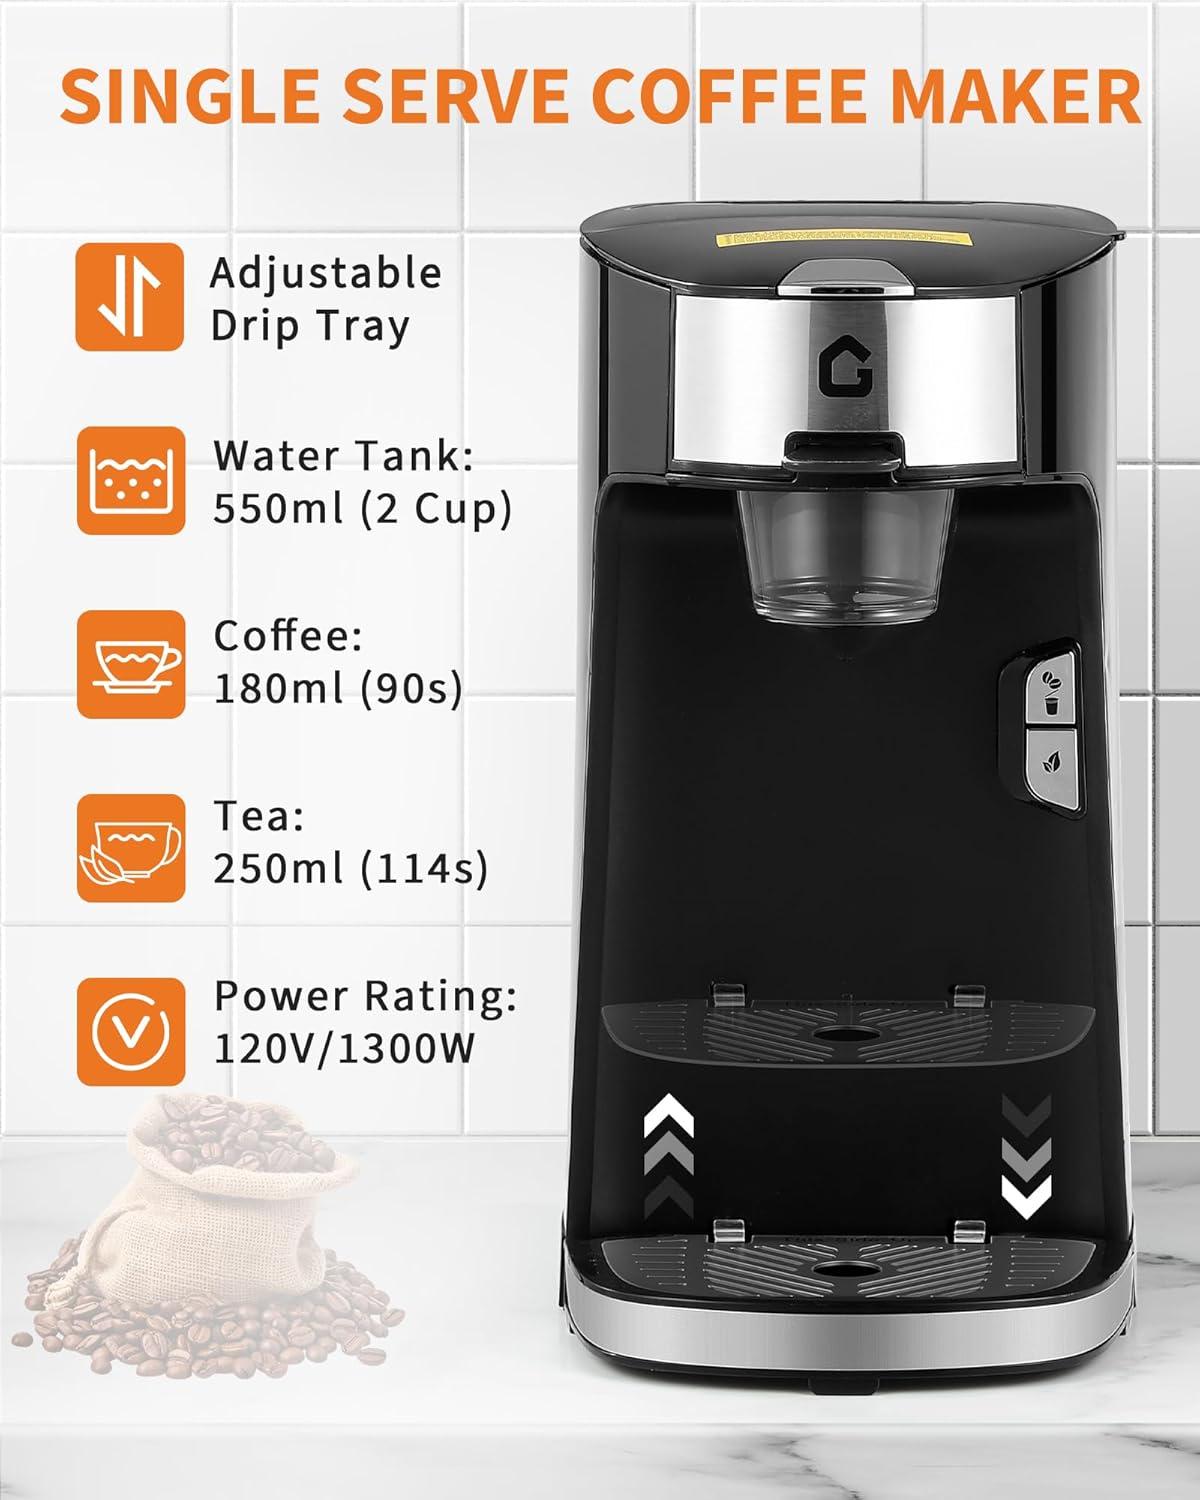
When you set it down, the machine occupies a noticeably slim band of counter space — about 6.7 inches across — so it slips into narrow gaps between a toaster and a sugar jar without dominating the surface. What matters more than that single number is the clearance above and in front: you’ll need a little room to lift the lid or drop a pod/ground scoop in, and some forward space to pull a cup out or to slide the drip tray when you want a taller mug. In practice this looks like keeping a few extra inches free above and in front; a quick way to think about it is this small checklist that tends to come up when you place it:
- Width — fits a narrow bay but not the narrowest crevice, so it often shares space with other narrow appliances.
- Top clearance — you’ll notice if there’s a low cabinet or shelf directly above it when you open the lid.
- Front space — extra room in front simplifies cup removal and drip-tray access.
On a crowded counter it sits like a compact companion rather than a centerpiece; you may shuffle items around in one-handed increments during morning rushes, nudging it a few inches to reach the kettle or a bowl.In an RV or tighter travel setup the same small footprint makes it easy to tuck against a backsplash or alongside a sink, though you’ll likely leave the plug and a little slack at the back and may empty or wipe the water area as part of routine stowing. It tends to be stable on flat surfaces but will feel the difference if placed on a sagging or uneven shelf, and pulling it forward to access the water fill or capsule basket is a common, quick motion during use.
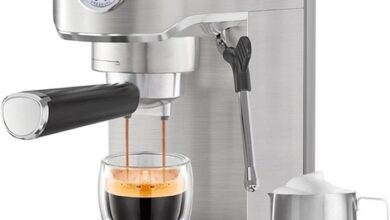
Brewing with one button: how you select 8–12 oz, hear the cycle, and watch the cup fill
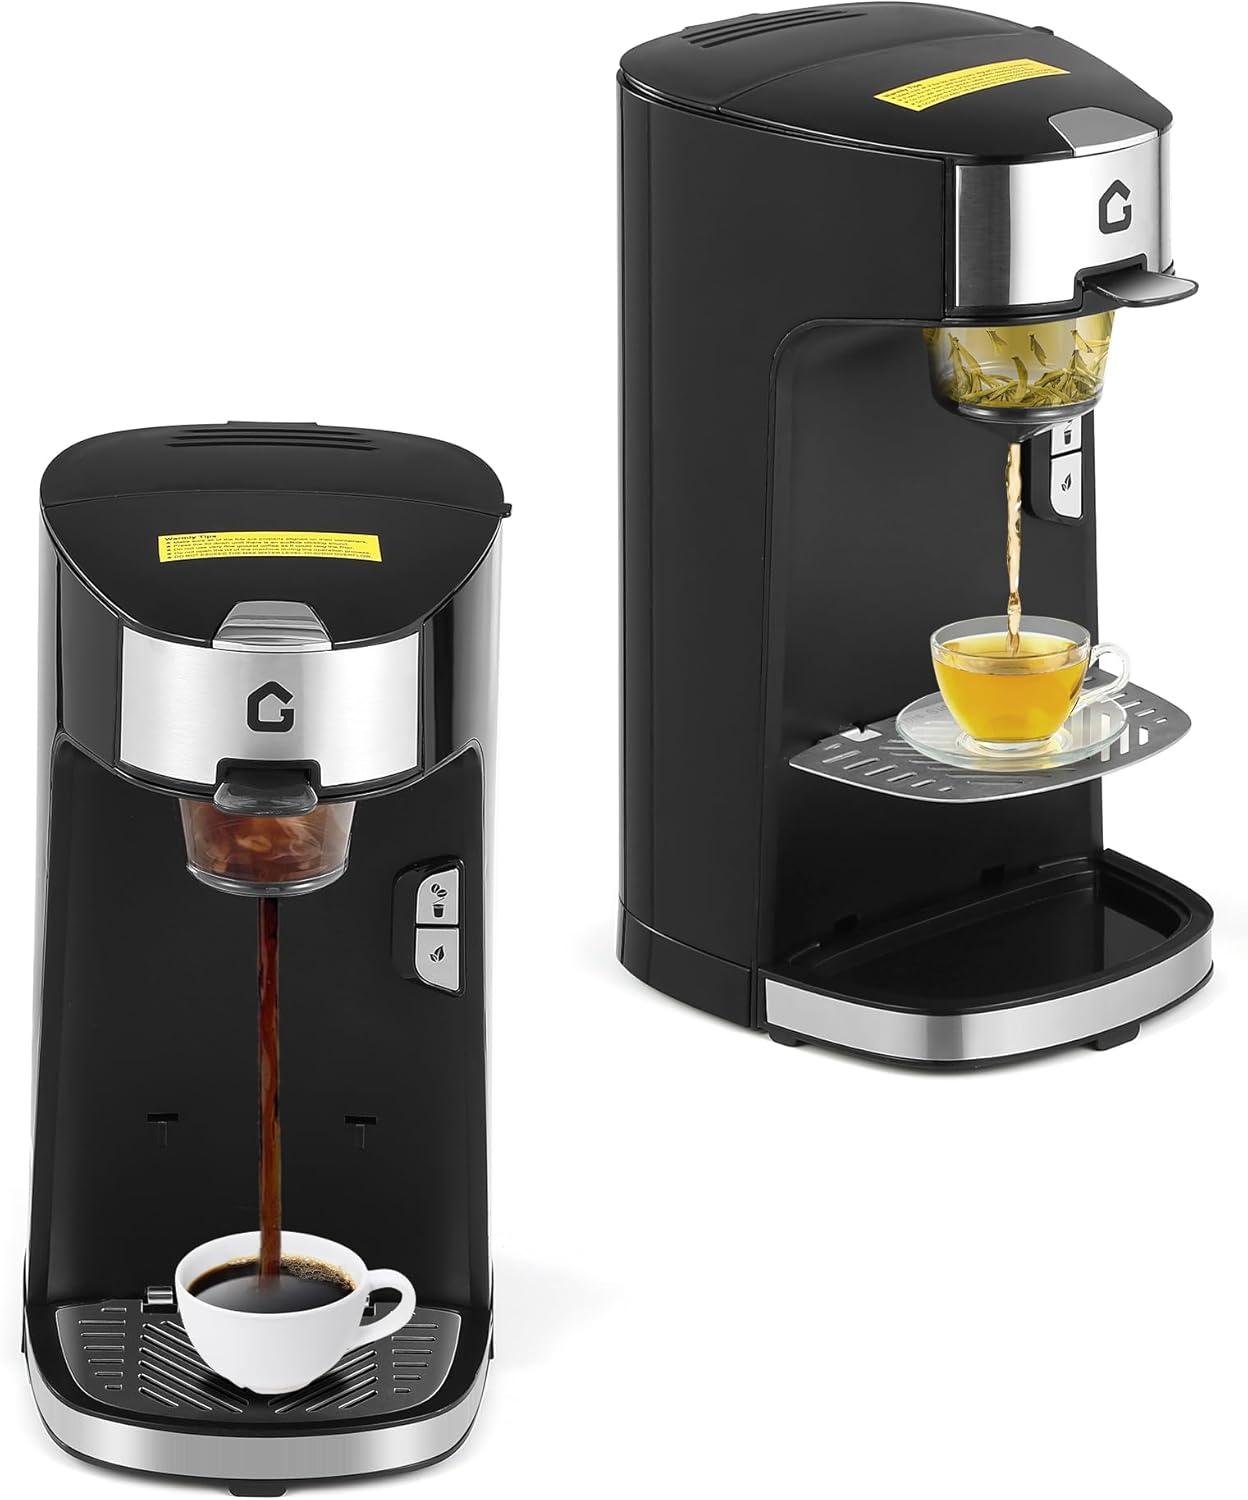
You make the size choice with almost no fiddling: place your cup, press the single top button, and the machine runs the programmed pour that lands somewhere in the 8–12 oz band — you don’t enter numbers, you trigger a preset. As it moves through the cycle the control light and the noises are the clues you rely on. At start the button responds with a brief click and the LED changes state; a short heat-up hum follows, then a more steady pumping/gurgling sound once extraction begins.If you pay attention to those cues you can get a good sense of where the pour is headed without measuring every ounce. Small, habitual adjustments happen naturally — you might nudge the cup forward, pause to check the crema, or press the button again to stop the flow if you’ve reached your preferred level.
Watching the cup fill is an almost theatrical sequence: the first drops are darker and faster, then the stream evens out as the reservoir and heating stabilize. you can observe fill height through the cup rather than a gauge on the machine, and the finish is marked by a change in sound and the indicator light returning to idle.A quick reference of what you’ll hear and see can definitely help until the rhythm becomes second nature:
- Click/flash: cycle start
- Steady hum/gurgle: active extraction
- Light returns/softer sound: end of pour
| Audible/Visible Cue | Typical Meaning |
|---|---|
| Short click + flashing light | Starting heat-up and pump initiation |
| Steady pump noise | Active brew — cup filling |
| light steady or off | Cycle complete |
Occasional quick wipe of the drip area after a brew is part of the routine presence of the machine; or else, you mostly let the sounds and the rise of liquid in the cup tell you when to stop or step away.
How it lines up with your expectations and the practical limits you encounter
In routine use, the quick heat-up and single-button cycle tend to show up exactly as expected: a near-instant readiness and a short, focused brewing event that fits into a busy morning. The indicator light and automatic shut-off register as part of the lived experience rather than a feature sheet—on most runs they make the process feel straightforward, though the cup leaves the machine noticeably hotter at the start and cools faster than from larger coffeemakers. Switching between pods and ground coffee generally works without fuss, but swapping the small components between styles and emptying the residue becomes part of the rhythm; regular wiping and occasional emptying of the capsule area are common maintenance touches that stay present in everyday handling.
Practical limits appear when the routine expands: multiple consecutive cups interrupt the flow as refilling and brief cooldowns are frequent, and taller mugs sometimes require rearranging the drip space. Small habitual adjustments tend to surface, such as keeping a pitcher of hot water on hand to speed refill times or removing the tray for a travel mug.
- Frequent refill—keeps brewing sessions short unless one plans around it.
- Simple upkeep—wiping and emptying the capsule area integrates into typical counter habits.
Full specifications and listing details
Daily upkeep and travel habits: how you refill, clean, and stow it between uses
When it sits on your counter day to day, you settle into a simple rhythm: you top up the water before brewing, lift the lid to clear out a spent capsule or scoop of grounds, and give the small removable pieces a quick rinse now and then. Condensation and stray grounds collect more around the capsule area than on the outside,so you find yourself wiping the lid and drip tray after a couple of brews rather than scrubbing the whole machine each time. Deep cleaning or descaling tends to be an occasional task — something you slot into a quieter weekend — while most mornings are taken up with a few quick motions that keep the maker ready for the next cup without a lot of fuss.
When you travel with it, the habits change slightly: you let it cool, empty loose water and used capsules, and then tuck the smaller parts together so nothing rattles in transit. The slim profile makes it easy to slip into a bag or between items in an RV cabinet, and you usually coil the cord loosely rather than trying to force it into a tight wrap. Typical on-the-road packing looks like this:
- 1–2 removable parts tucked inside or bagged together
- cord coiled and stowed
- pods or a small tin of grounds kept nearby
These are the little habits that let the maker live quietly between uses, whether on a countertop or packed away for travel.
How it Fits Into Everyday Use
Over time it becomes one of those small, steady presences you reach for without thinking; the PrecisionAuto Single Serve coffee Maker sits on the counter and quietly marks parts of the day. In daily routines it blends into the background of movement—cups nested at its side, a faint patina on the plastic from repeated handling, a drip tray that tells stories of rushed mornings and gentler afternoons.The motions of loading, pressing the button, and emptying the pod fold into familiar habits around whatever space it occupies. It settles into routine.
As an Amazon Associate I earn from qualifying purchases. Amazon and the Amazon logo are trademarks of Amazon.com, Inc, or its affiliates. All images belong to Amazon