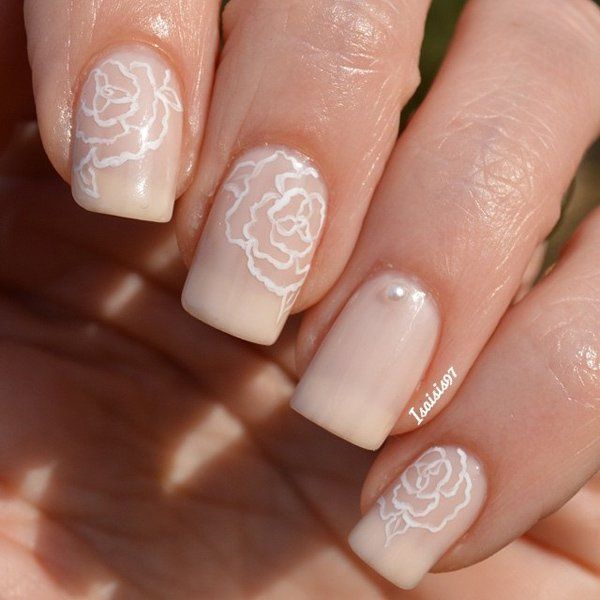
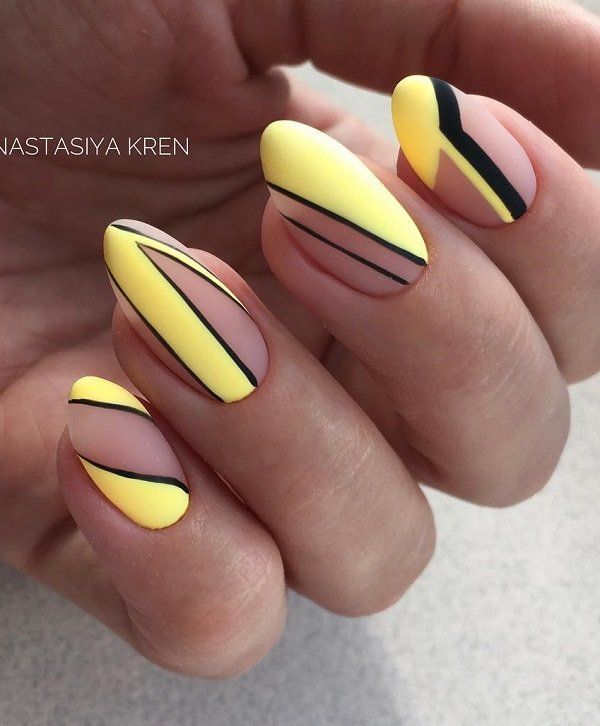
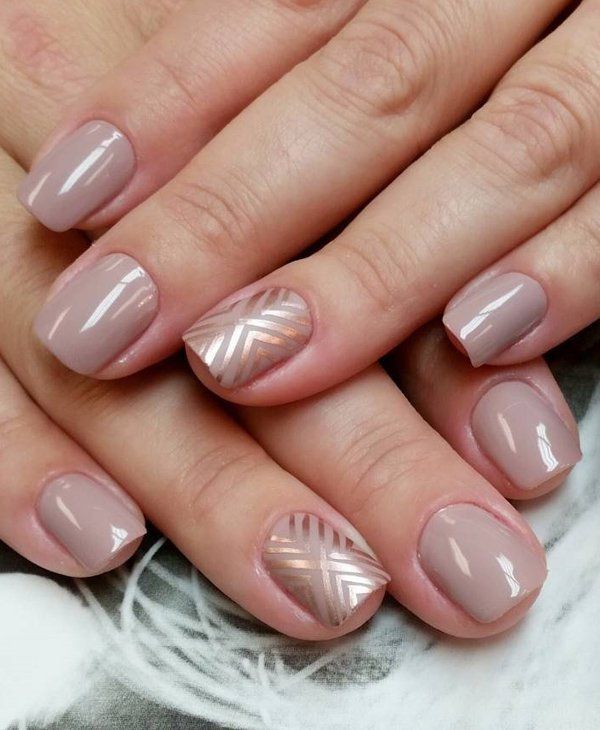
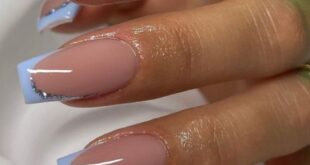
If you’re a fan of minimalist nail art, then geometric designs in nude shades are the perfect way to add a touch of sophistication to your manicure. Not only are nude shades versatile and easy to wear, but geometric patterns add a modern and stylish twist to a simple nail look. With a few simple tools and a bit of creativity, you can easily create your own DIY geometric nail art at home.
To start off, gather all the supplies you’ll need for this nail art design. You’ll need at least two different nude nail polishes, a base coat, a top coat, a thin nail art brush, and some striping tape or nail vinyls. Nude shades can vary from light to dark, so choose shades that complement each other well. Once you have all your supplies ready, start by applying a base coat to protect your natural nails and create a smooth canvas for your nail art.
Next, apply two coats of the lighter nude shade to all your nails and allow them to dry completely. Once the base color is dry, it’s time to create the geometric design. Using the thin nail art brush and the darker nude polish, carefully paint geometric shapes such as triangles, squares, or stripes on each nail. This may take a steady hand and some practice, but the end result will be worth it.
For a more precise and clean geometric design, you can use striping tape or nail vinyls to create straight lines and perfect shapes on your nails. Simply apply the tape or vinyls to your nails in the desired pattern, then paint over them with the darker nude polish. Once the polish is dry, carefully peel off the tape or vinyls to reveal a flawless geometric design underneath.
To finish off your DIY geometric nail art, apply a top coat to seal in your design and add shine to your nails. This will also help your nail art last longer and prevent chipping. With a little practice and patience, you can create a stunning and sophisticated nail art look that is sure to impress. So grab your favorite nude nail polishes and get creative with geometric designs for a chic and trendy manicure.
